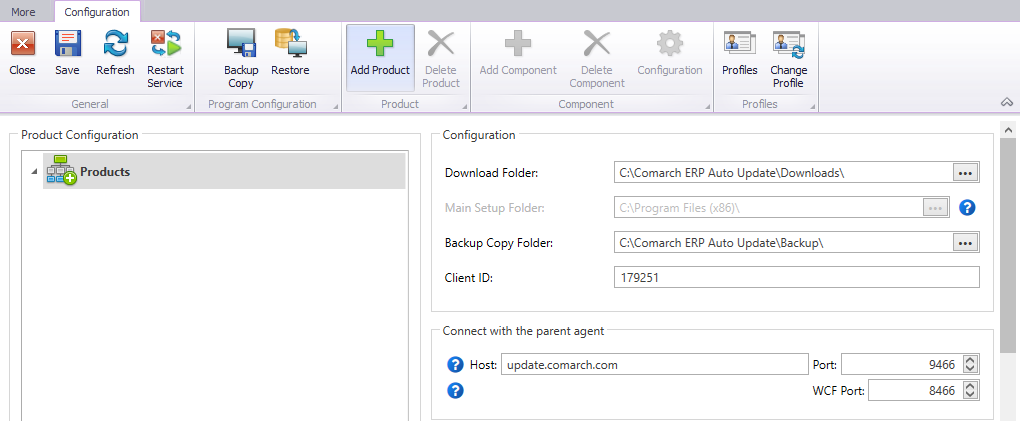
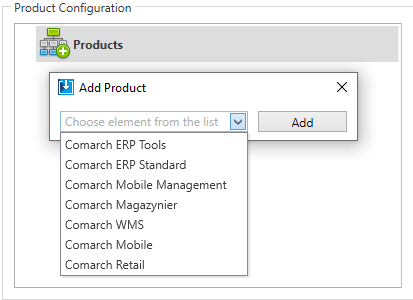
In order to install and use a selected Comarch component, first you need to add and configure it in Comarch Auto Update. This article illustrates how to do in on the example of Comarch ERP Tools product and Add-on Wizard component. To start with, in the main menu select [Configuration] and then in the Product Configuration section, highlight Products and select the [Add Product] button.


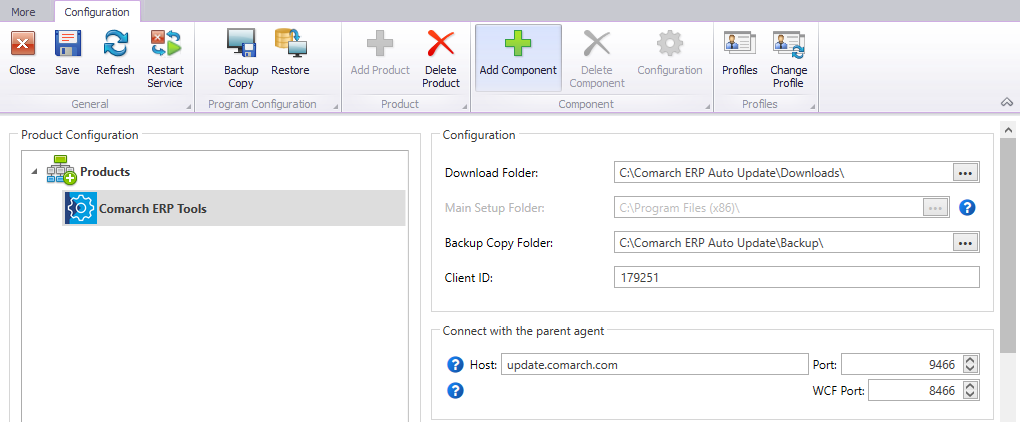
After adding the product, you also need to add an appropriate component. To do so, highlight the product in the product configuration section and then select the [Add Component] button, similarly as when selecting a product.

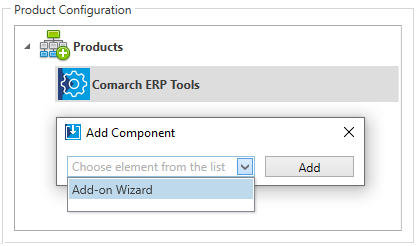
Next, select Add-on Wizard component followed by the [Add] button. The add-on wizard works as an independent application, no additional configuration is required. Detailed description of this component can be found in article Add-on Wizard.

After you add the component, select the [Save] button. Similarly, in the configuration view, select the [Save] button to saved the added products and components. Then you can proceed to the component installation. To do so, switch to the main view of Comarch Auto Update application, where the previously configured components will be available for download and installation.

Components can either be only downloaded or downloaded and installed by selecting the respective buttons, as needed. A properly installed component is communicated with a green icon with a tick symbol and the version number. Information about any newer version is displayed above the components.
An older version of the component can be installed through advanced actions described in article Advanced actions.

