
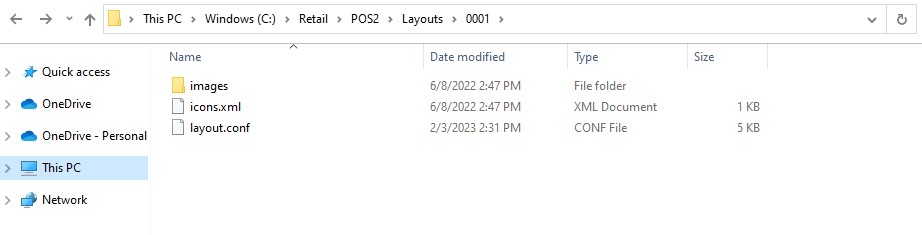
The Comarch Retail POS Layouts application is used for handling layouts containing changes applied in the configuration of the interface and separate views of a POS workstation. All changes are saved as part of local layouts, available on a particular POS workstation. Such a local layout can be shared with other POS workstations; to do so, add a ZIP directory in KStore with the following data:
- Configuration file
- XML file
- Graphic files
Next, add the data of user groups or authorization roles for which a given layout should be accessible in the Comarch Retail POS Layouts application.
Link to KStore: https://cee-presentation620.comarch.pl/kstore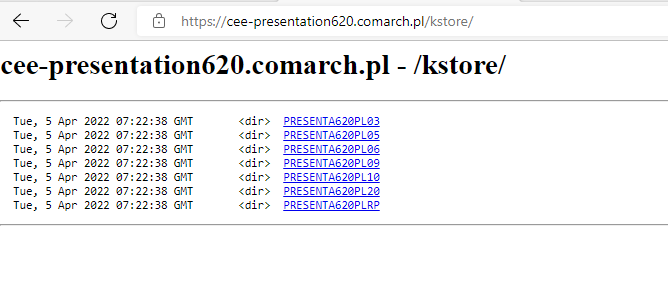
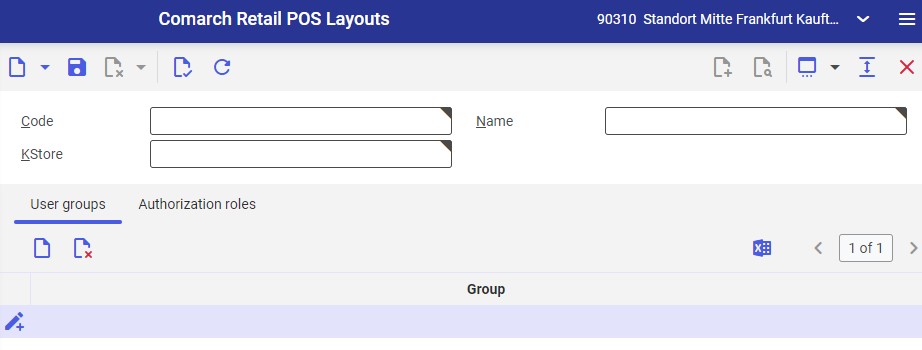
Application header
In the application header, it is possible to filter lists by an indicated layout code. To do so, it is necessary to open searching options for the Code value and select the [Value assistant] button. After selecting the button, a window in which it is possible to find the adequate code is opened.
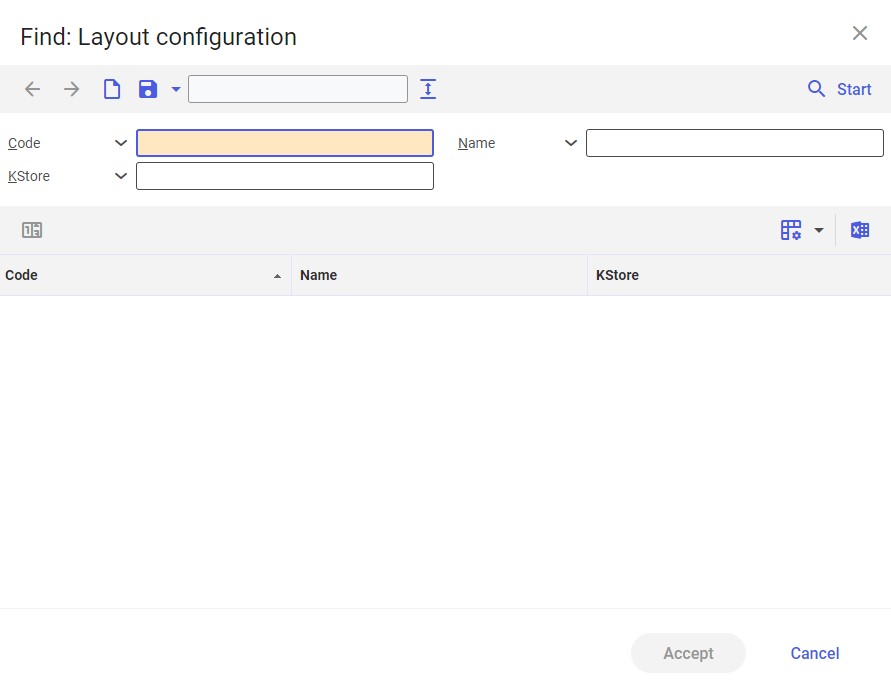
After the [Start] button is selected, the system displays the list of available layouts, making it possible to select an appropriate one. The [Apply] button allows displaying a given layout in the application header.
In the application header, the user can also add a layout stored in KStore to a POS workstation by assigning user groups or authorization roles. To do so, select the [New] button (or [Duplicate], if an already existing layout should be duplicated).
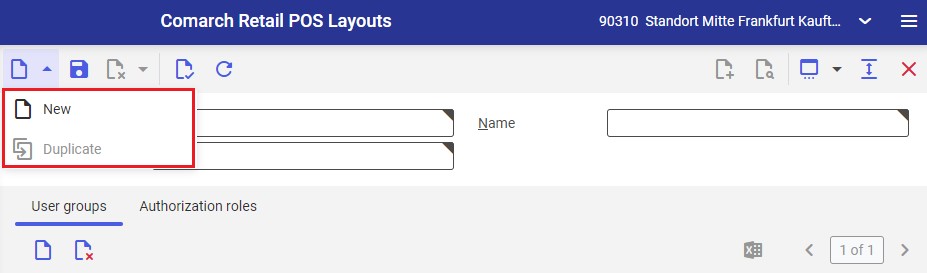
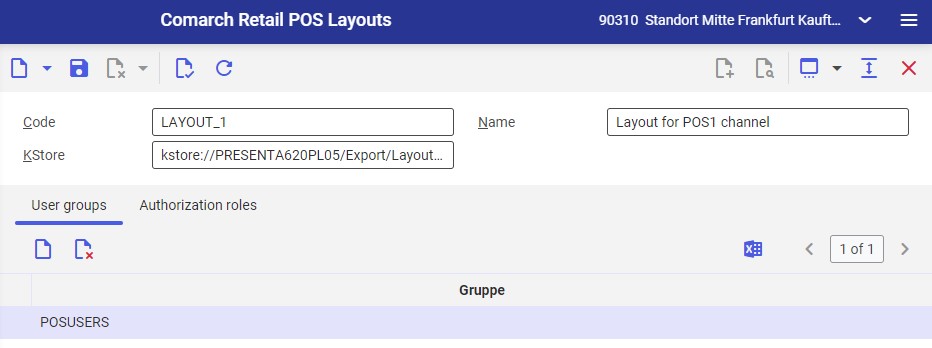
After the [New] button is selected, a new form appears, where it is possible to determine settings for the new layout:
- Code – a unique code for the new layout assigned by the user
- Name – the name of the new layout
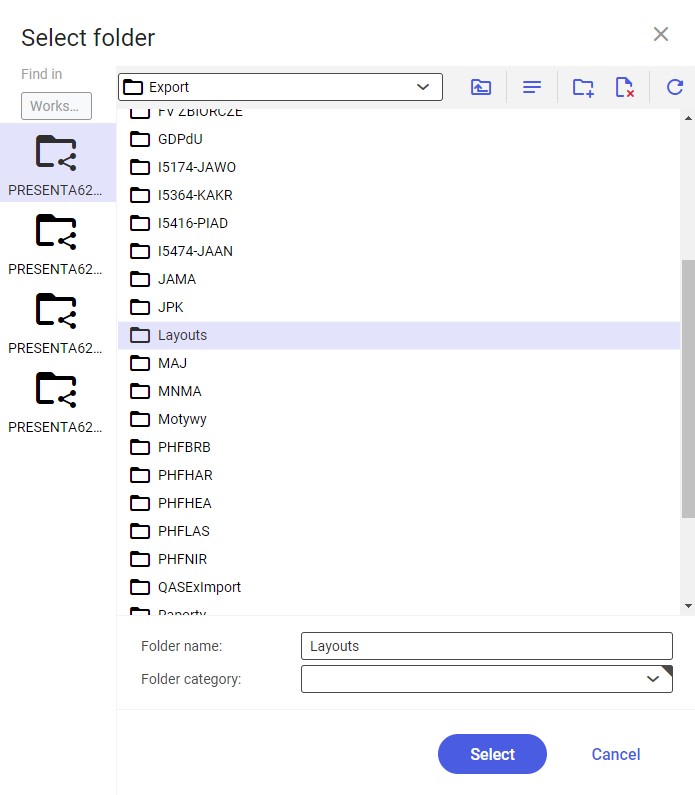
- Kstore – the knowledge store, path and folder in which layouts are available. The folder should be stored in Kstore, in ZIP format: it must contain the files layout.conf, icons.xml, and images subfolder.
- Code – Layout_1
- Name – Layout for POS1 channel
- KStore – kstore://PRESENTA620PL05/Export/Layouts/
Work pane
In the work pane, it is possible to specify user groups or, alternatively, authorization roles for a given layout. This setting determines which layouts will be assigned to a POS workstation.
How to add a user to an existing user group
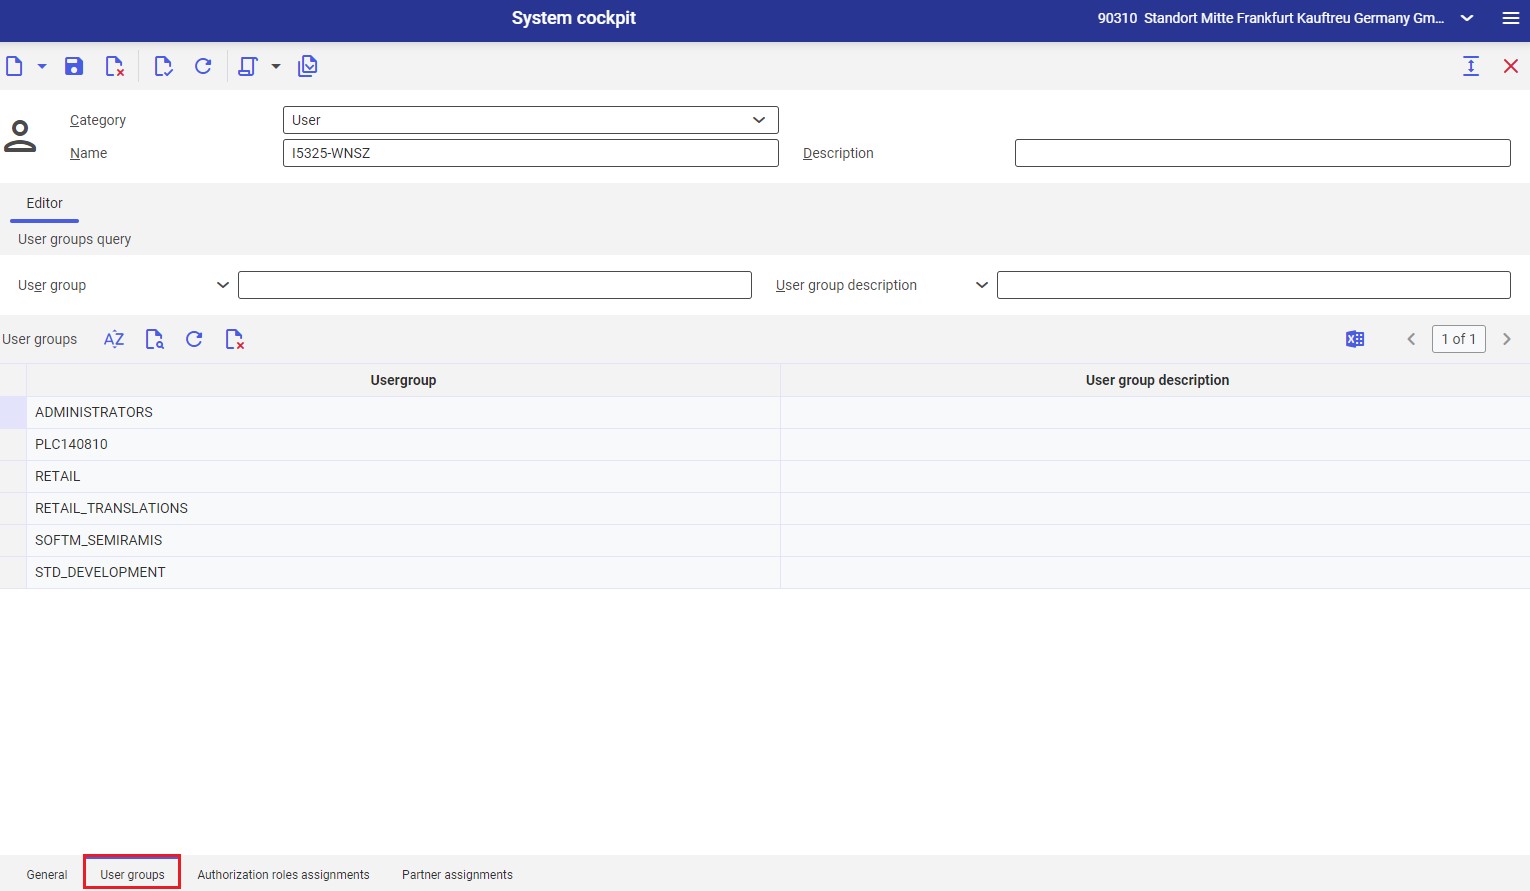
In order to add a user to an existing user group, open the System cockpit application, select the option User in the Category field, and enter the user to be added to the group in the Name field. Next, open the User groups tab at the bottom of the screen. Afterwards, use the [Search and add multiple user groups] button to select one or more groups to which the user should be assigned.
How to assign an authorization role to a user group
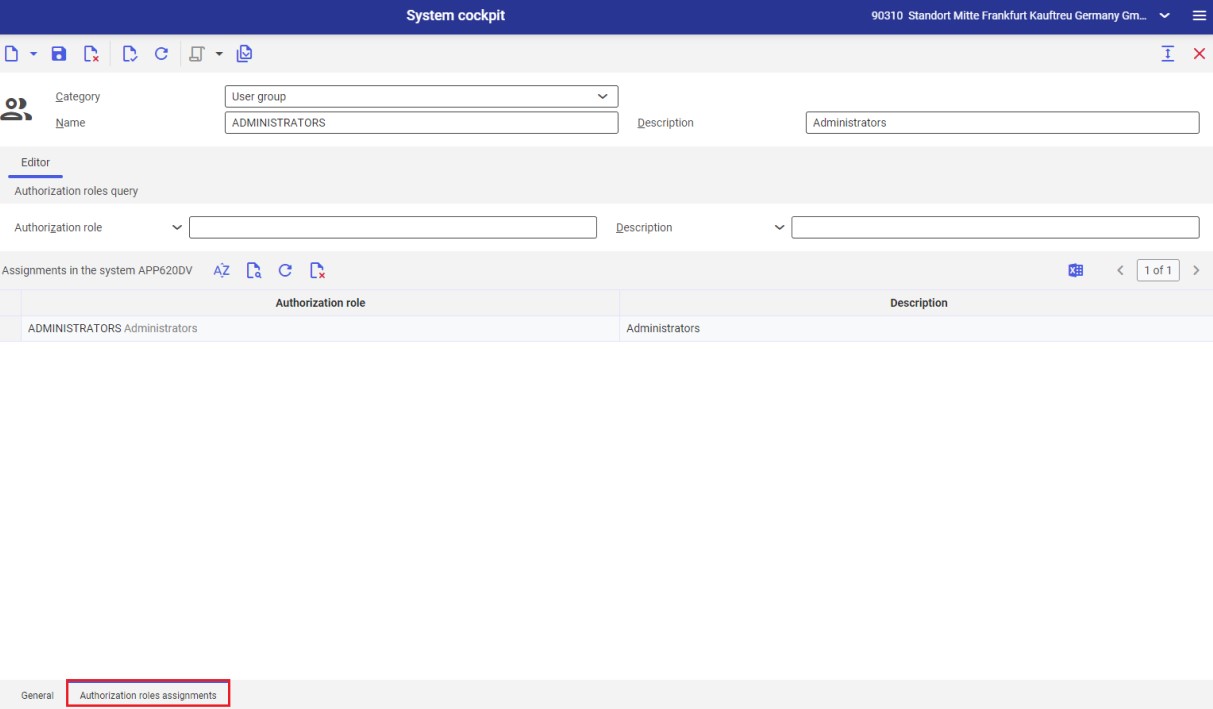
In order to assign a user group a relevant authorization role, open the System cockpit application, select the option User group in the Category field, and enter the user group to be assigned the authorization role in the Name field. Next, open the Authorization roles assignments tab at the bottom of the screen. Afterwards, use the [Find and add multiple authorization roles] button to select one or more roles to be assigned to the user group.
User groups tab
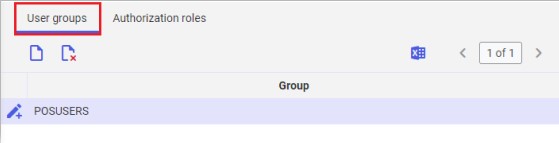
The tab allows assigning user groups to a newly defined layout. To do so, use the [New] button.
To delete a user group assigned to a layout, use the button [Set/remove deletion marker].
Authorization roles tab
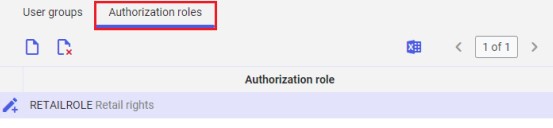
The tab allows assigning selected authorization roles to a layout. To do so, use the [New] button. Only the users with an appropriate authorization role will have access to a given layout. To delete an authorization role assigned to a layout, use the button [Set/remove deletion marker].
After entering appropriate settings, them with the [Save] button.
To make the data available on the POS workstation, run the batch application POS export meta data.
Export of POS meta data
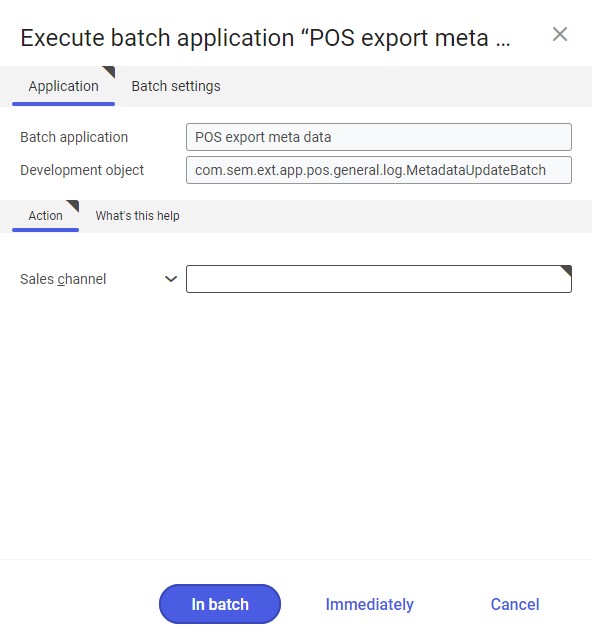
To export meta data into a POS workstation, complete the following steps:
- Open the POS export meta data batch application
- Fill in the field on the Application tab (in the Action section):
- Sales channel – it is the sales channel for which meta data is to be updated on the POS workstation
- Fill in the fields on the Batch settings tab
- Select the [In batch] button
If an appropriate batch job is assigned the status Closed, the export of POS meta data has been performed successfully.