The proper installation and configuration of an adapter makes it possible to connect to a selected external system (e.g. an online store) and synchronize data (e.g. sales orders) between the systems.
First, it is necessary to determine with which external system Comarch ERP Enterprise is to be connected and select the appropriate adapter, that is:
- Magento online store – Magento adapter
- Shopware online store – Shopware adapter
- Comarch Webshop online store – Comarch ERP Webshop adapter
- Comarch Mobile application – Comarch ERP Integration BUS (IBUS) adapter
- OXID online store – OXID eSales adapter
- Any external system or client store – Cloud adapter
- Allegro, eBay, and Amazon sales platforms (Comarch e-Sale) – both Comarch ERP Webshop and Comarch e-Sale adapters
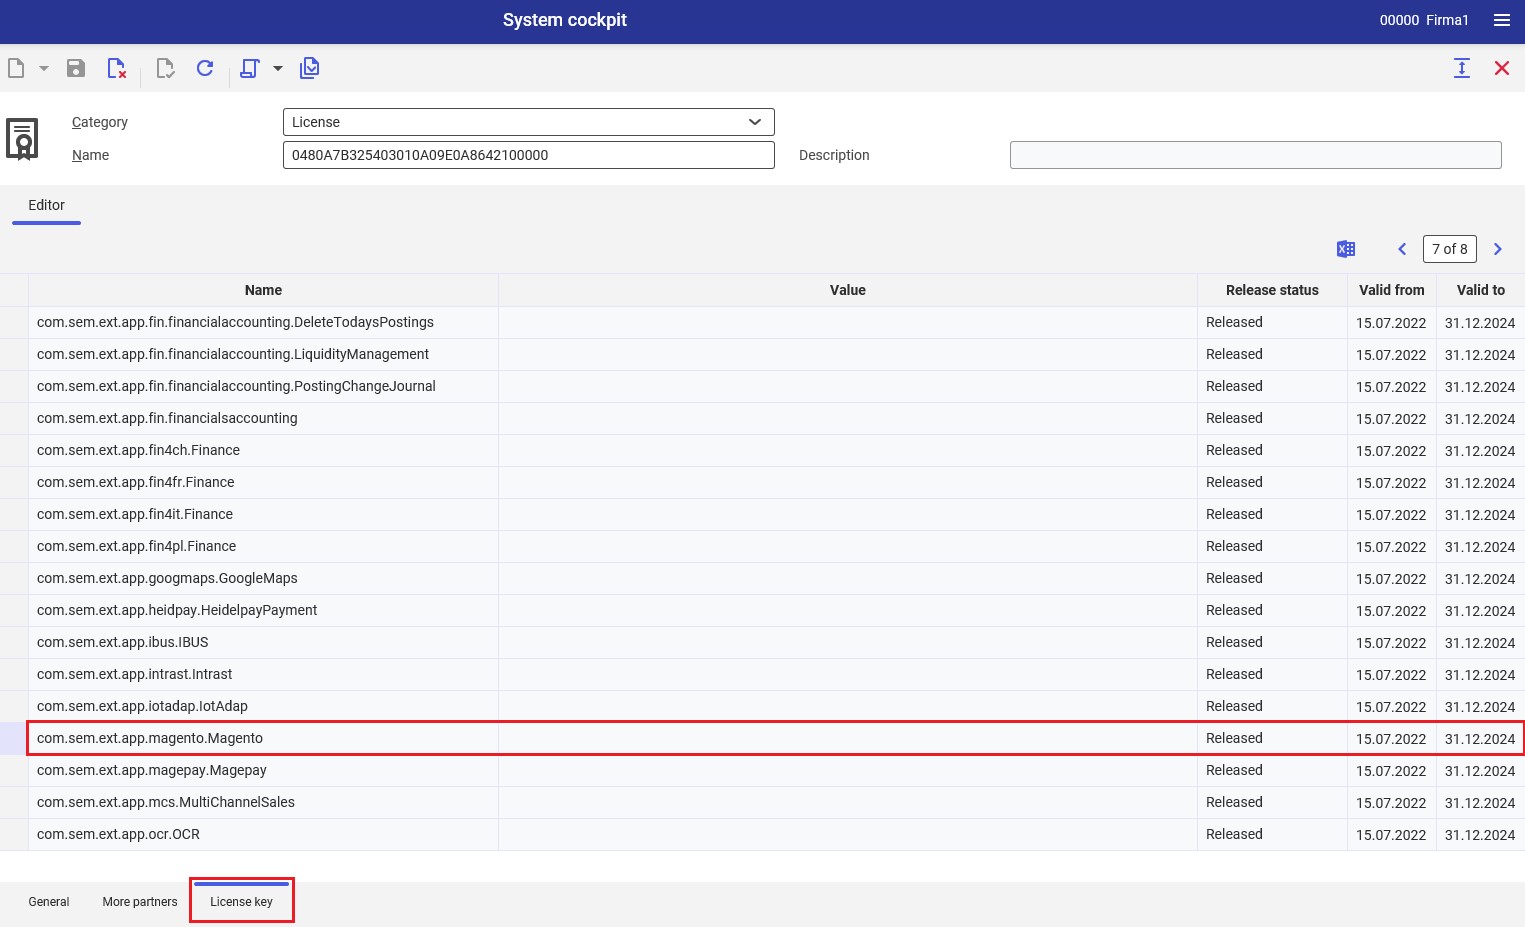
After selecting a given adapter, it needs to be made sure that the system has a license for it. It may be verified on the bottom tab of the System cockpit application.

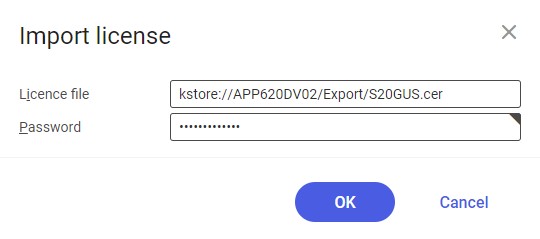
Since the Multi-channel sales framework is not a standard framework of Comarch ERP Enterprise, the adapter license must be purchased separately; afterwards, the license file must be saved in the system’s knowledge store and imported to Comarch ERP Enterprise via the System cockpit application. To do so, it is necessary to complete the following steps:
1. Open the System cockpit application
2. Select License in the Category field
3. Using the [Select action] button, select the [Import license] action
4. In the dialog window, enter the license file and password

After importing the license for a selected adapter, it is possible to download the adapter. To do so, it is necessary to complete the following steps:
1. Open NINUS system
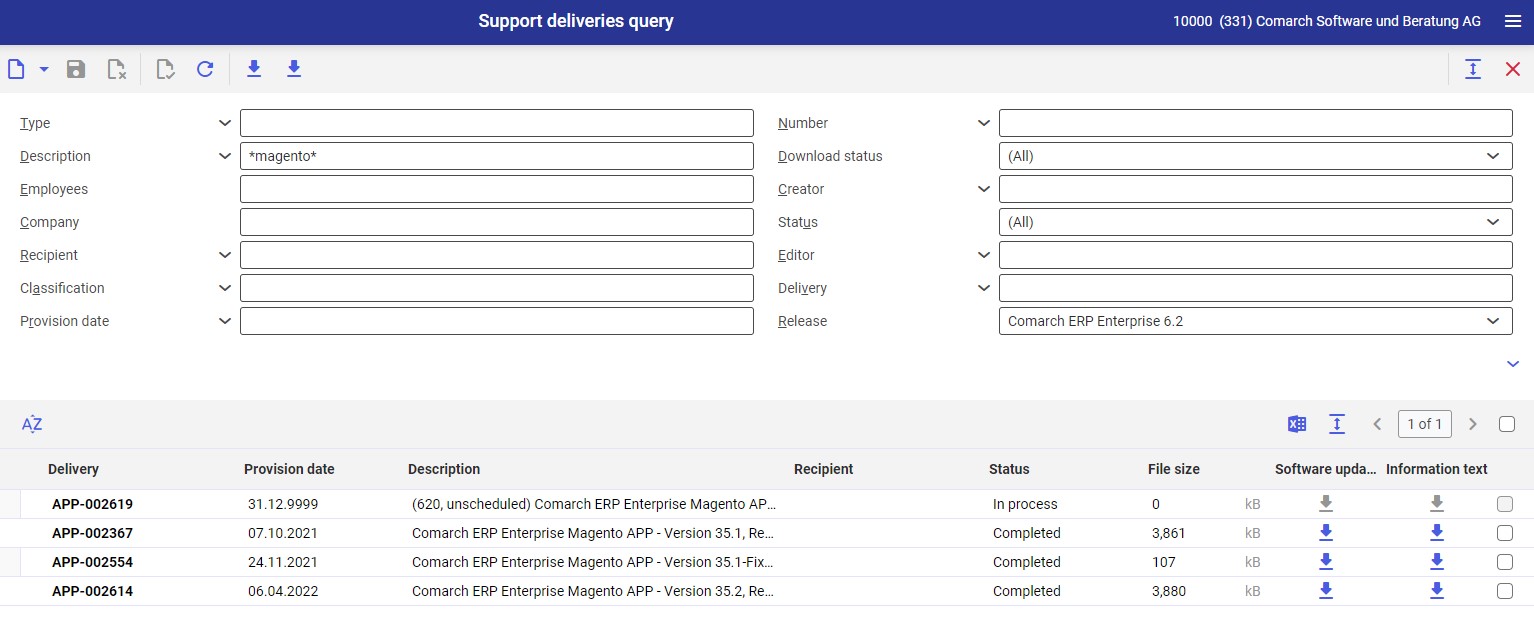
2. Search appropriate files in the Support deliveries query application:
- Enter the adapter’s name in the Description field
- Enter the version of Comarch ERP Enterprise system for which the adapter is to be installed in the Release field

It is necessary to select at least the latest version or, possibly, a fix, if one has been released for the current full version.
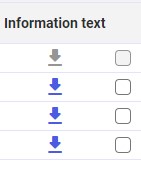
3. Download the PDF file attached in the Information text column. The document contains information on the package, conditions, and instructions for the adapter’s installation.

The user should familiarize themselves with the document attached to the package and the installation conditions, including import restrictions described in the Extend import restrictions chapter. On the bottom tab Import restrictions of the System cockpit application, it is necessary to enter required values from the document.
4. The package should be downloaded by selecting the button in the Software update column. Packages are downloaded locally.
5. Packages downloaded to a local folder need to be copied to the development environment folder SEMIRAMIS/REFRESHES/IMPORT on the server of Comarch ERP Enterprise system
6. After copying packages to the appropriate folder, it is necessary to run (as administrator) the command prompt of the development environment on the server
7. In the command prompt, enter the command:
insrfr -codeClass:app
The package installation will begin.
After the installation is completed successfully, the following line will be displayed:
Status: refreashes succesfully installed
8. Next, it is necessary to log in to the development environment, open the Software update cockpit application, and select the Generated software updates view.
The work pane will display the installed packages. Packages that have not been exported and newly installed packages are assigned the status Open.
9. Packages to be imported (with the status Open) need to be selected in the Selection column and released using the button [Select action] → [Release]. The dialog window of the Release software updates batch application will be displayed. In the window, it is necessary to select a processing queue (if it is not selected by default) and press the [In batch] button.
In this case, the user should enter the following command in the command prompt:
actjob –auto –conflict –ord:DEV-123456
DEV-123456 is the conflict number displayed in the installation log.
Upon installation, Comarch ERP Enterprise will restart automatically. In the Customizing application, appropriate adapters must have the Active parameter selected. In the case of integration with Comarch e-Sale, it is necessary to install and update the Comarch ERP Webshop and Comarch e-Sale adapters in the Customizing application.
Once packages are released properly, their status is changed to Active.
10. In the next step, it is necessary to export packages. Packages to be exported should be selected in the Selection column within the work pane. Next, it is necessary to click the [Select action] → [Export] button in the header of the Software update cockpit application.
Exported packages are placed in the SEMIRAMIS/REFRESHES/EXPORT folder of the development system.
11. Packages from the SEMIRAMIS/REFRESHES/EXPORT folder of the development system need to be copied to the SEMIRAMIS/REFRESHES/IMPORT folder of the environment where they should be imported.
12. For a subsequent environment, packages need to be installed as described in point 7.
In order to configure connection with an external system, it is necessary to activate a relevant adapter in the Customizing application by selecting the Active parameter for an appropriate function (e.g. the Magento adapter function) and create a sales channel with that adapter in the Sales channels application.


