General field properties
There are different types of fields in the system that allow the user to enter, display, and edit data.
Field authorizations may be managed:
- by pressing [Shift] + [F1]. Next, hover the cursor over a given field and hold [Alt] to open the window Technical properties for field “Field name”.
- in the design mode
To switch to the design mode, expand the list under the [Select and organize views] button and select [Design mode].
After that, the wrench symbol: ![]() will appear next to the application name, indicating that the application is open in the design mode.
will appear next to the application name, indicating that the application is open in the design mode.
To manage a given field, hover the cursor over it → select it with the right mouse button → select Properties → open the Authorizations tab.
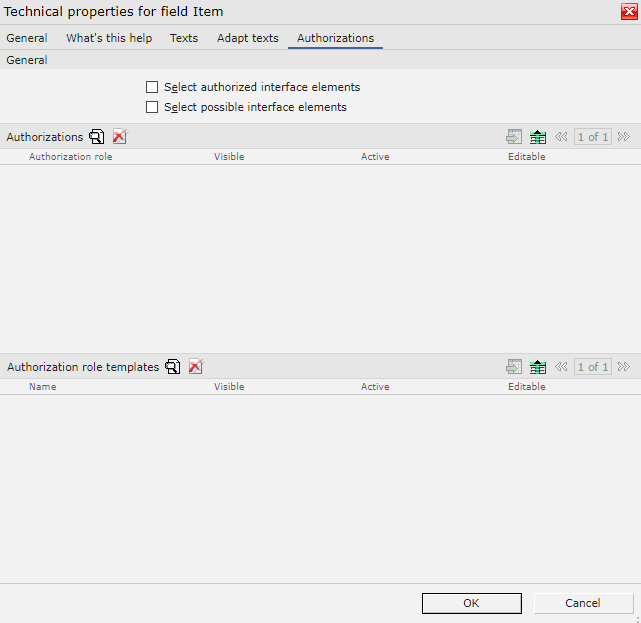
Next, select the ![]() button and choose an authorization role assigned to the user or user group for which authorizations/restrictions are to be defined.
button and choose an authorization role assigned to the user or user group for which authorizations/restrictions are to be defined.
After selecting a role, it is necessary to define:
- if a given field is to be visible; available options include:
- Visible – the field will be available in a given application
- Not visible – the field will not be available
- if a given field is to be active; available options include:
- Active – the field will be active; the possibility to edit it is managed with the Editable parameter
- Disabled – the field will be grayed-out
- if a given field is to be editable; available options include:
- Editable – the user will be able to edit the field
- Not editable – the user will not be able to make changes to the field
Field types
Depending on the application and authorizations granted, fields may have different types (colors).
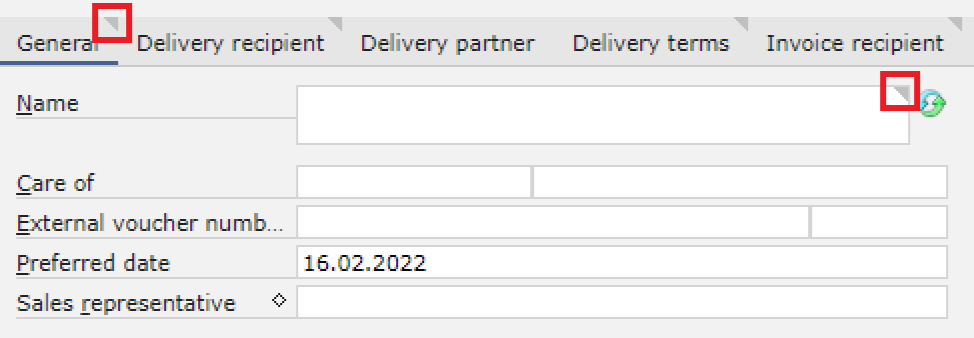
All fields with a white background can be filled in, which means that the user can enter or edit data in such fields.

Fields in which the mouse cursor is currently positioned are marked with a yellow background.

If a field’s value is grayed-out, the field is non-editable and . This may be due to missing authorizations or a specific configuration.

In turn, if a field is completely grayed-out, the user cannot enter, edit, and preview data in the field. For the field to become editable, necessary conditions need to be met. In order to enable entering a date in the Valid from field, it is necessary to create a new version of an item, selecting the option [New] → [New version] in the Items application.

Entering data in fields
Data may be entered in different ways, depending on the available options:
- directly in a field using the keyboard
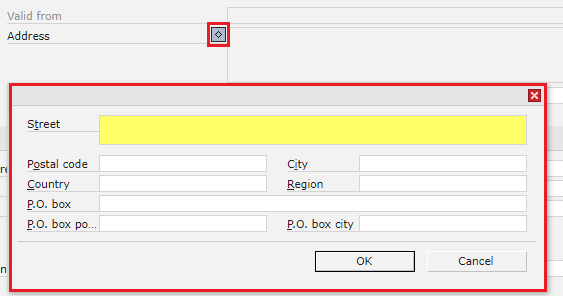
- selecting the [Value assistant]
 button in the bottom right corner, opening an appropriate dialog window:
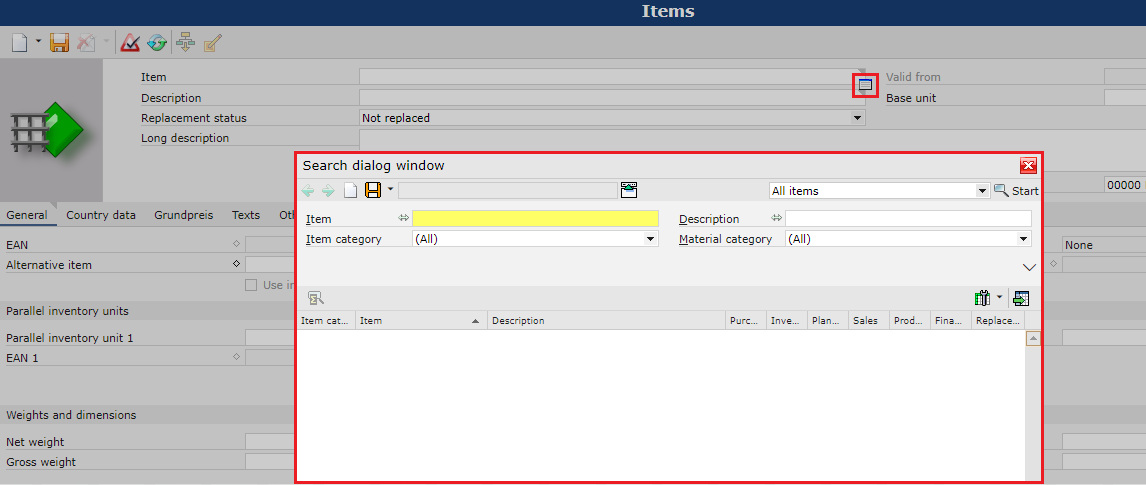
- selecting the
 button next to the name of a given field. The button opens a dialog window with fields to be filled in.
If a field is required, it is marked with a gray triangle symbol.

However, if a validation is performed with the use of the [Validate] button or if the user tries to save changes in an application without completing required fields, the triangle symbol’s color changes from gray to red.