
Topic overview
This article describes the procedures for handling the Financials view in the Partners application. The procedures contain instructional steps for creating or editing financial data, for instance.
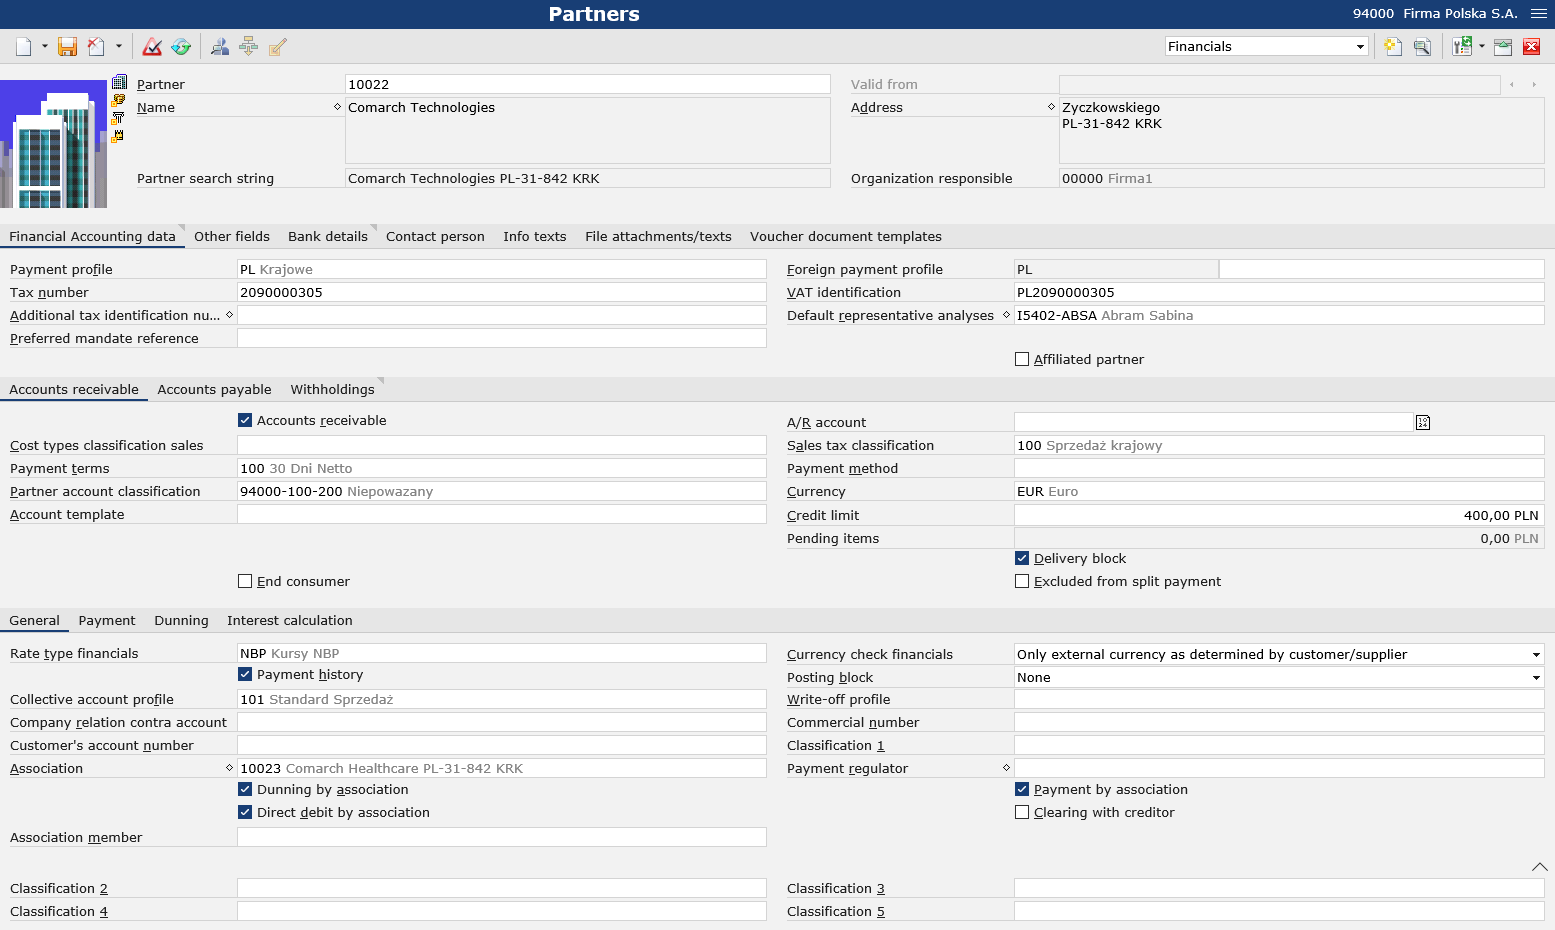
Detailed information on the Financials view of the Partners application may be found in the Partners, Financials view article. Besides other facilities, it describes fields and buttons available in the view.
Create new financial data
Preconditions
In a multi-site or single-site environment with activated content-based authorizations, the selected organization must be a firm. More information may be found in the appropriate help article. Only the users assigned to the organization responsible for the partner can generate new partner roles.
Instructions
- Open the Partners application
- Switch to the Financials view
- Open the partner for which you want to enter financial data
- If required, enter a sales tax ID and/or tax number on the Financial Accounting data tab
NoteThe Accounts receivable and Accounts payable tabs are fully editable if the partner has the Accounts receivable and/or Accounts payable parameter selected on the tabs. - Select the parameters Accounts receivable and/or Accounts payable, if necessary.
Change the currency in the Currency field, if required.
If the parameter Accounts receivable or Accounts payable has been selected, define payment terms, tax classification, financials rate type, and collective account profile.
Select an account template in the Account template field if the Financials function has been activated for the firm in the Customizing application. - The user can enter the partner’s bank details on the Bank details tab, if required
- Click the [Save] button in the standard toolbar
Create a new version of financial data
Preconditions
In order to generate a new version, it is important for the partner to have financial data.
Instructions
- Open the Partners application
- Switch to the Financials view
- Open the partner whose financial data is to be given a new version
- In a multi-site environment, select the organization for which the partner is being edited
- Click the [New version] button in the standard toolbar. The new version of the financial data will be generated.
- Enter a future date from which the financial data will be valid in the Valid from field
- Click the [Save] button in the standard toolbar. The new version of the financial data will be saved.
Delete financial data
Financial data is not deleted directly and must first be marked for deletion.
Only those versions of financial data that have their entire validity period in the future can be deleted directly, since they have not been used yet.
For this purpose, it is possible to use the Reorganize partners application, which verifies if partners marked for deletion have no assignments to different objects that may prevent deletion and subsequently deletes them.
Set a deletion flag for financial data
Preconditions
The financial data has not been marked for deletion yet.
Future versions of financial data cannot be marked for deletion, since they are deleted directly with the use of the [Delete] button.
Instructions
- Open the Partners application
- Switch to the Financials view
- Open the partner whose financial data is to be marked for deletion
- In a multi-site environment, select the organization for which the partner is being edited
- Click [Mark for deletion] in the standard toolbar. The financial data will be marked for deletion.
Remove a deletion flag for financial data
Preconditions
The financial data has been marked for deletion.
Instructions
- Open the Partners application
- Switch to the Financials view
- Open the financial data to be unmarked for deletion
- In a multi-site environment, select the organization for which the partner is being edited
- Click [Unmark for deletion] in the standard toolbar. The deletion tag will be removed from the financial data.
Delete a version of financial data
Preconditions
A financial data version exists that will be valid only in the future.
Instructions
- Open the Partners application
- Switch to the Financials view
- Open the partner whose future financial data is to be edited
- In a multi-site environment, select the organization for which the partner is being edited
- Using the [Next] and [Back] buttons, browse through the Valid from field and switch to a future version of the financial data to be deleted
- Click [Delete] in the standard toolbar. The selected version of the partner’s financial data will be deleted.
Bank details
The user can create, edit, and delete the partner’s bank details on the Bank details tab, if required.
Create bank details
- Click the [New] button in the standard toolbar of the table
- A new bank detail is created
- Select a bank and enter an account number or IBAN in appropriate fields
- Select the Active parameter to activate the entered number
- Click the [Save] button in the standard toolbar
Delete bank details
- Select a row with the bank details to be deleted
- Click the [Set deletion marker] button in the standard toolbar of the table
- Click the [Save] button in the standard toolbar
- The bank account number will be deleted