Comarch Mobile application may be installed after downloading the installation file from Comarch Mobile Management, available in the Download Application panel.

The panel is opened after selecting the [Get App] button in the main menu and it allows the user to select an appropriate Comarch Mobile version.
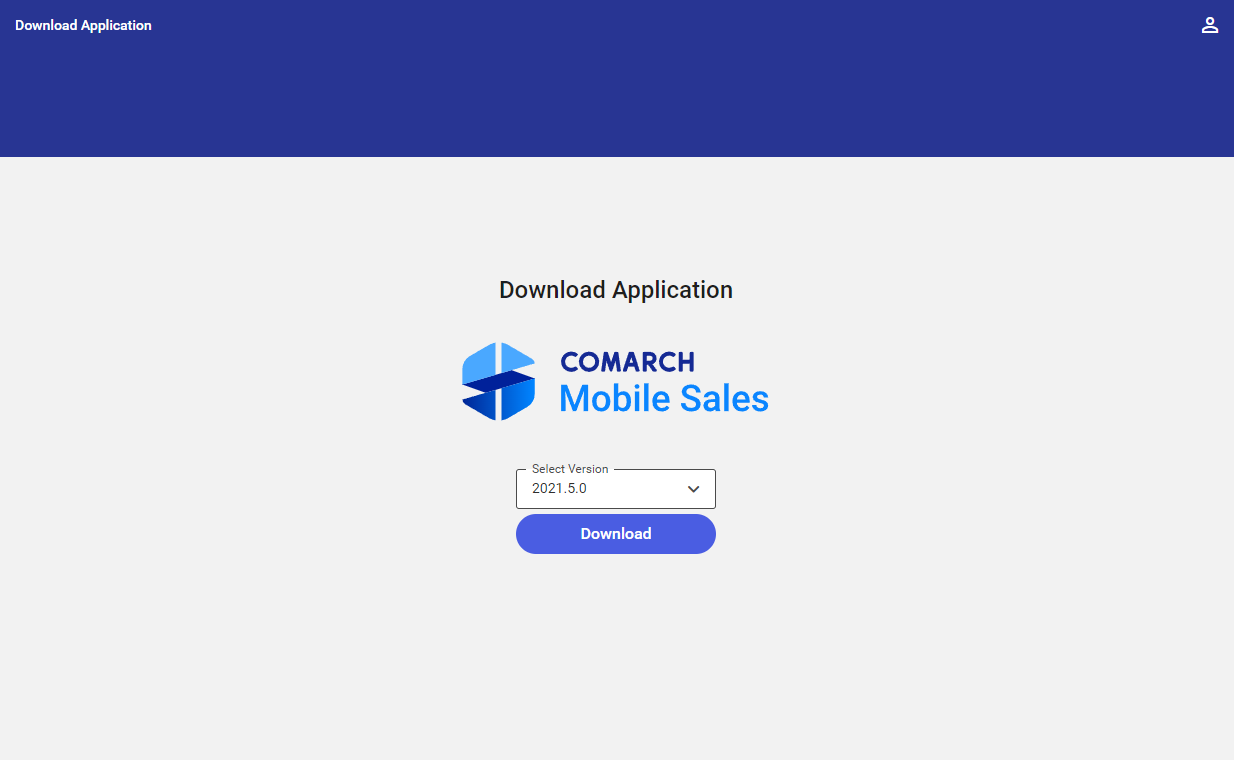
Once the user selects a version and clicks the [Download] button, the 3.Vendor.Core.apk file will start to be downloaded. Depending on the browser’s settings, the file will be saved in a default folder for downloaded files or the browser will display a window allowing the user to manually select a download path.


As the next step, it is necessary to transfer the 3.Vendor.Core.apk installation file to an Android mobile device.
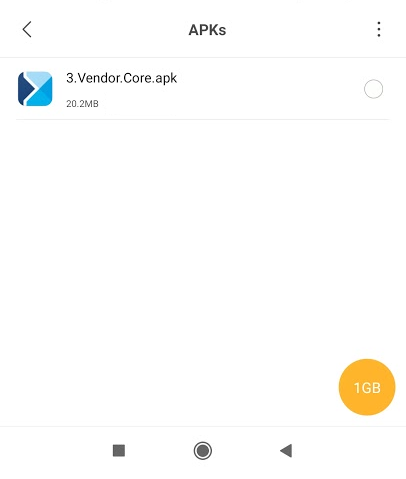
Once the installation file is transferred to the Android mobile device, it needs to be opened to display the installation window presented below, where it is necessary to select [Install].
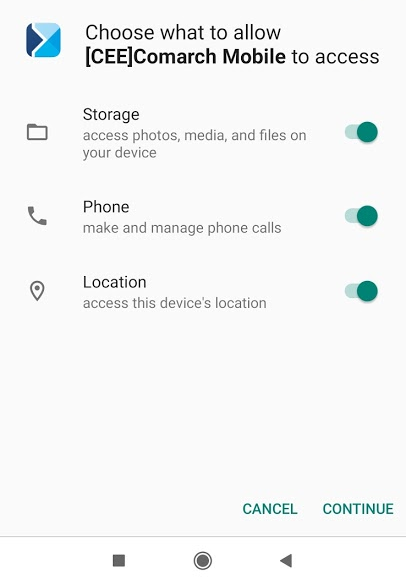
After selecting the option presented above, the application will be installed.
Next, it is necessary to open the application in order to run the first startup wizard.
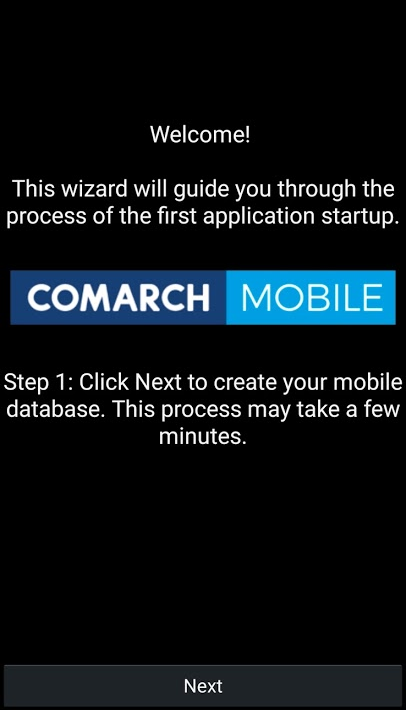
Selecting [Next] opens the application settings window, where it is necessary to fill in the fields in the HTTP Sync section, required for the purposes of synchronization and data transfer from CEE system to the mobile database.
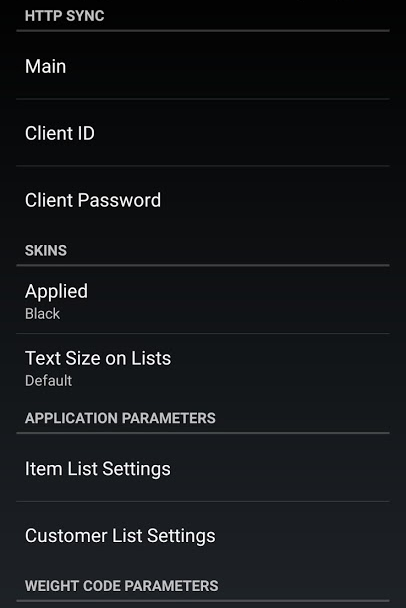
The user needs to fill in the following fields:
- Main – a server address
- Client ID – a tenant name
- Client Password – a tenant password
All the data should be provided by an appropriate administrator.
On the first startup, after completing the HTTP sync data, returning to the previous page displays the logon screen. Only after logging in will the user see the application tiles.
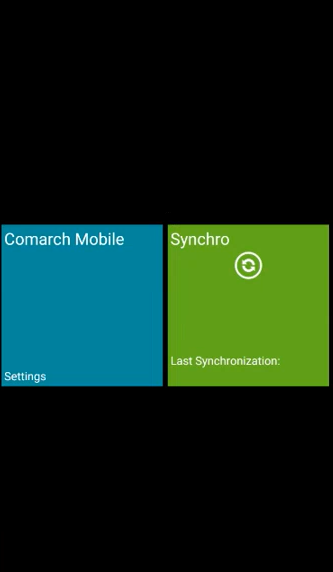
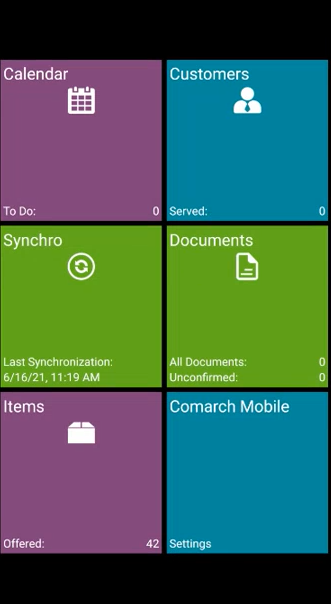
Selecting the [Synchronization] tile initiates the synchronization process.
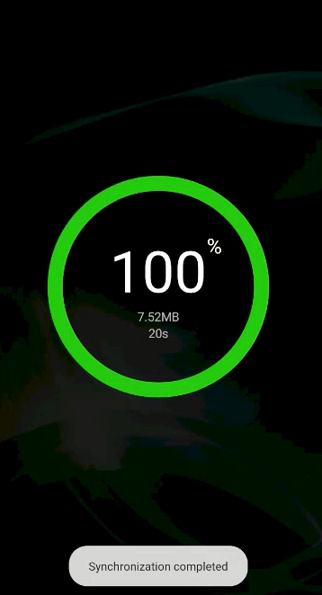
Once the synchronization is completed successfully, the view of the application should be as follows: