Contents
Adding a new profile
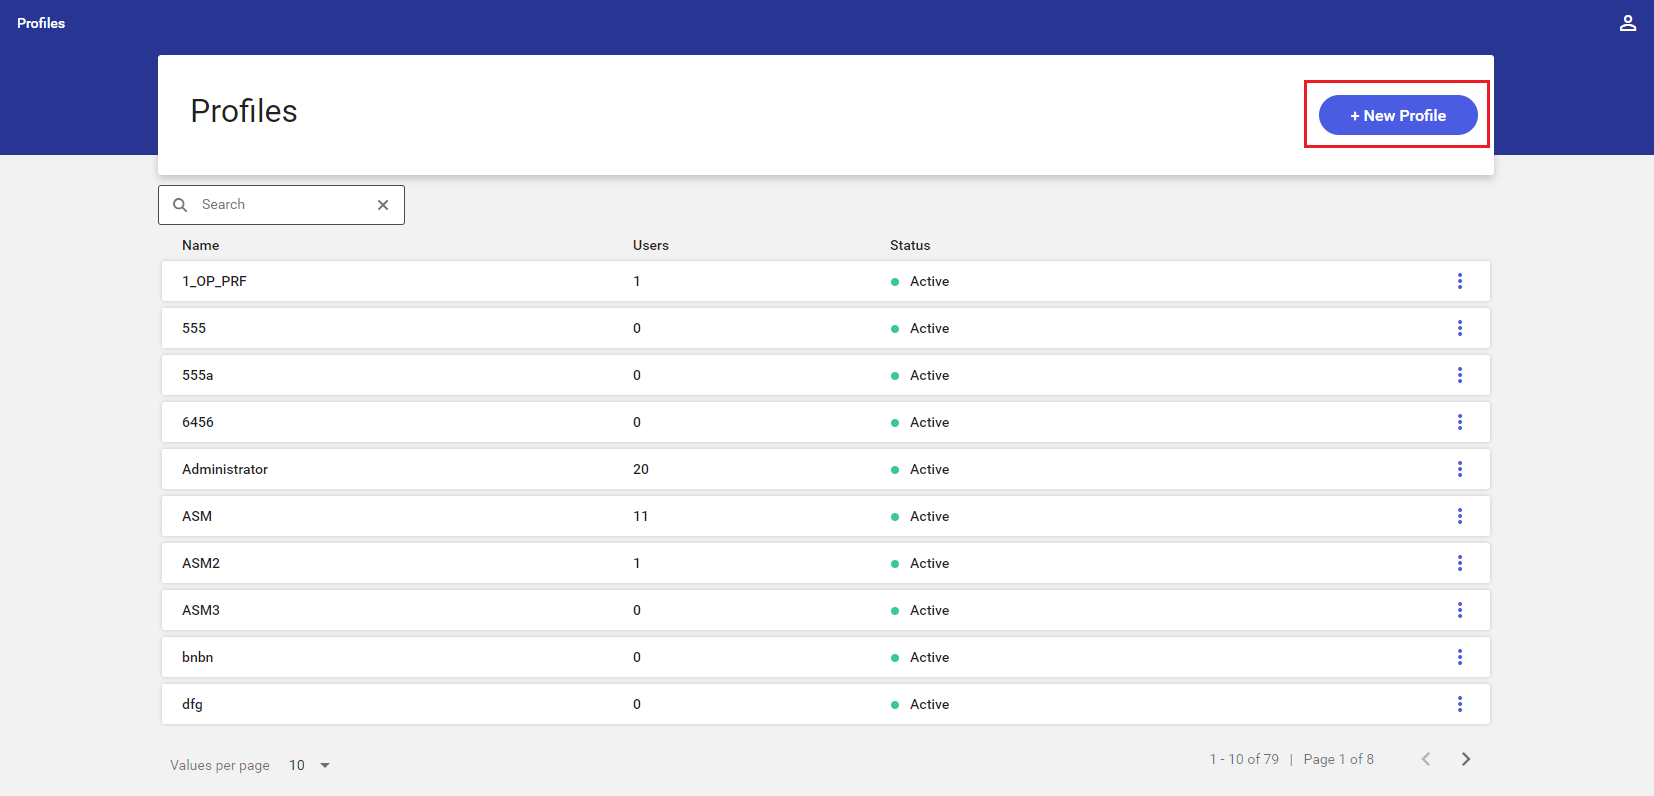
In order to add a new profile in Comarch Mobile Management, select [Configuration] → [Profiles] in the main menu. Next, in the window opened, select the [+ New Profile] button in the top right corner.
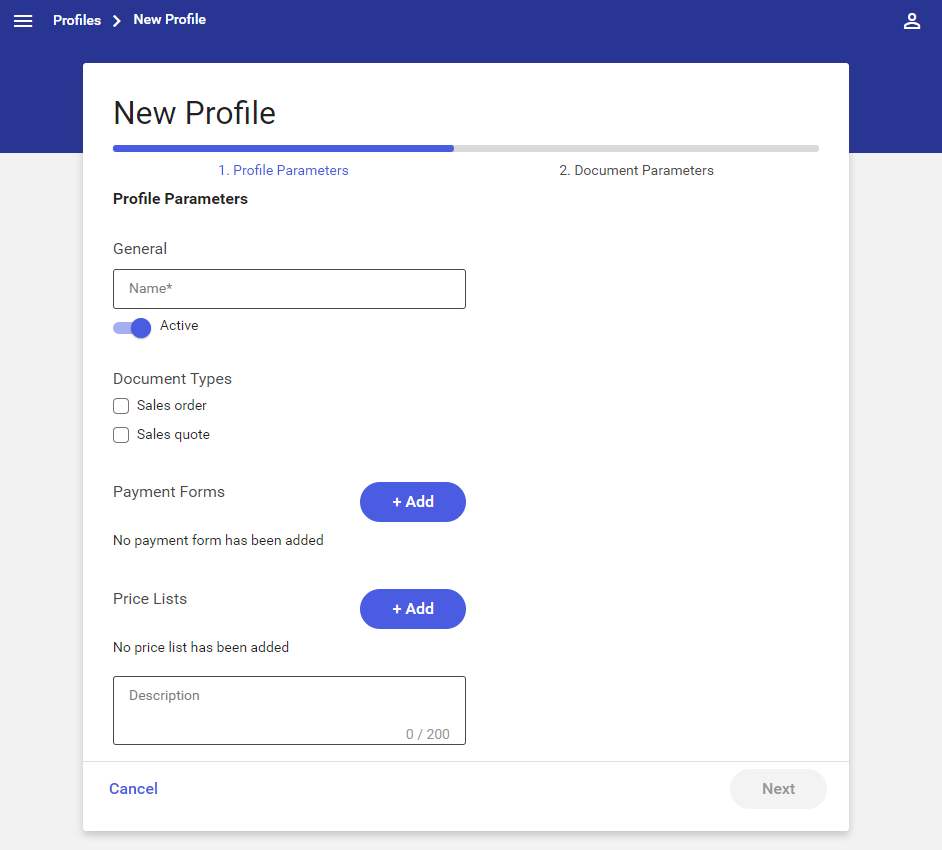
To define a new profile, it is necessary to adjust settings on two tabs: Profile Parameters and Document Parameters.
On the Profile Parameters tab, the user needs to specify basic data:
- Name (required) – a profile name
- Active – by switching the toggle, it is possible to indicate whether or not the new profile is to be active (by default, it is)
- Document Types – it makes it possible to define document types to be available for issuing in Comarch Mobile
- Payment Forms – it presents payment forms available in Comarch Mobile:
- Name – a payment form’s name
- Default – by switching the toggle, it is possible to indicate whether or not a given payment form is to be set as default
 – it allows the user to detach a given payment form
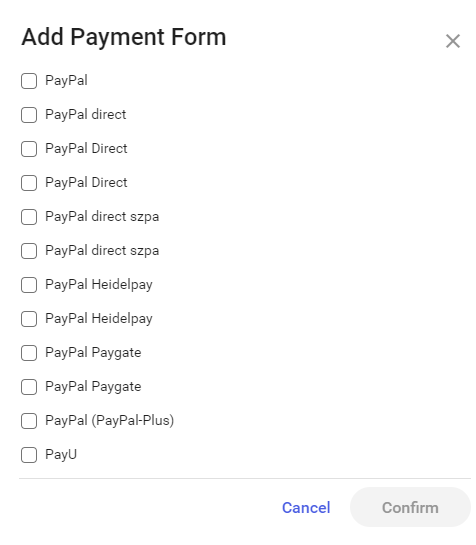
 – it opens a window with the list of payment forms which the user can add to the profile. It is a multiple selection list, sorted by name and narrowed down to payment forms which have not been added to the profile yet.
-
- Selecting a payment form and clicking [Confirm] in the Add Payment Form window adds selected payment forms. Only a single payment form may be set as default.
- Price Lists – it presents price lists available in Comarch Mobile:
- – it allows the user to detach a given price list
- – it opens a window with the list of price lists which the user can add to the profile. It is a multiple selection list, sorted by name and narrowed down to price lists which have not been added to the profile yet.
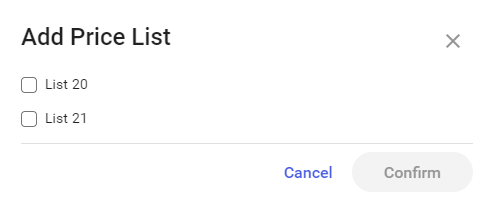
Selecting a price list and clicking [Confirm] in the Add Price List window adds selected price lists and their priorities set in CEE system.
- Description – a text field allowing the user to enter a profile description (maximum 200 characters)
The [Next] button will only be active after the user has filled in the required data: a profile name, payment forms (along with a default payment form), and a price list.
The Document Parameters tab presents document types selected on the Profile Parameters tab.
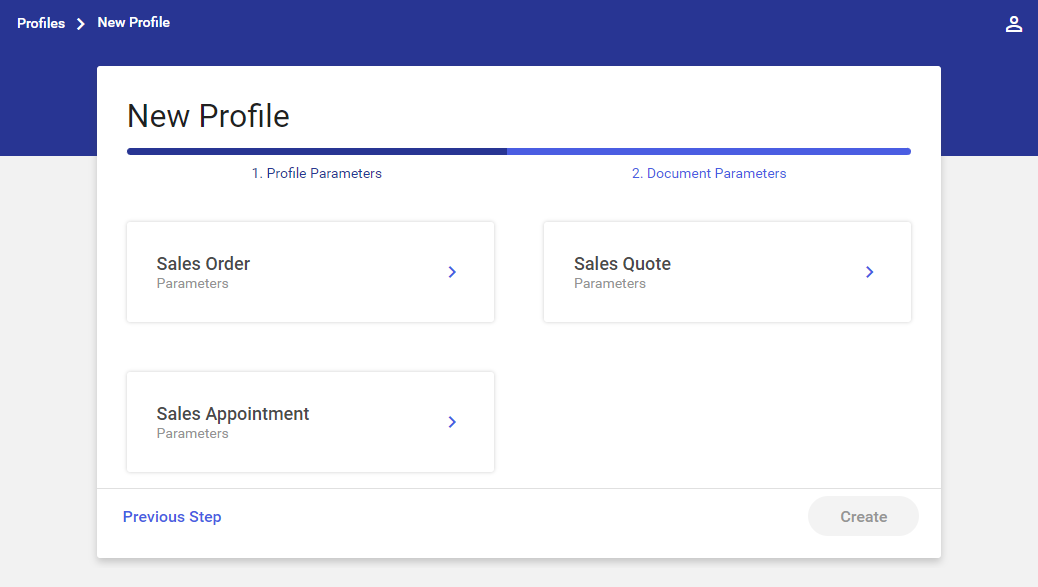
Currently, the following document types are available in the application:
- Sales order
- Sales quote
- Sales appointment
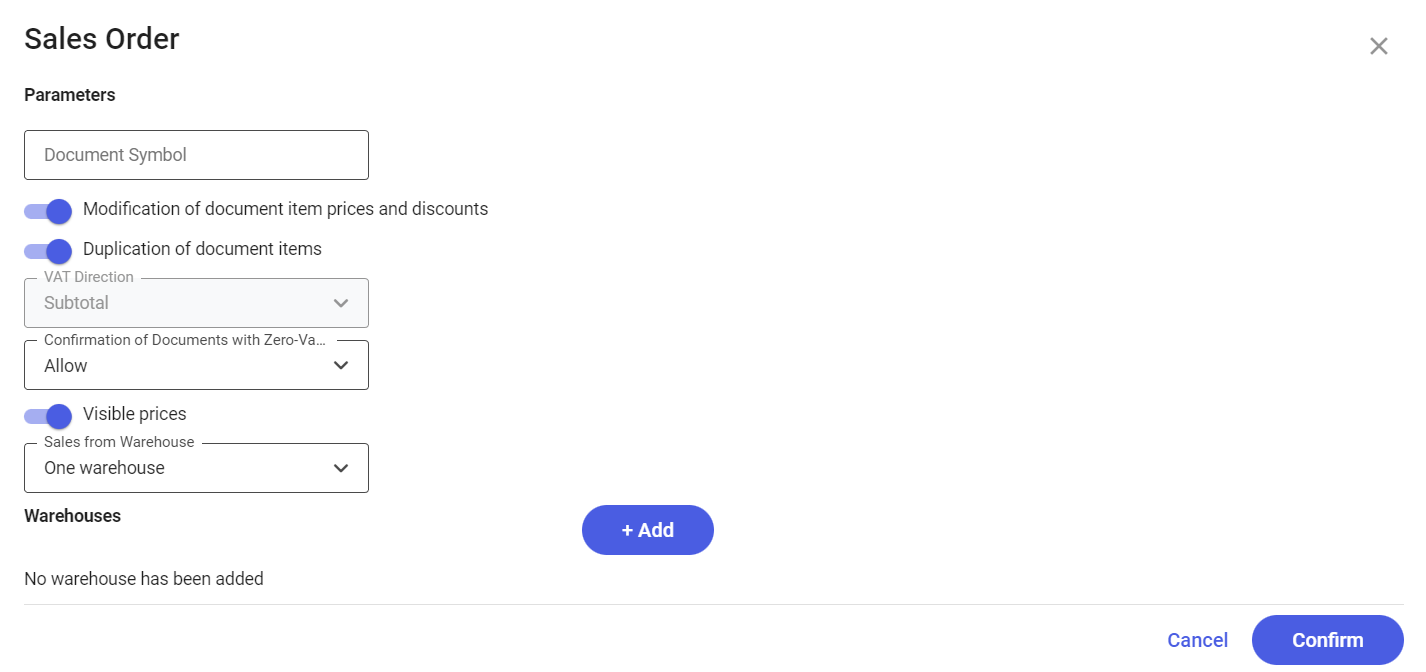
After selecting the [Sales Order] or [Sales Quote] tile on the Document Parameters tab, it is possible to specify basic data for particular document types:
- Document Symbol – it allows the user to enter a document symbol for a given profile, consisting of up to 5 characters. Within a single profile, one symbol cannot be used for a number of different documents.
- Modification of document item prices and discounts – it allows the user to modify prices and discounts related to document items
- Duplication of document items – it allows the user to duplicate document items. If the user once again scans or adds an item already added to the cart, a new document item will be added.
- VAT direction – a drop-down list with two options available: Subtotal and Total. With the use of this field, it is possible to specify whether a given document, along with its default prices, is to be calculated on subtotal or total. In the current version, the Subtotal option is selected, without the possibility to change it.
- Confirmation of documents with zero-value items – it allows the user to add zero-value document items to the cart
- Visible prices – deactivating this parameter results in:
- Hiding prices and discounts in the summary of a given document
- Hiding prices and discounts in the cart for a given document type
- Hiding header information on discounts and margins for a given document type
- Hiding values of previous transactions for a given document type
- Hiding values of unconfirmed documents on the list of documents of a given type
- Hiding values of documents displayed in the preview of an appointment element of the Document Registration type
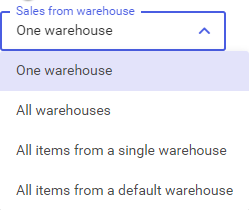
- Sales from warehouse – adjusting this parameter allows the representative to issue documents for a specific warehouse only or for all warehouses assigned to a given sales order document. The available options are presented in the figure below.
- Warehouses – it presents warehouses available in Comarch Mobile:
- Name – a warehouse’s name
- Default – by switching the toggle, it is possible to indicate whether or not a given warehouse is to be set as default
- – it allows the user to detach a given warehouse from the document definition
- – it opens a window with the list of warehouses which the user can add to the document definition. It is a multiple selection list, sorted by name and narrowed down to warehouses which have not been added to the document definition yet.
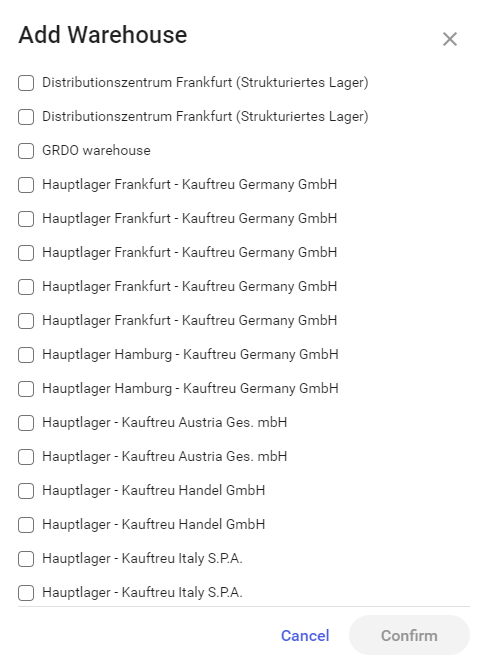
Selecting a warehouse and clicking [Confirm] in the Add Warehouse window adds selected warehouses. Only a single warehouse may be set as default.
After selecting the [Sales Appointment] tile on the Document Parameters tab, it is possible to adjust the parameter:
- Document Symbol – it enables the user to specify a document symbol used by a given profile, consisting of up to 5 characters. A profile can use the same symbol for one document type only.
On the other hand, selecting [Previous Step] reverses changes and returns the user to the previous tab – Profile Parameters.
Adding a new user
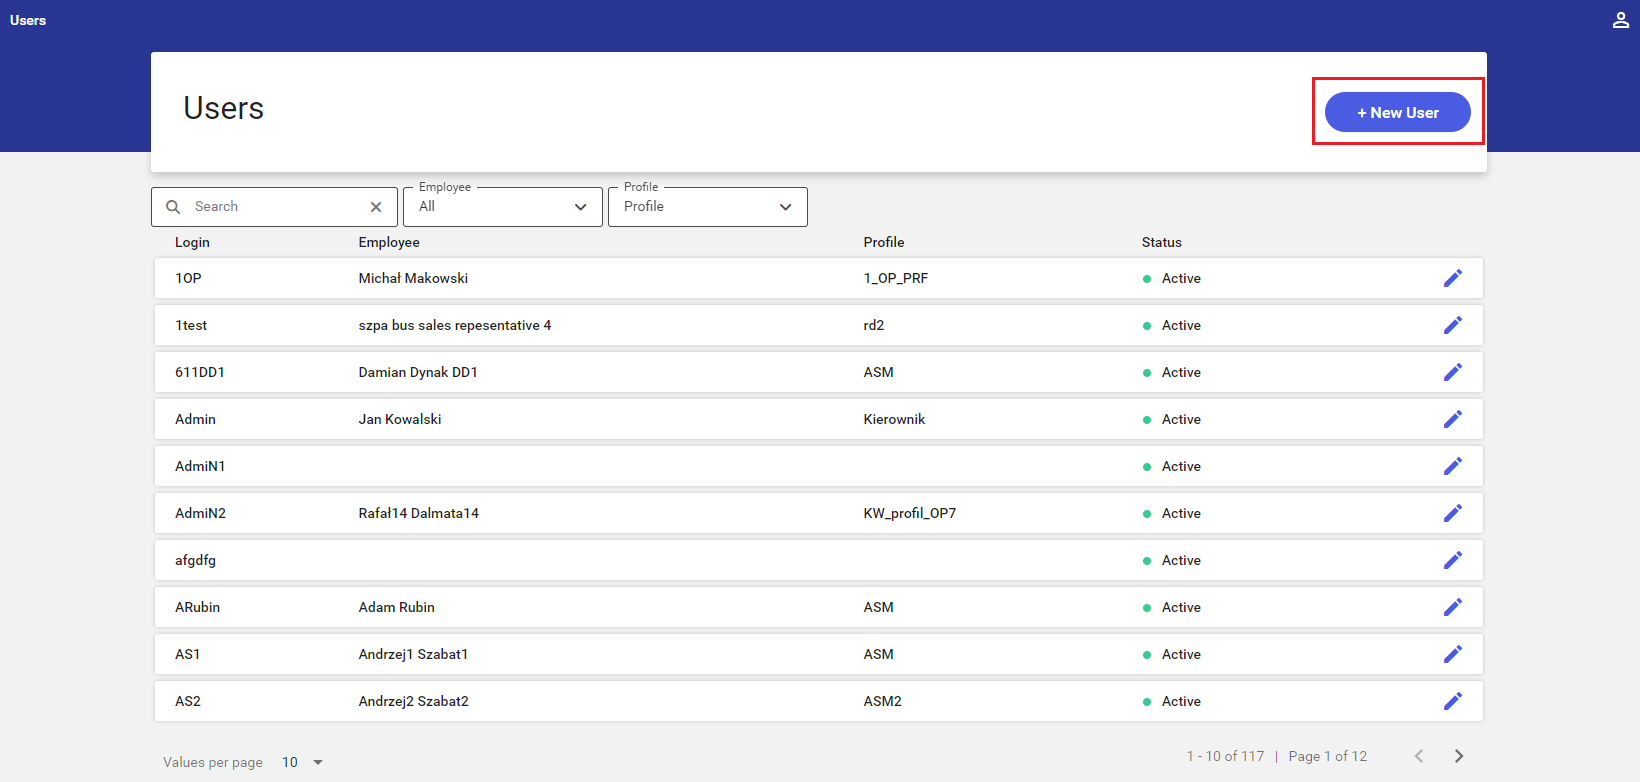
In order to add a new user in Comarch Mobile Management, select [Configuration] → [Users] in the main menu. Next, in the window opened, select the [+ New User] button in the top right corner.
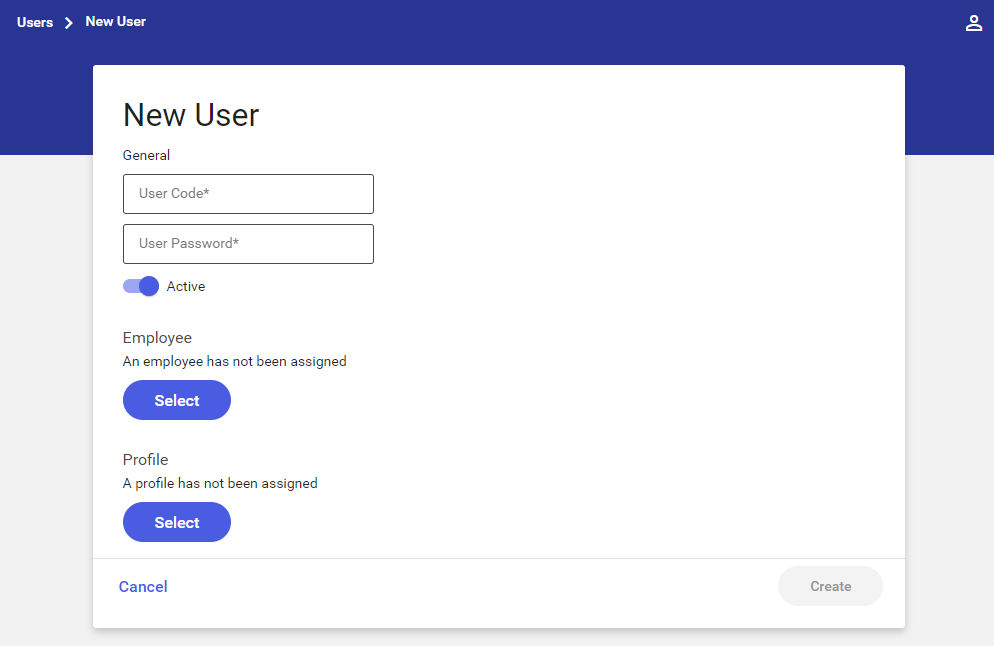
To add a user, it is necessary to fill in the required fields, entering a user code and password. The Active toggle in the window makes it possible to indicate whether or not the user is to be active. In order to properly configure the user for the mobile application, the user needs to be assigned an employee and a profile containing settings used in the application.
Clicking the [Select] option in the Employee section opens the Assign Employee to User window containing the list of employees.
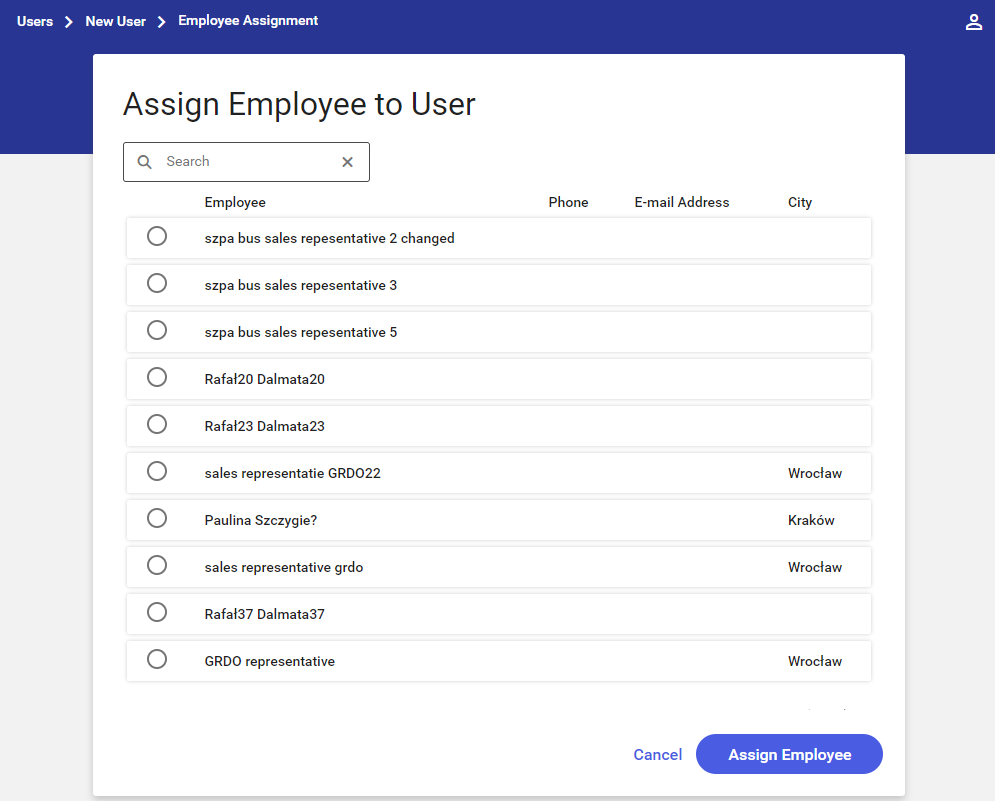
The window displays the following information:
- Employee – a full name or acronym
- Phone
- E-mail Address
- City
The employee list may be filtered out by entering a first name, last name, or city in the Search field.
Clicking the [Assign Employee] button confirms selection.
On the other hand, selecting [Cancel] reverses changes and returns the user to the previous window.
Clicking the [Select] option in the Profiles section opens the Select Profile window containing the list of available profiles (sorted alphabetically).
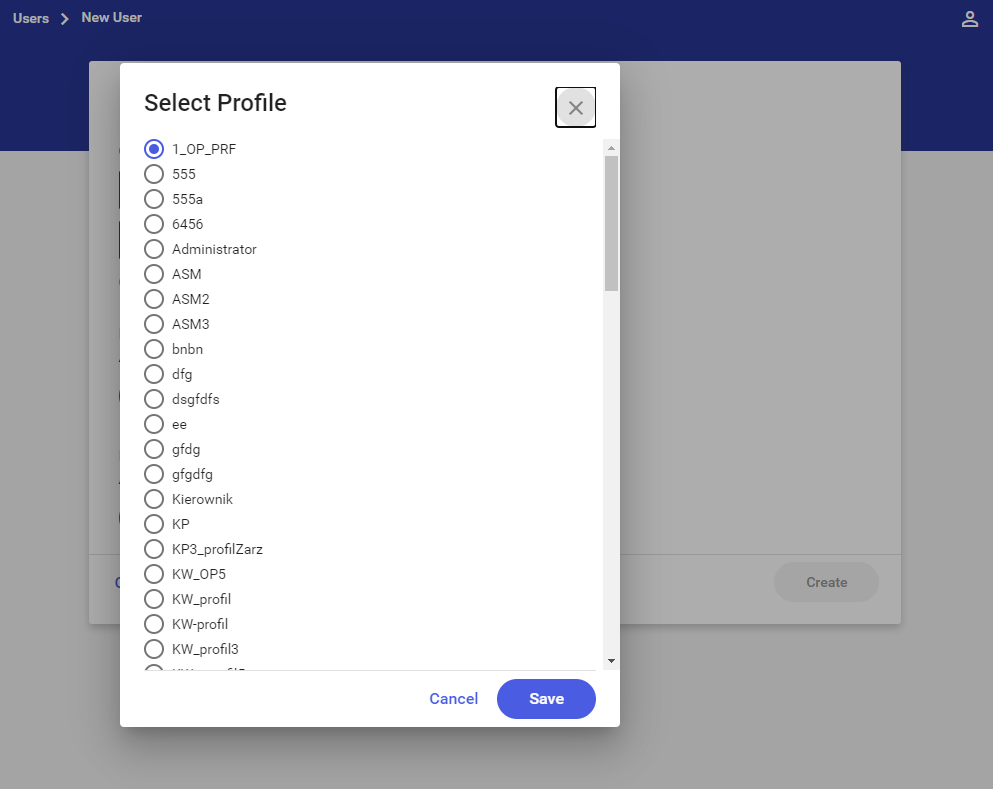
Clicking the [Save] button confirms selection.
On the other hand, selecting [Cancel] reverses changes and returns the user to the list of users.