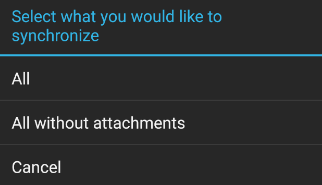
The sales representative can initiate the synchronization process with the ERP system on the main screen of the application. To do so, it is necessary to select the [Synchro] tile and choose one of the available options:

- All – it retrieves current data from the system and sends all data added on the device
- All without attachments – it retrieves current data from the system except for attachments and sends all data added on the device
- Cancel – it cancels the action and returns to the main menu

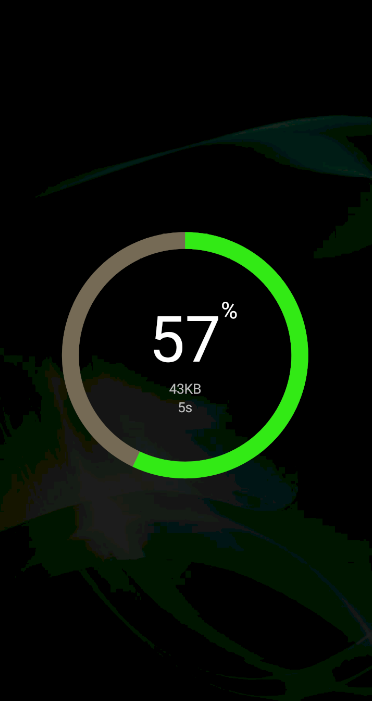
Synchronization takes place in multiple stages, as indicated by corresponding synchronization progress bars displayed after the user selects the synchronization percentage mark.

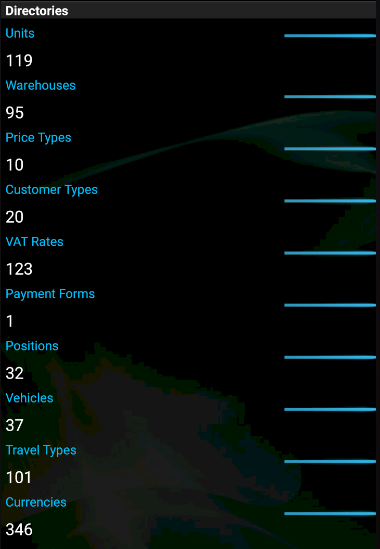
The following objects are synchronized within respective sections:
- Directories:
- Units
- Warehouses
- Price Types
- Customer Types
- VAT Rates
- Payment Forms
- Positions
- Vehicles
- Travel Types
- Currencies
- Types of Prices and Discounts
- Global Price Configuration
- Items:
- Forms
- Units
- Prices
- Resources
- Groups
- Groups Links
- Customers:
- Contacts
- Customers
- Contact Persons
- Uploading Customers and Vendors
- Uploading Customers Relationships
- Appointments:
- Appointment Types
- Appointment Templates
- Appointments
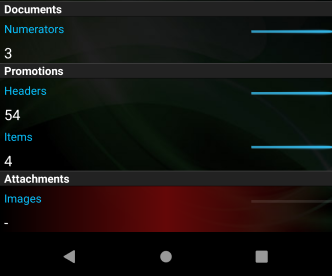
- Documents:
- Numerators
- Promotions:
- Headers
- Items
- Additional Information:
- Attributes Definitions
- Attributes Values
- Attachments:
- Images
Once the synchronization process is completed, select the [Back] button of the device to return to the main application screen.
The application verifies the correctness of the synchronization of individual objects. If any of the objects is not synchronized correctly, it will be highlighted in red.

In case of incorrect first synchronization, only two tiles will be visible in the application ([Settings] and [Synchro]). The remaining tiles appear after the successful completion of the first synchronization.
