To define a new appointment template or edit an existing one, select the [Appointment Templates] button in the main menu.
Appointment templates are patterns according to which meetings with customers are arranged. Templates make it possible to define exact appointment elements which are to be completed by the sales representative, e.g. conducting a questionnaire, issuing a document, or adding information on a travel.
The list of appointment templates contains the following columns:
- Template Name
- Elements – it displays the names of elements assigned to a given template, presented in the order of their assignment
- Status – it indicates whether a given template is active:
- If a template is active, the application displays the status

- If a template is inactive, the application displays the status

- If a template is active, the application displays the status
On the right-hand side of each appointment row, there is a context menu containing the following options:
- Edit – it allows the user to edit an appointment template
- Copy – it allows the user to copy an appointment template
- Delete – it allows the user to delete an appointment template. The option is only available if no employee is assigned to a given template.
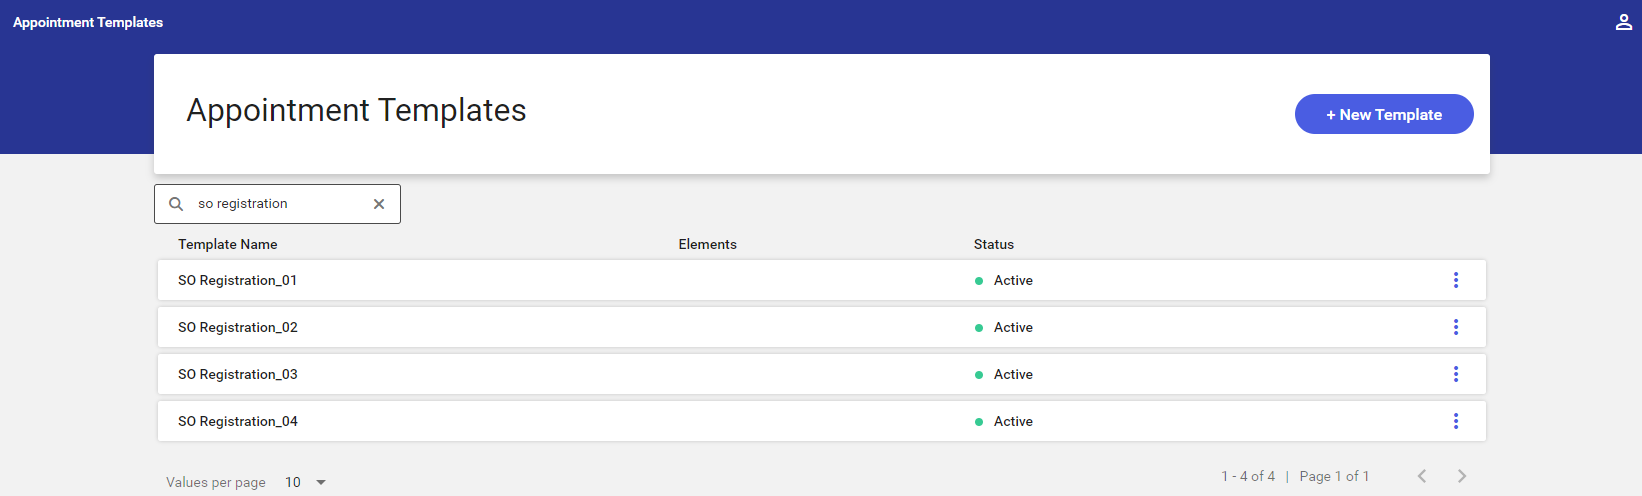
The list of templates may be filtered out by entering a template name in the Search Templates field.
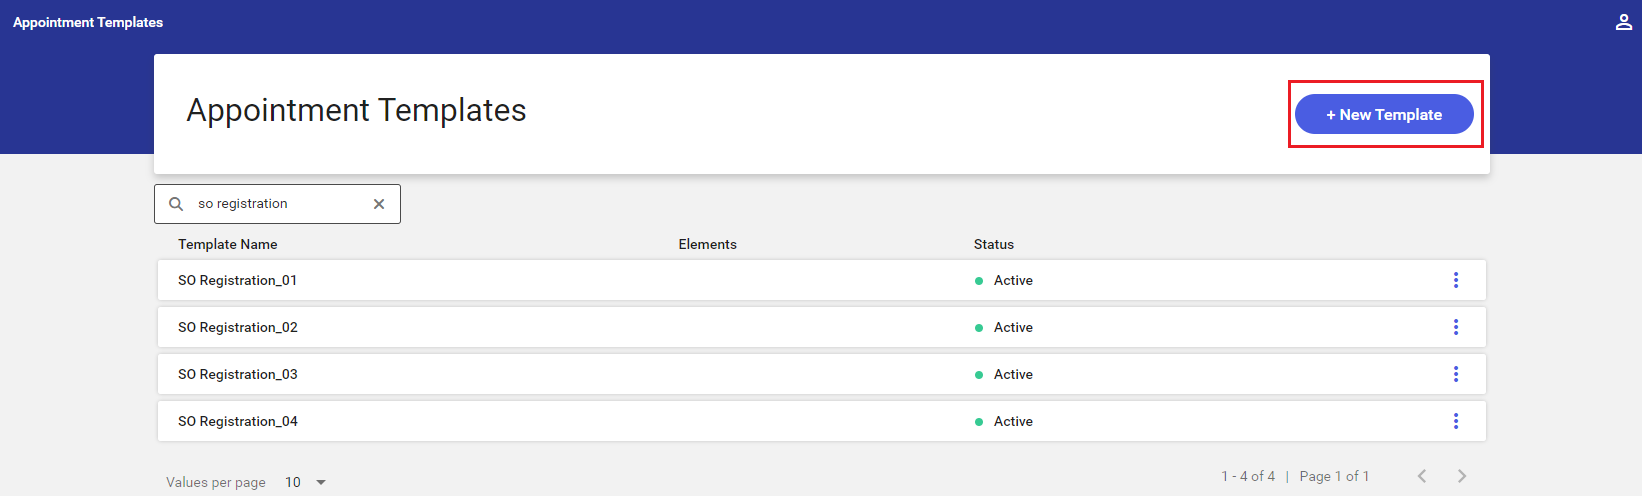
Adding a new template
The [+ New Template] button in the top right corner of the application makes it possible to add a new appointment template.
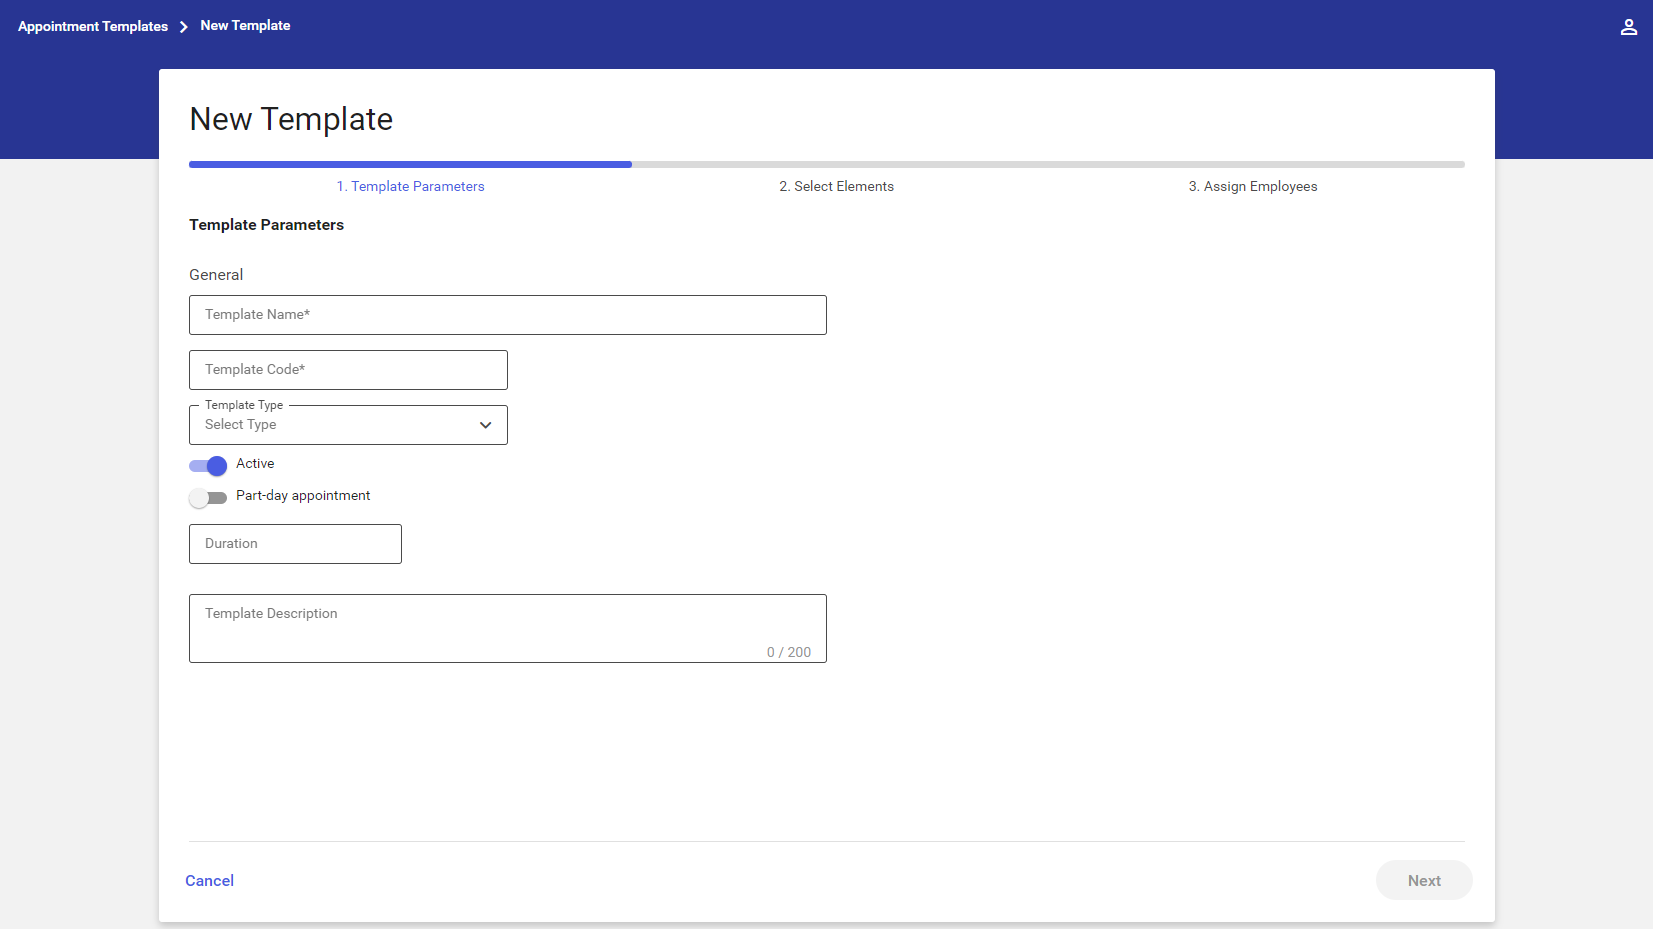
The process of defining a new appointment template consists of three steps:
1. Template Parameters
2. Select Items
3. Assign Employees
Template Parameters
In the first step, the user may set basic parameters for an appointment template:
- Template Name (required)
- Template Code (required)
- Template Type – it contains a drop-down list with available values
- Active – a toggle switch specifying whether or not a given element is to be active
- Part-day appointment – in the case of part-day appointments, it is additionally possible to determine appointment duration in a separate screen opened after selecting the Duration Switching to a full-day appointment enables the user to make an appointment without specifying its duration.
- Template Description – additional information on an appointment template
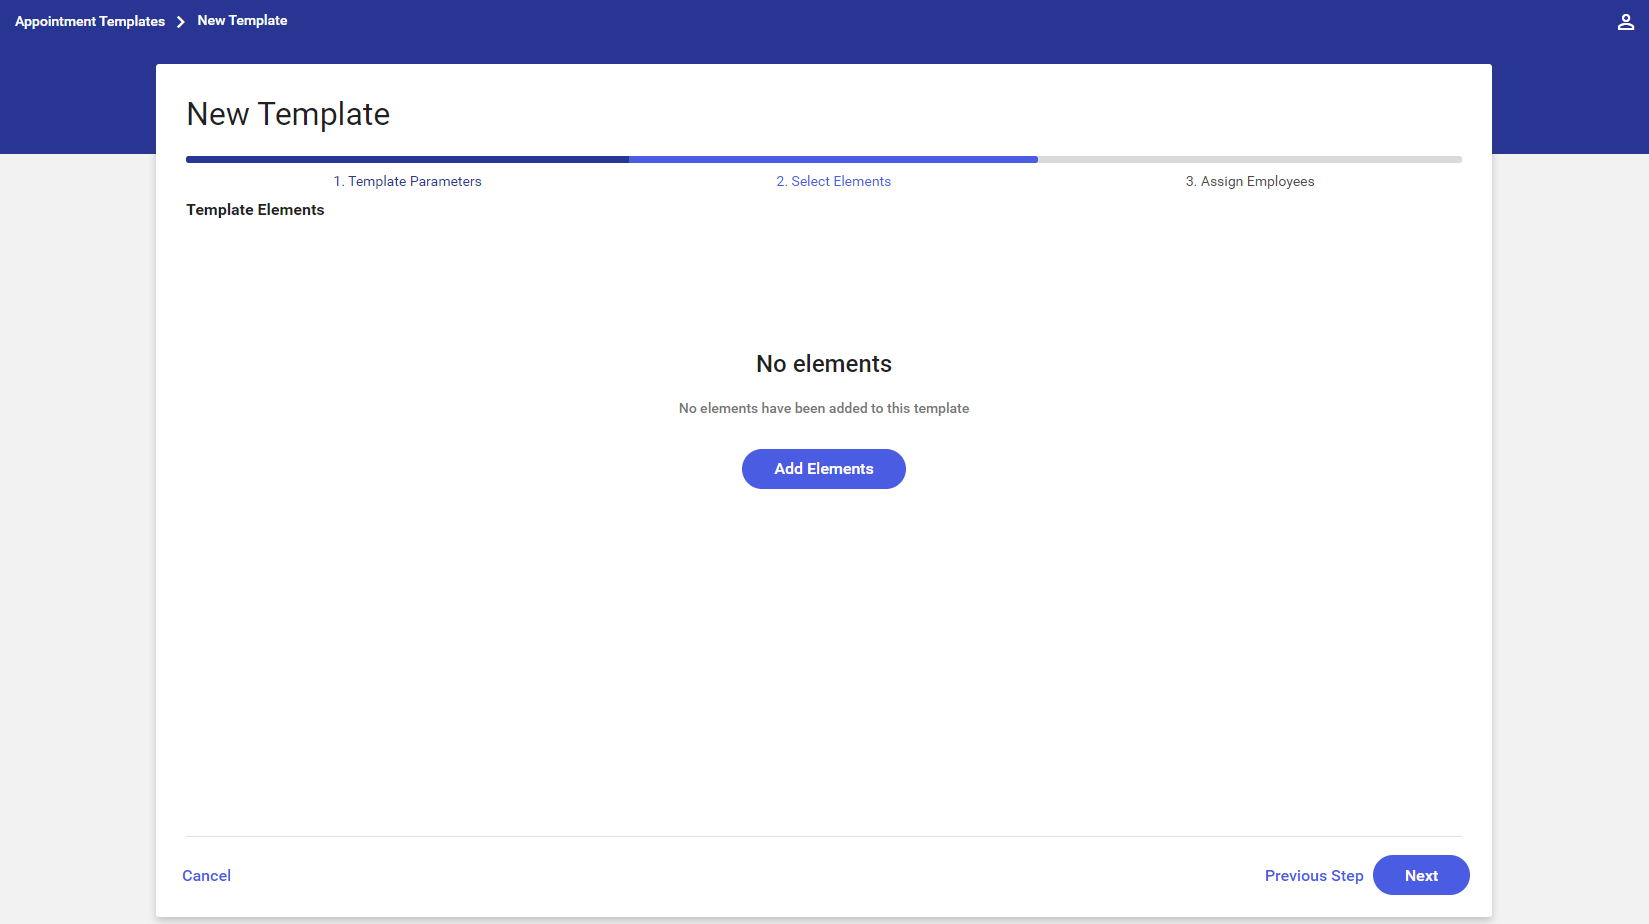
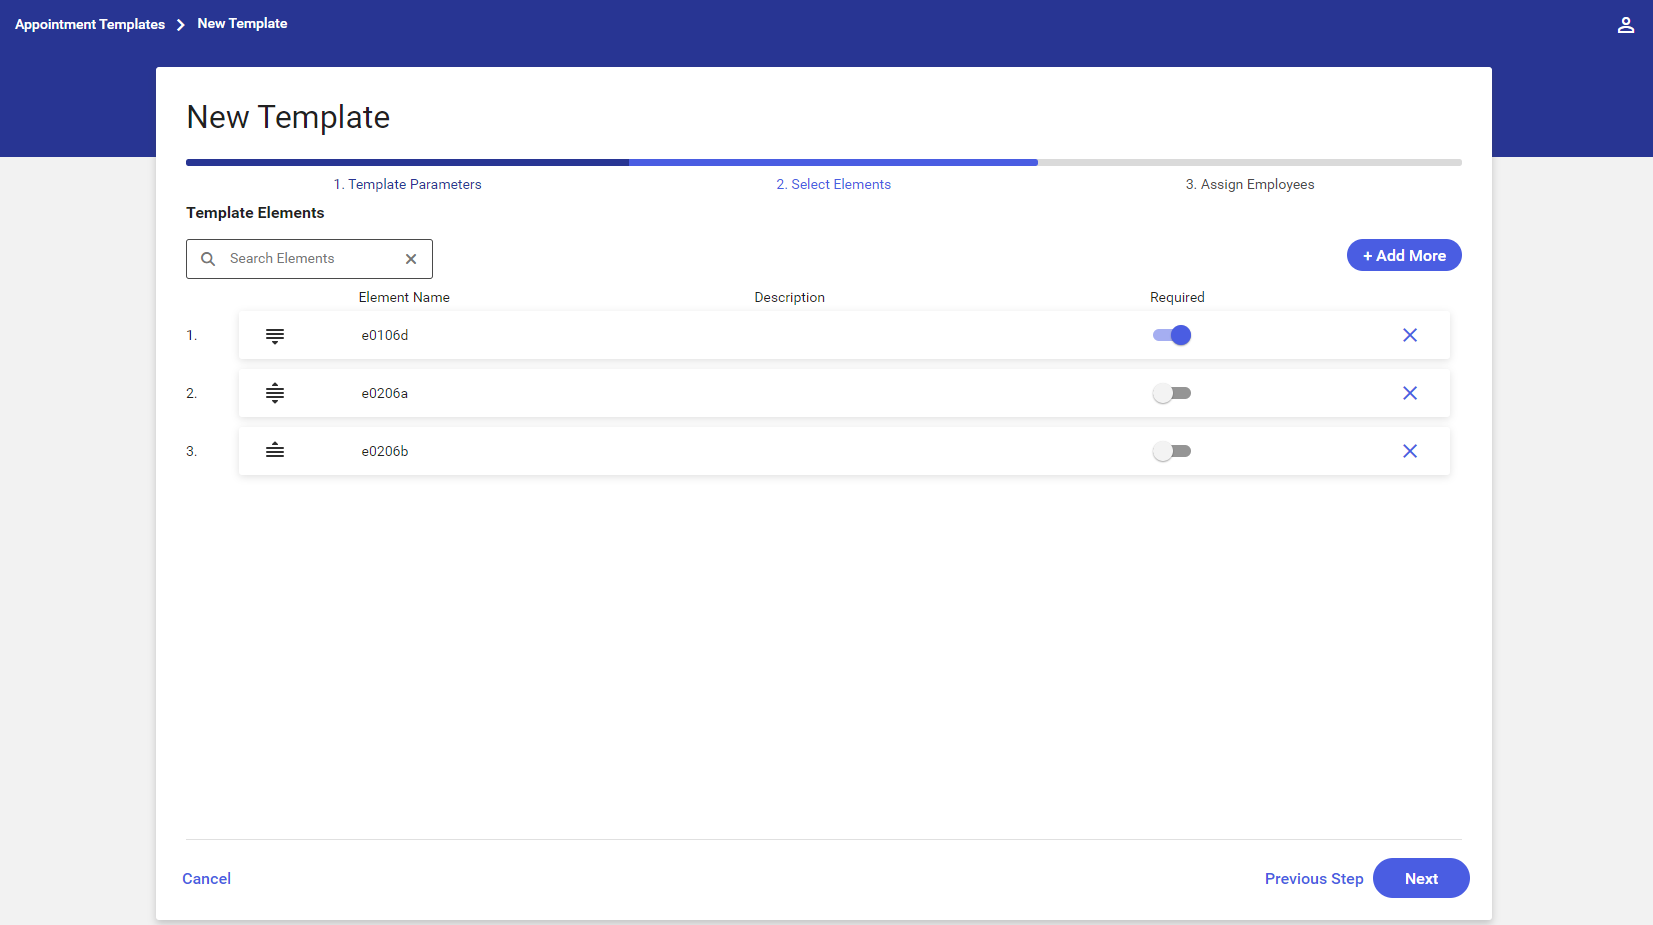
Select Elements
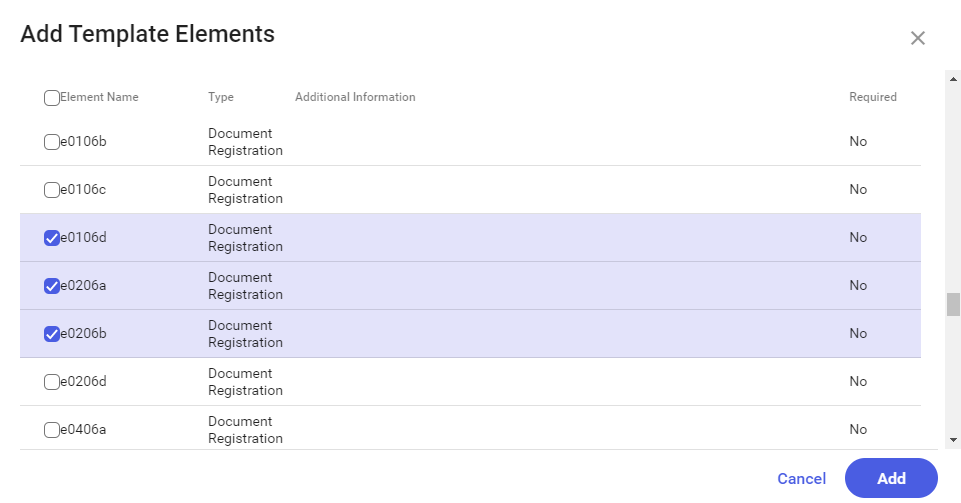
In the second step, it is possible to assign appointment template elements which are to be completed during a given appointment. In order to add an element to a template, select the [+ Add Elements] button.
The Add Template Elements screen contains the Search Elements filter making it possible to search elements by name. Additionally, the screen contains the following information:
- Element Name
- Type – information on an element type. Currently, the following element types are available in the application: Document Registration, Travel, and Other
- Additional Information – it presents a description from a template element
- Required – it indicates whether a given element is required
The user may select multiple elements from the list. After selecting the checkbox next to a given element, it is necessary to click the [Add] button to add the element to a template.
If template elements have already been assigned to an appointment template, the application presents them with the Required status shown; also, the [+ Add More] button is displayed. In order to delete an assigned appointment template element, the user needs to select the ![]() button on the right-hand side of a row with that element.
button on the right-hand side of a row with that element.
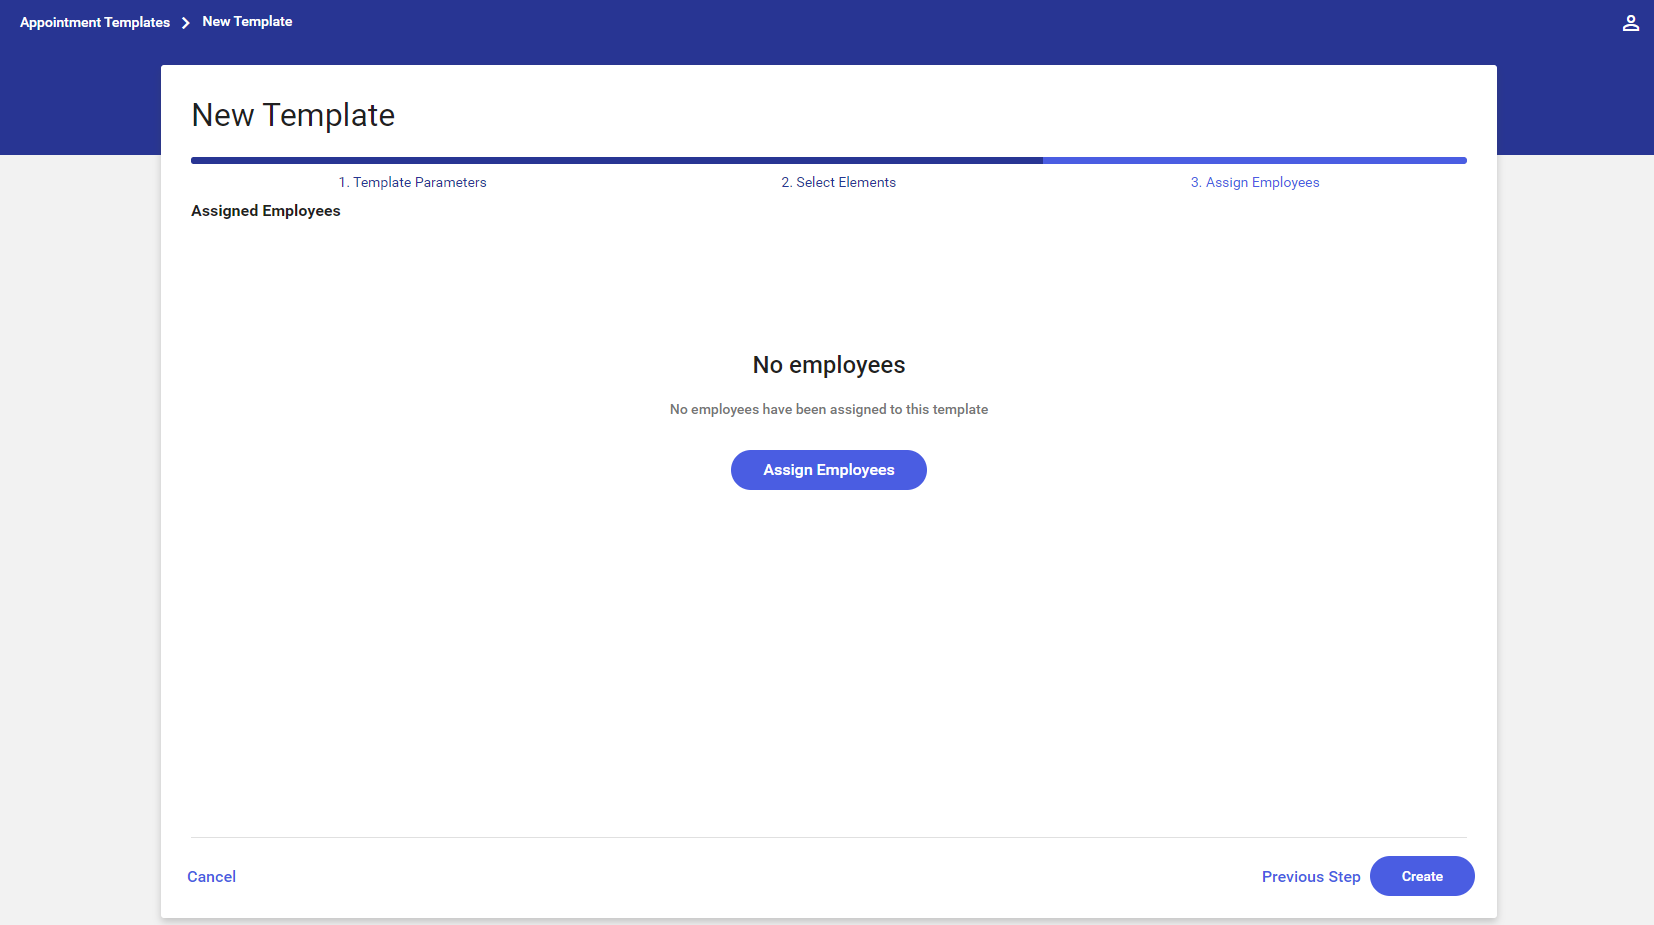
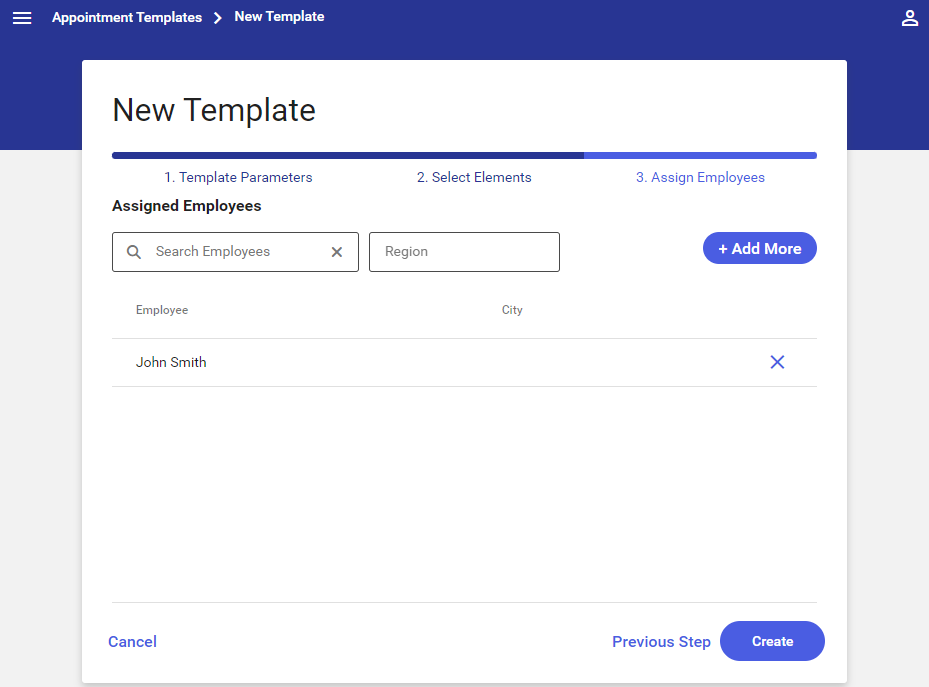
Assign Employees
In the last step, it is possible to assign employees who should have access to an appointment template. In order to do so, select the [Assign Employees] button. If employees have already been assigned to a template, the application presents their list; additionally, the [+ Add More] button is displayed. Only employees added to a template will be able to schedule an appointment based on that template.
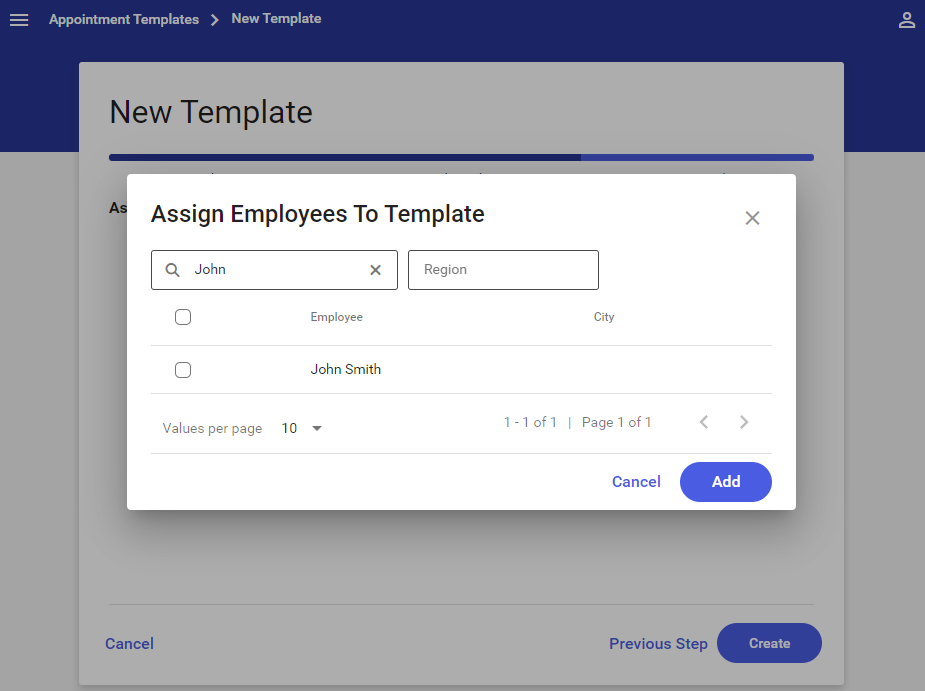
The list of employees contains the following details:
- Employee – an employee’s full name; if it has not been defined, the field displays an employee’s acronym
- City – a city defined on the form of a given employee
The list of employees may be filtered out by entering an employee’s first name, last name, or city in the filter Search Employees.
Additionally, it is possible to use the Region filter, which enables the user to search for an employee assigned to a given region. The list of regions is displayed as a tree structure sorted alphabetically. The list can be narrowed down to a specific region by entering its name in the Search field; a region can also be selected from the displayed list of regions and subregions.
In order to remove an employee from an appointment template, the user needs to select the ![]() button on the right-hand side of a row with that employee.
button on the right-hand side of a row with that employee.
Editing a template
Selecting the [Edit] button in the context menu enables the user to edit a created template. The process of editing a template is similar as in the case of adding a new template.
Copying a template
Selecting the [Copy] button in the context menu opens a screen enabling the user to add a new template, with all parameters filled in automatically on the basis of the original template, except for the new template’s name and code.
Deleting a template
Selecting the [Delete] button in the context menu enables the user to delete a template. The option is only available if a given template has not been shared with any user.