Contents
The Regions screen, accessible from the main menu, enables the user to manage customer regions. The screen makes it possible to preview regions assigned to an employee, as well as attach, detach, and edit region supervisors.
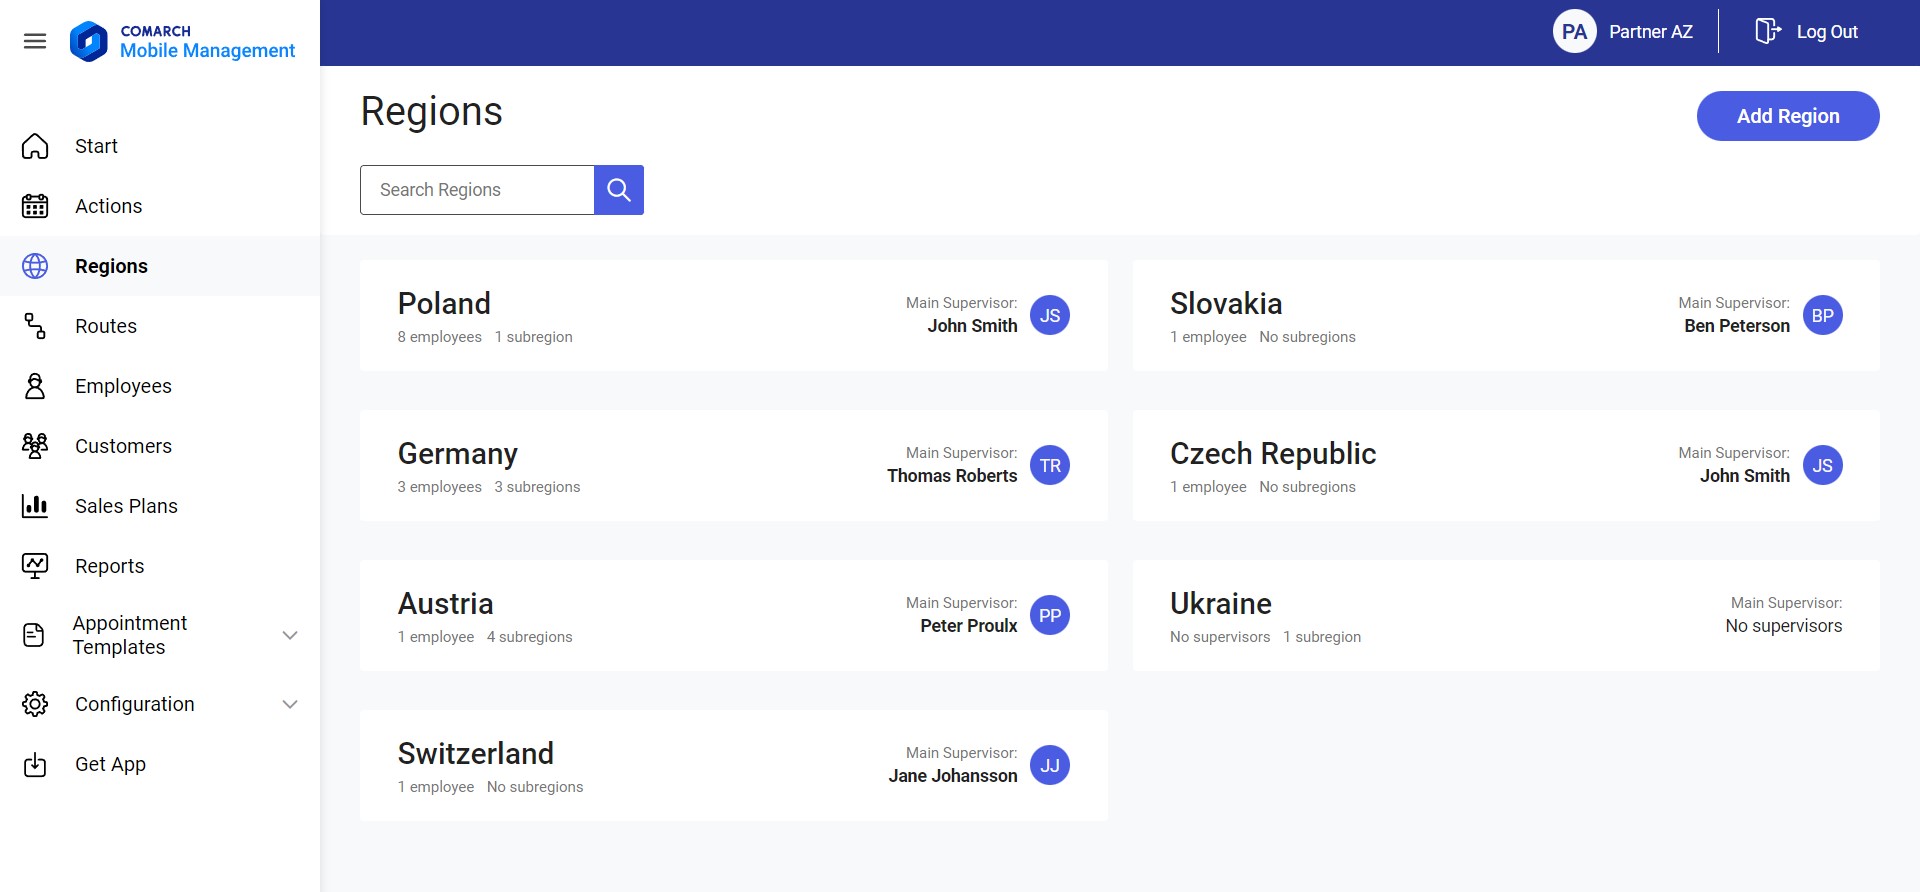
The Search Regions filter available on the list of regions allows the user to filter regions by name or according to the main supervisor’s first or last name.
The following information is presented for each region:
- Region name
- Number of currently active region supervisors. It takes into account main supervisors as well as temporary ones.
- Number of subregions within a given region
- Information on the main supervisor: the employee’s full name or acronym if the full name has not been defined
If there are no supervisors for a given region, the tile of that region displays the notification “No supervisors”, this way informing the manager that it is necessary to assign one.
If there are no subregions within a given region, the tile of that region displays the notification “No subregions.”
Region details
In order to display the details of a given region, select that region’s tile.
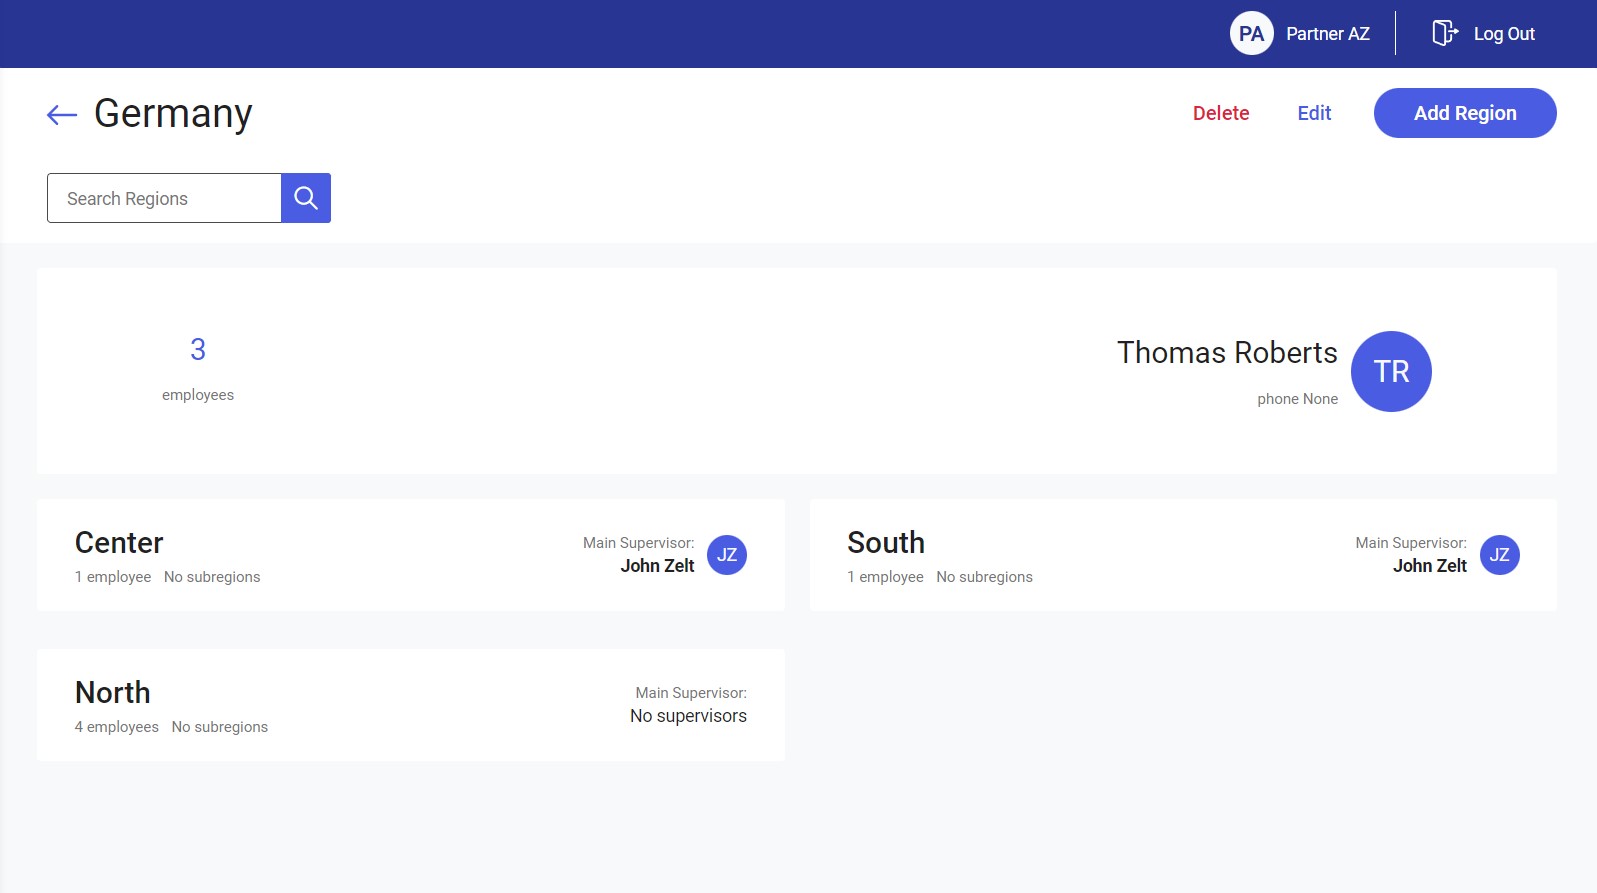
The region screen presents the following information:
- Region name
- Number of currently active region supervisors. It takes into account main supervisors as well as temporary ones.
- Information on the main supervisor: the employee’s full name or acronym and mobile phone number
Additionally, the screen contains the Search Regions filter (a text field) allowing the user to filter regions by name or according to the main supervisor’s first or last name.
If a region has subregions defined, the list of subregions presents the same data for subregions as in the case of the main region list.
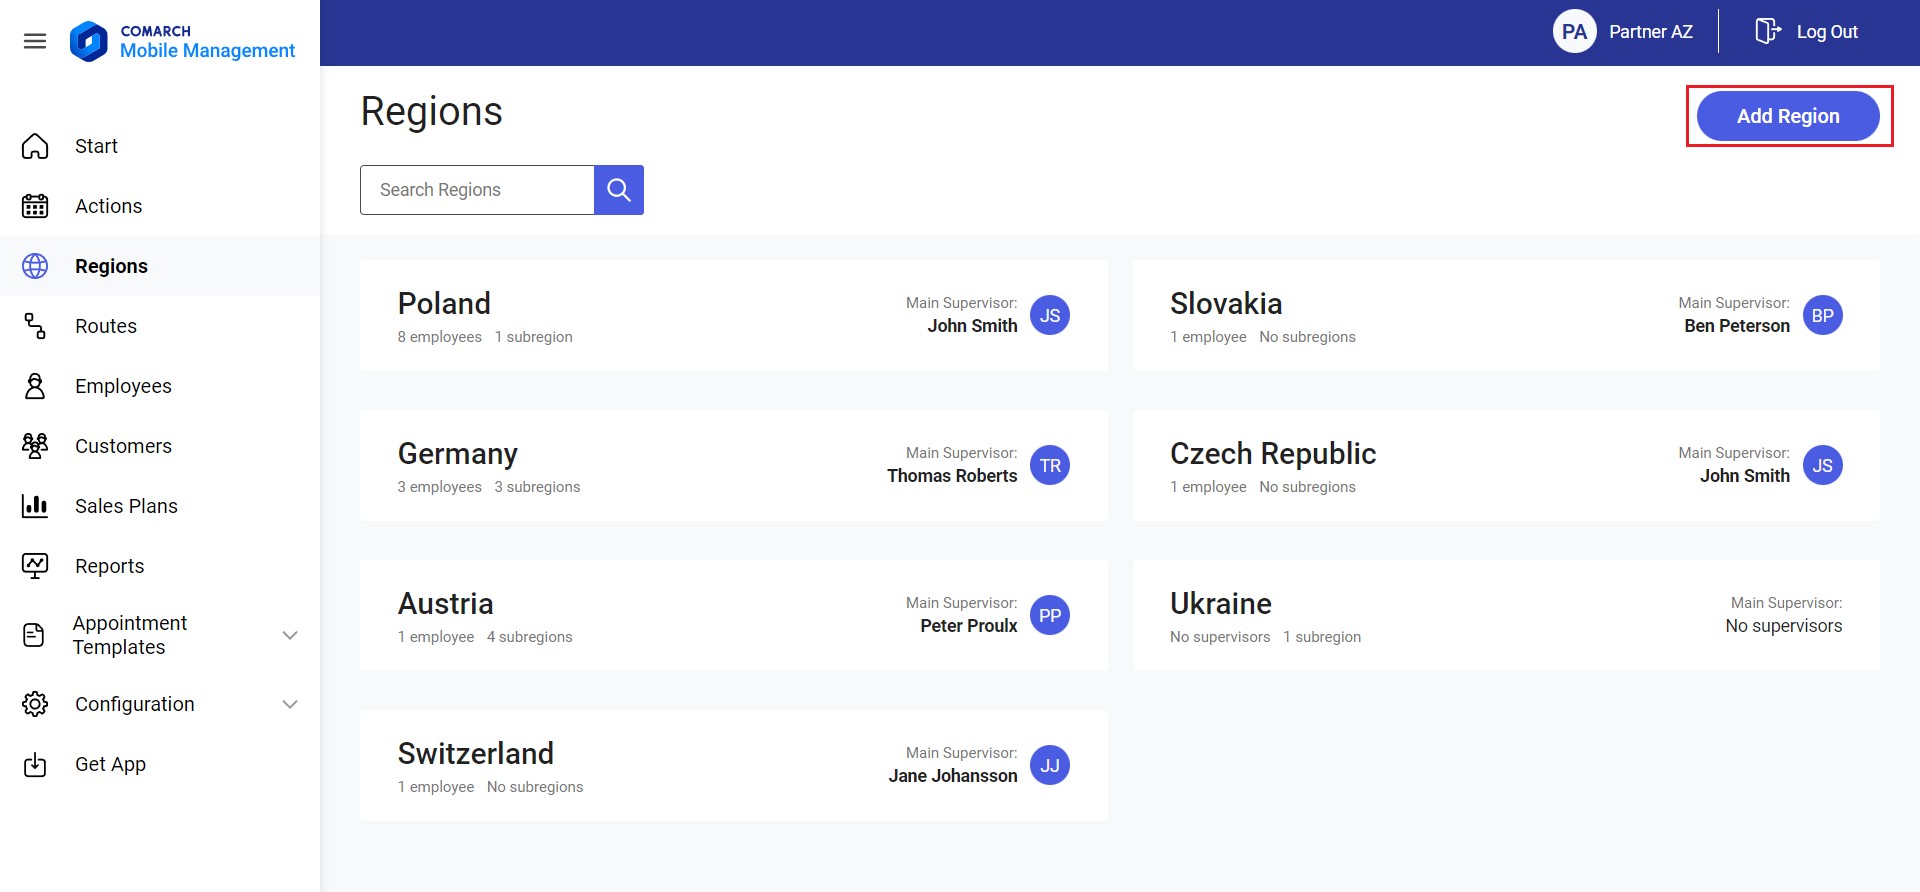
Adding a new region
The [Add Region] button in the top right corner of the application makes it possible to add a new region.
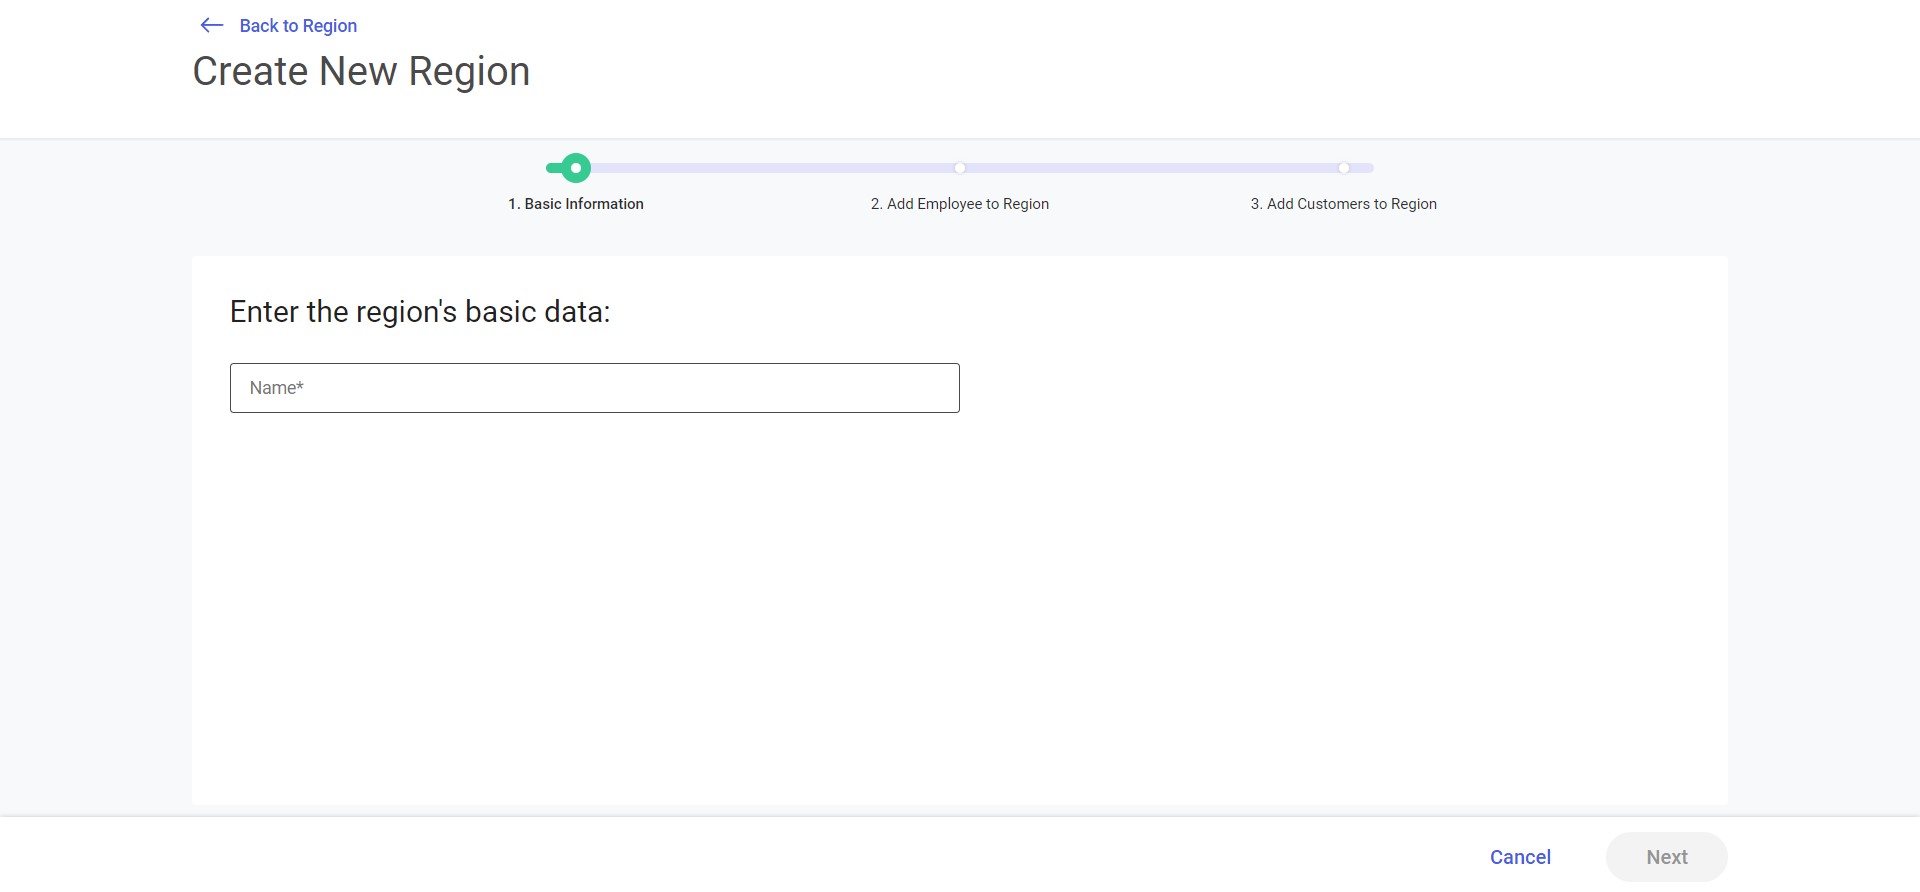
The process of defining a new region consists of three steps:
1. Basic Information
2. Add Employee to Region
3. Add Customers to Region
Basic Information
In the first step, it is necessary to fill in the required field Name.
Add Employee to Region
In the first step, the user can add/assign new supervisors to a region with the option [Add Employees].
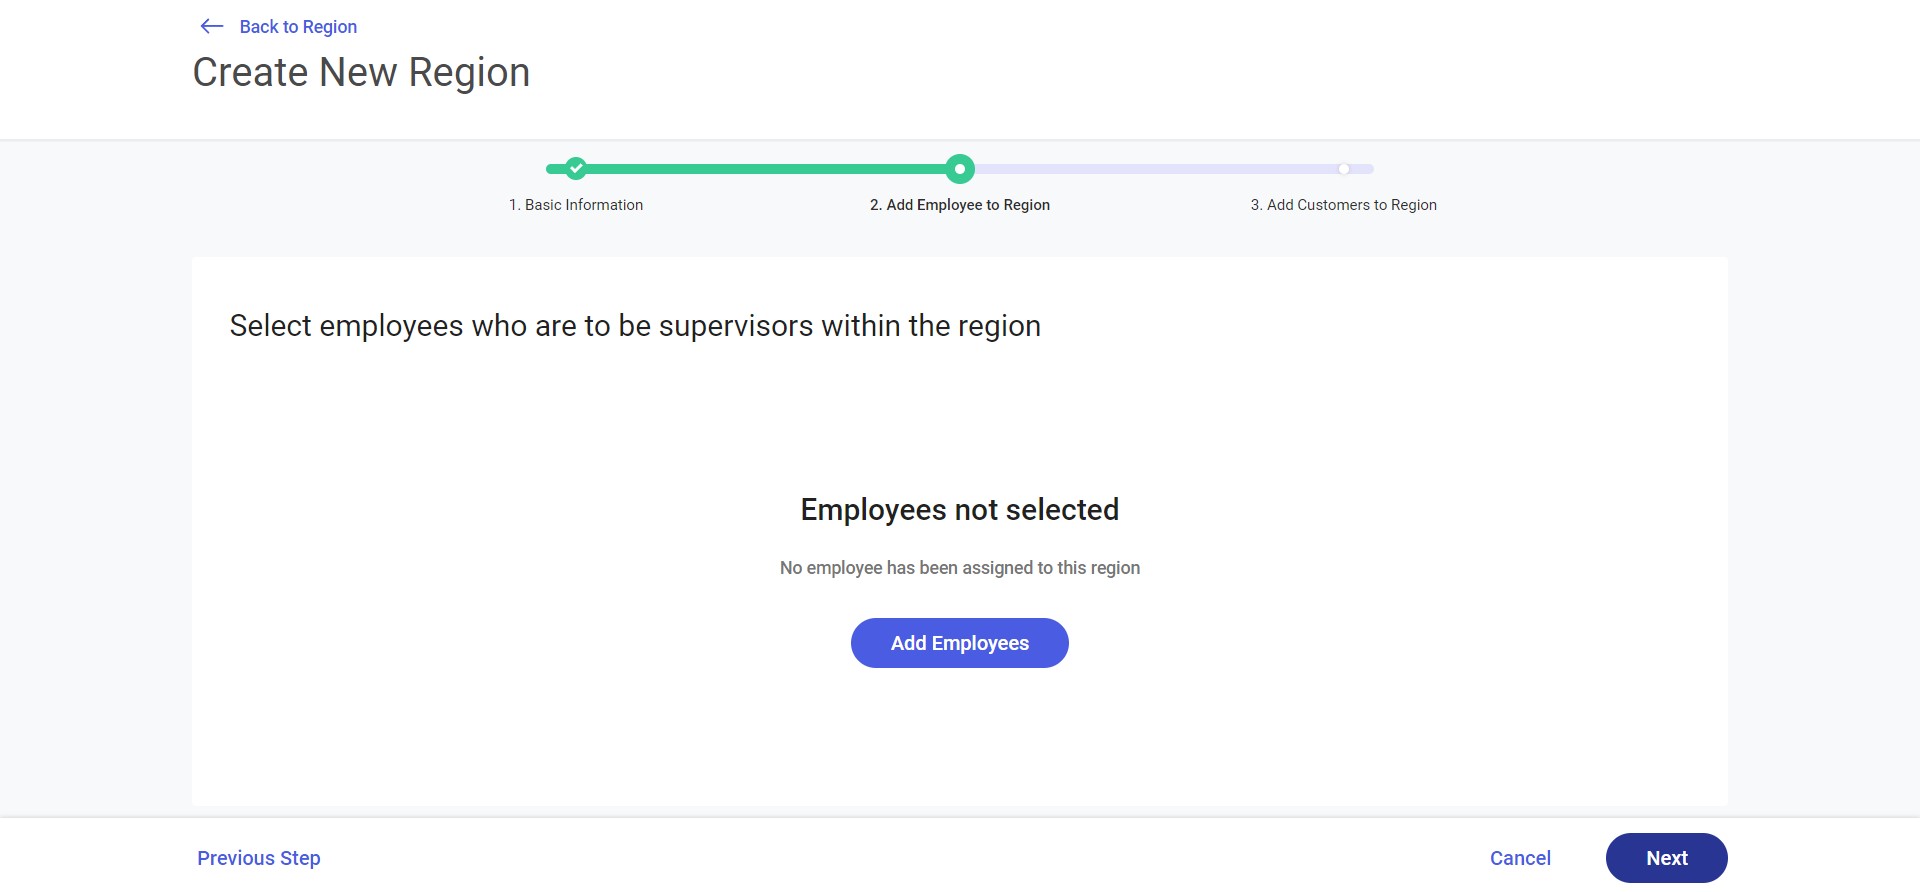
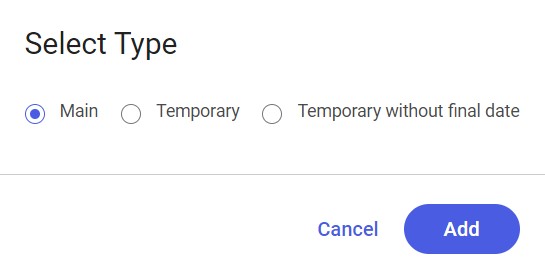
Selecting the [Add Employees] option displays an additional screen allowing the selection of an employee type:
- Main
- Temporary – it makes it possible to determine dates From and To
- Temporary without final date – it makes it possible to determine a From date; the To date is saved in the database as unlimited
Once a supervisor type is selected, the screen Add Employee to Region is displayed. The list of employees may be filtered out by entering an employee’s first or last name or city in the field Search Employees.
The screen presents the following information:
- Employee full name
- City defined on the employee form – it can make it easier for the manager to manage or schedule an appointment with a customer in that city

To choose an employee as the main supervisor, click the [Select] button in that employee’s row. Selected employees are marked in blue. To confirm employee selection on the list, click the option [Add].
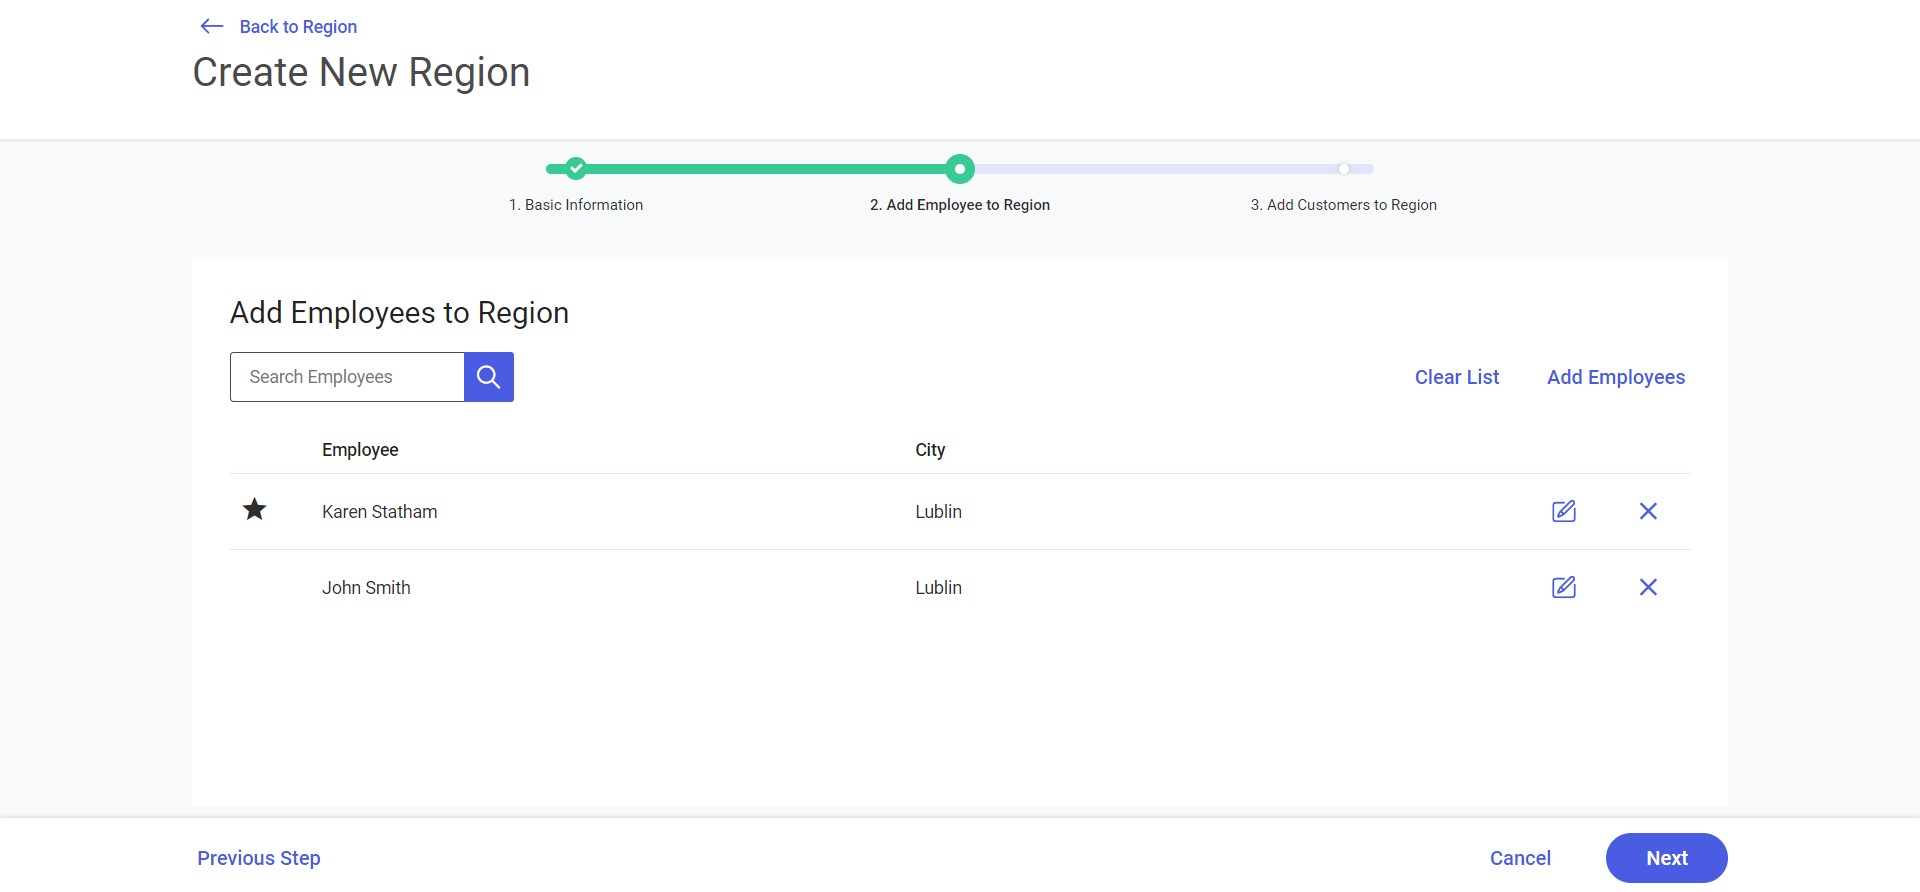
A supervisor marked with the ![]() icon is the main supervisor.
icon is the main supervisor.
The user can edit the list of selected employees:
 – it edits a selected employee
 – it deletes a selected employee
 – it deletes all selected employees
 – it allows adding subsequent employees to a region
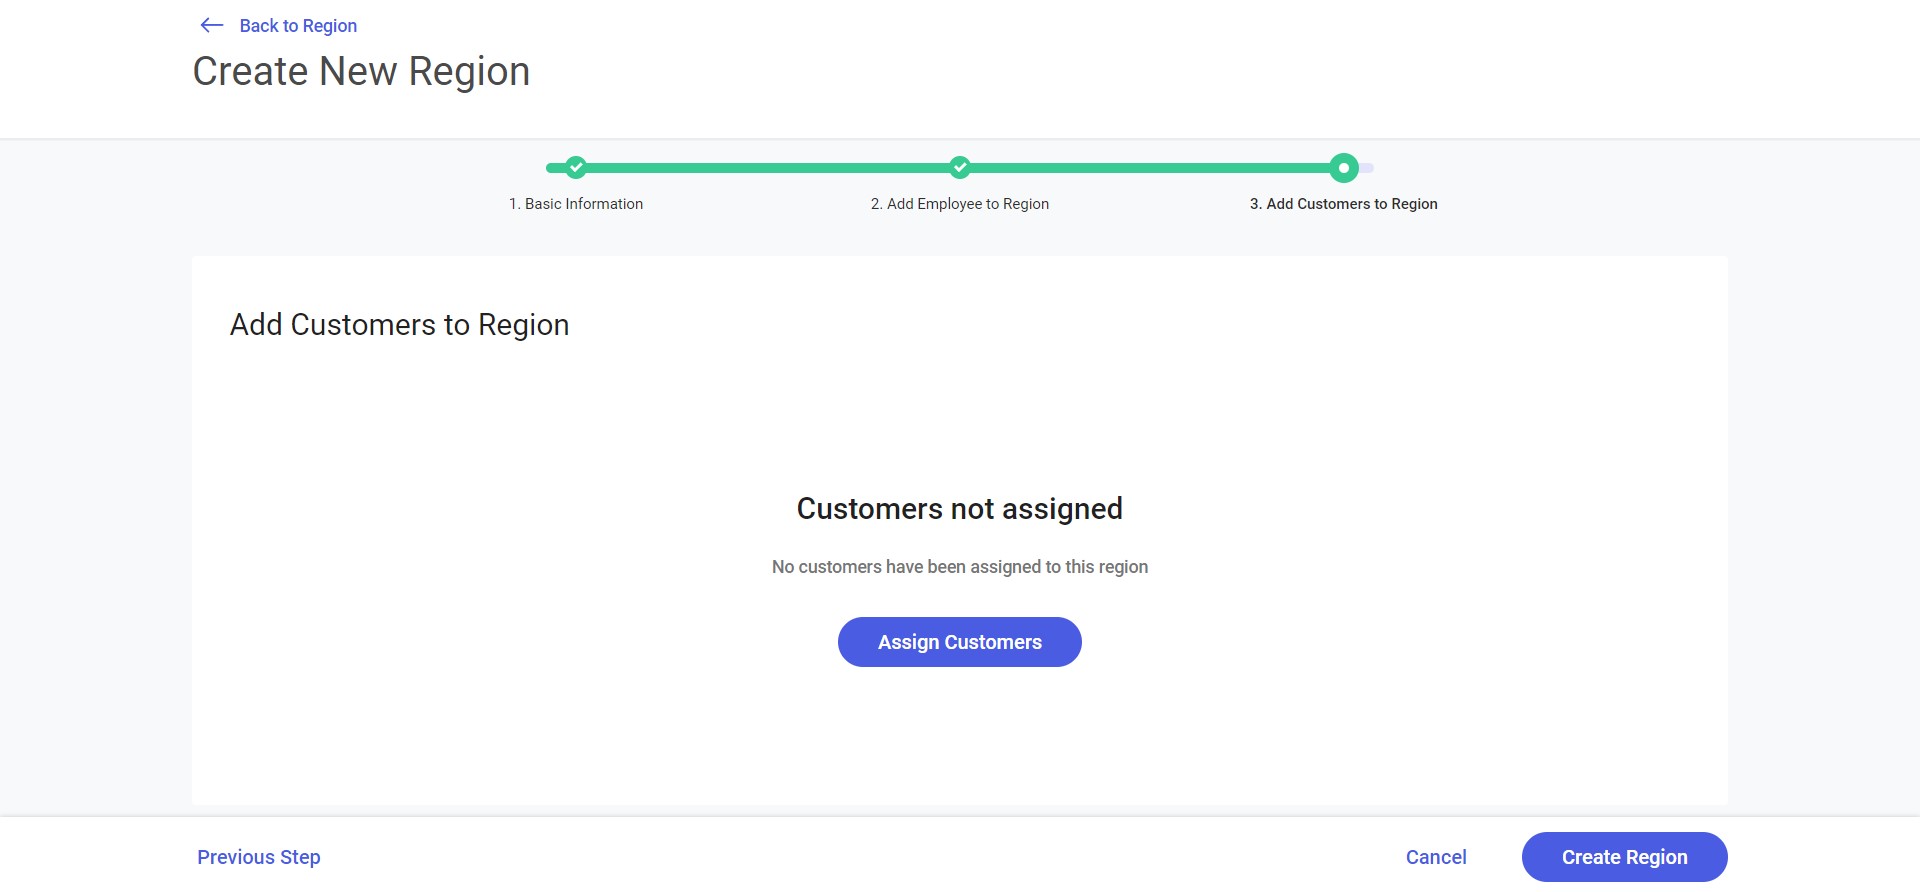
Add Customers to Region
In the third step, the user can assign customers to a region with the option [Assign Customers].
The Assign Customers to Region screen presents the list of customers which can be additionally filtered out by entering a customer’s name, code, or city in the field Search Customers by Name or Code.
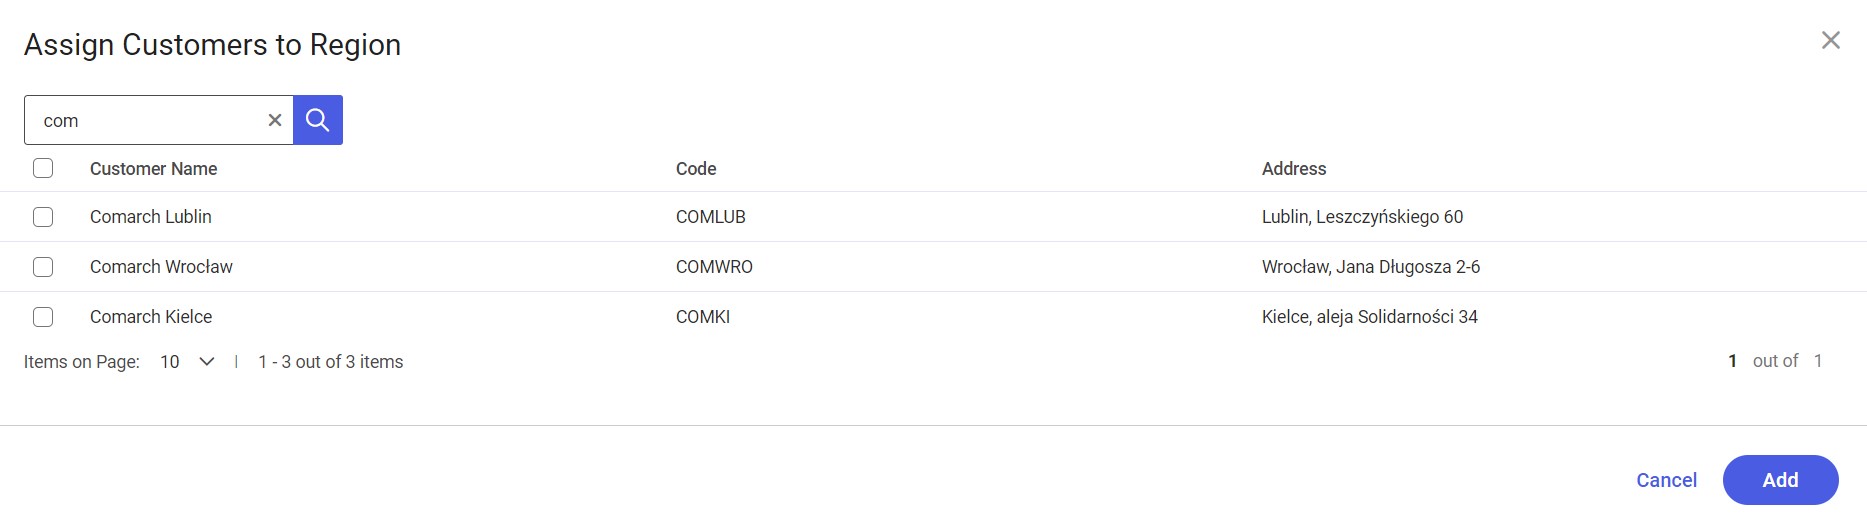
The list of customers displays the following information:
- Customer name
- Customer code
- Customer address
To choose a customer, select the checkbox in that customer’s row. Selected customers are marked in blue. To confirm customer selection on the list, click the option [Add].
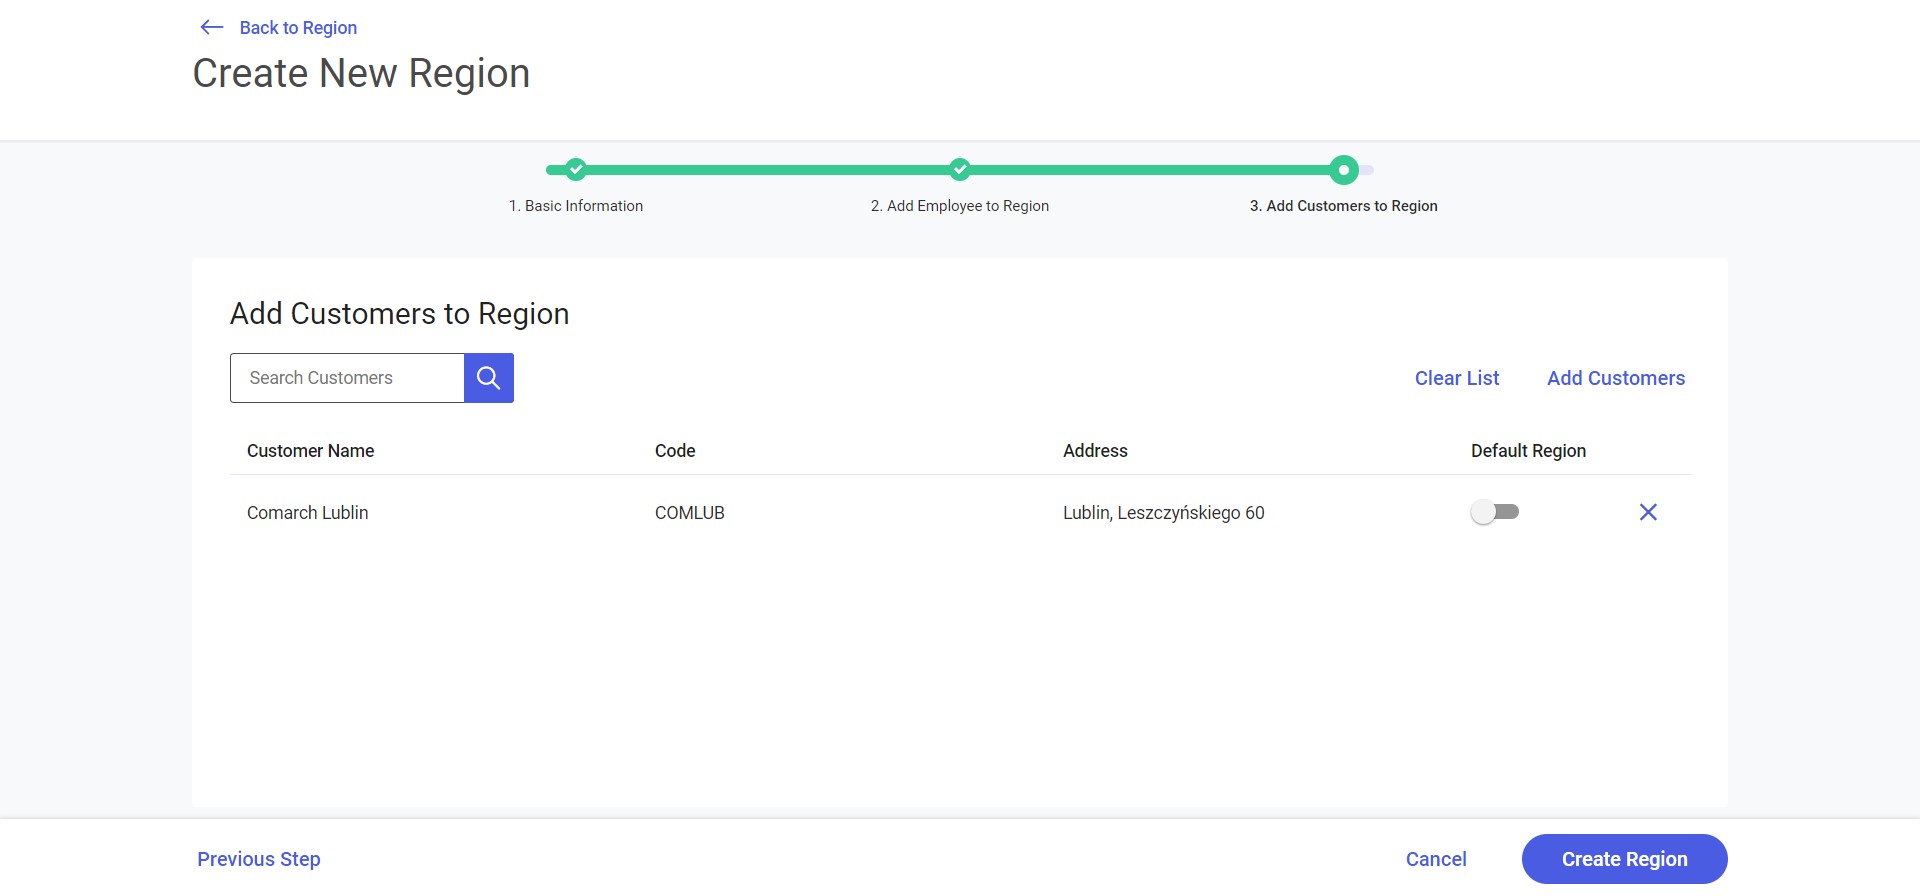
The user can edit the list of selected customers:
- Toggle switch in the Default Region column sets a given region as default for a selected customer
 – it deletes a selected customer
- – it deletes all selected customers
 – it allows adding subsequent customers to a region
To confirm a newly created region, select the option [Create Region].
Editing a region
The [Edit] option allows the user to modify a given region. The process is similar as in the case of adding a new region.
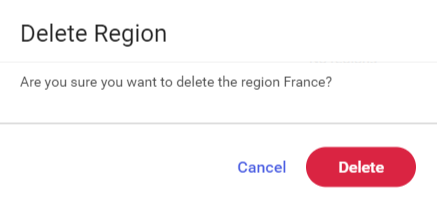
Deleting a region
The [Delete] option is available if a given region has no subregions and is not set as default for any customer. When the [Delete] option is selected, an additional message is displayed: