Comarch Mobile Sales allows you to register two document types:
- Sales orders
- Sales quotes
Locations for document registration
You can register a document in one of the following locations of the application:
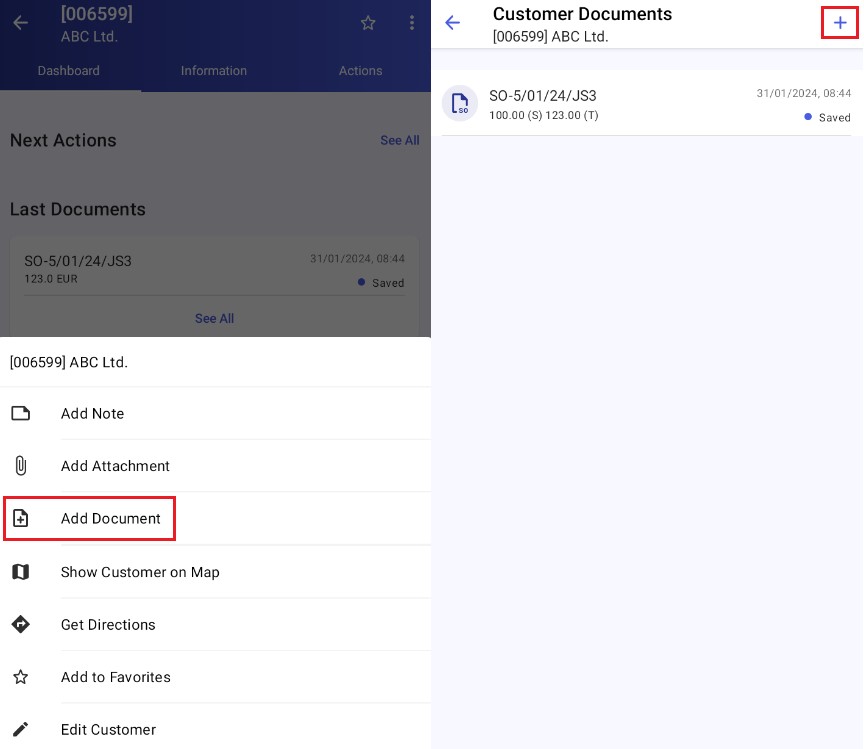
- Customer form – in the context menu or in the list of customer documents
- Customer list:
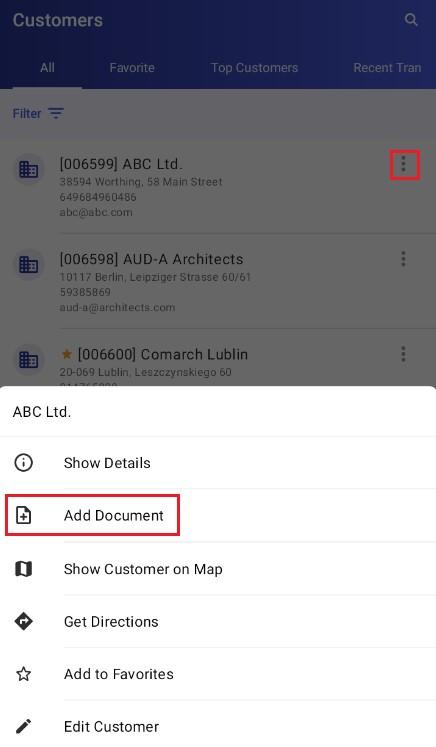
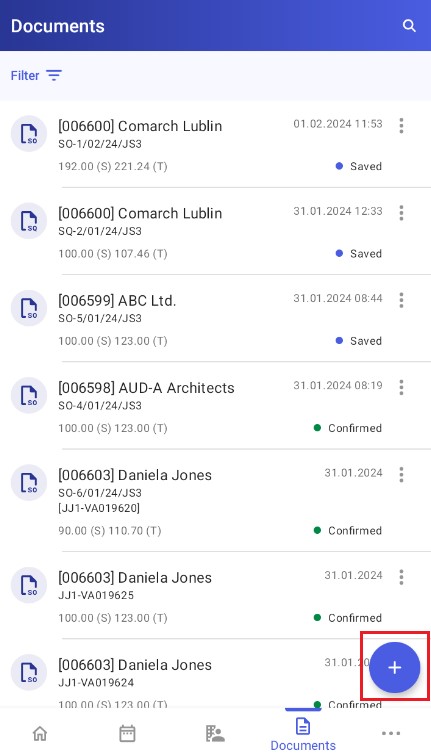
- In the Documents section by selecting the
 icon
icon
Register a new document
Both document types are registered in the same way. Below, you can learn how to register a sample sales order.
Tap the ![]() button in the document list and select the [Sales Order] option. Note that the type selection menu will not appear if your user permissions include only one document type. Next, you can choose how to create the document. Available options include:
button in the document list and select the [Sales Order] option. Note that the type selection menu will not appear if your user permissions include only one document type. Next, you can choose how to create the document. Available options include:
- [Create New Document] – it opens a new document registration window
- [Copy Previous Document to Cart] – it opens the document list where you can select a document you want to copy. For instructions on copying documents, see the Copying documents and document items article.
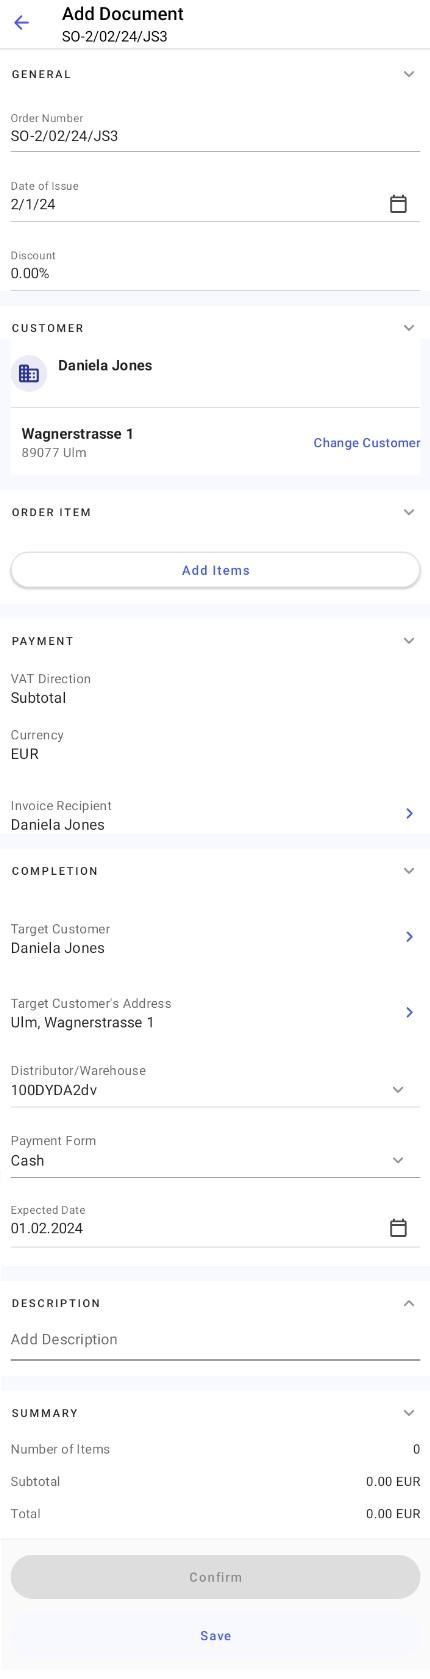
Selecting the [Create New Document] option opens the order generation window. It contains basic data, including the order number, date of issue, discount, customer selection field, and summary.
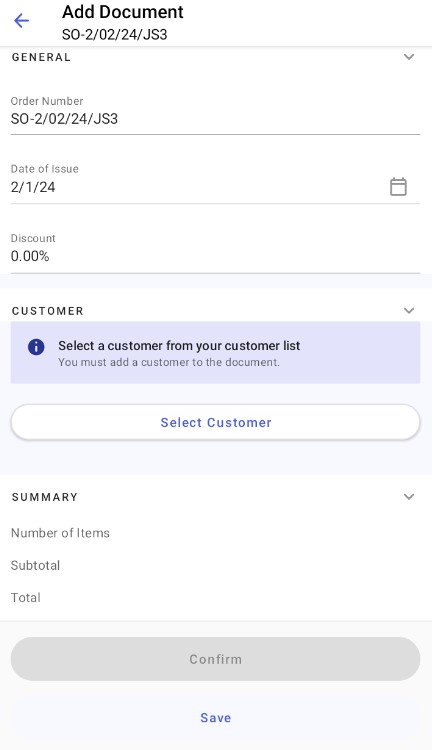
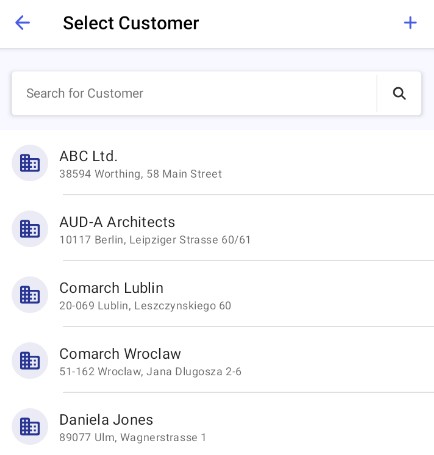
Select a customer
To select a customer for whom you want to issue the document, tap the [Select Customer] button. You will see the list of available customers. Here, you can select an appropriate customer.
Afterwards, you can enter document items and payment and processing information.
Add items
To add items to the document, select the [Add Items] button. Next, select an appropriate item from the list. When you do this, the simplified item calculation view will appear, where you can specify the item’s quantity, discount, and unit. The window also presents information on price per unit before and after applying a discount, as well as the total item value. You can also swipe the window up to see the full item calculation window. The full item calculation view displays extended information on the item, such as its regular and discounted price, historical transactions, VAT, weight, warehouse, and description.
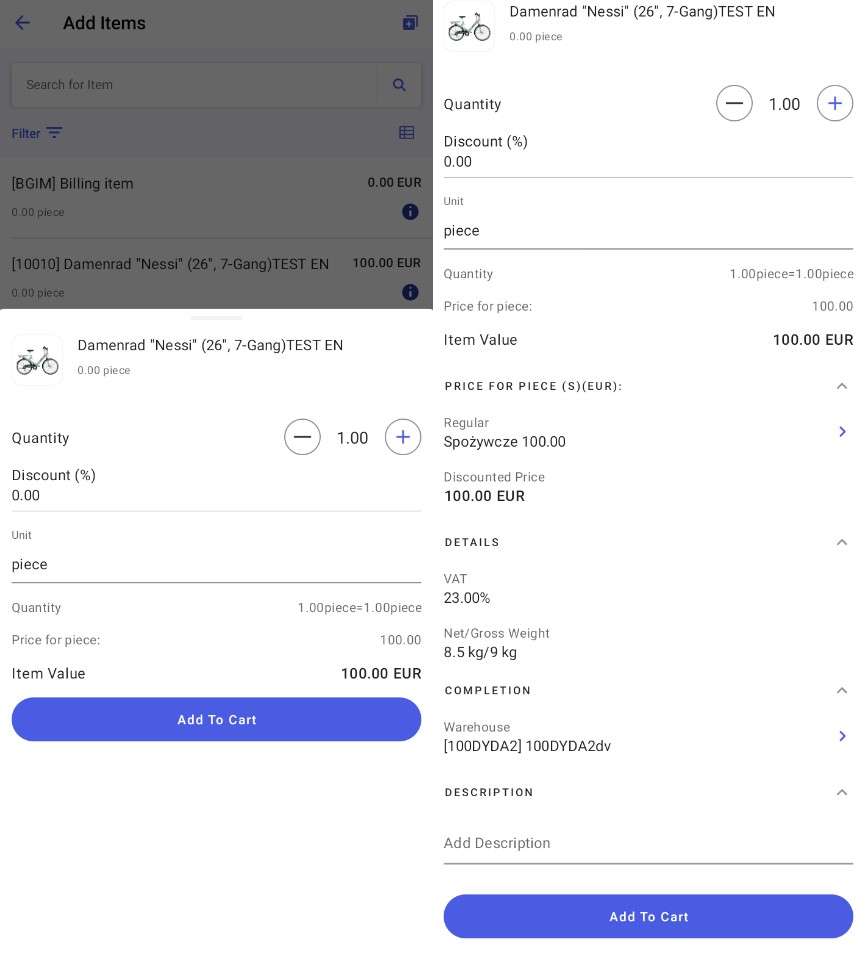
The item cart allows you to add items that are either in or out of stock. The application does not control stock levels.
To confirm the addition of an appropriate item, select [Add To Cart].
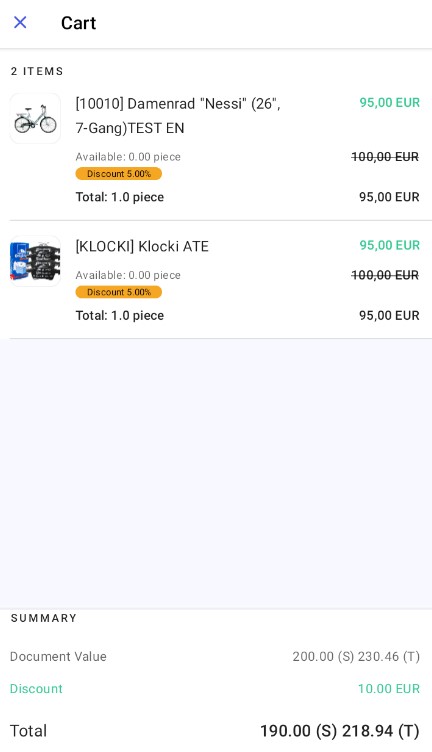
Cart
To preview items added to the document, select either the [Show All] button in the Order Item section of the document window or the [Cart] button in the item list. The bottom part of the window contains the summary of the document value, discount, and discounted total.
Complete the document registration
In the document registration window, you can preview information about the document and possibly change its date of issue and expected date or its payment form.

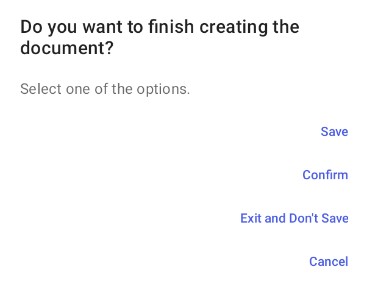
If you select items and make appropriate changes in the document, trying to exit the document will open a window with the following options:
- Save – the document will be saved as unconfirmed and will not be sent to the ERP system during synchronization
- Confirm – the document will be saved as confirmed and will be sent to the ERP system during synchronization
- Exit and Don’t Save – all changes to the document will be lost
- Cancel – it returns to the previous window.
Saved and confirmed documents are displayed in the document list on the Documents tab and in the Last Documents section of the customer form.