Contents
Completing a sales appointment scheduled based on a template
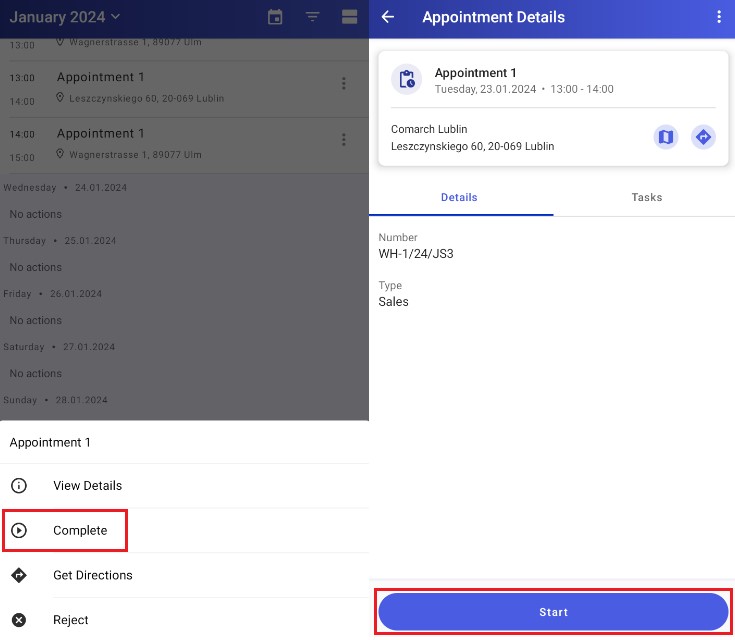
In order to complete a scheduled appointment, select the [Complete] option from the context menu or the [Start] option on the appointment screen.
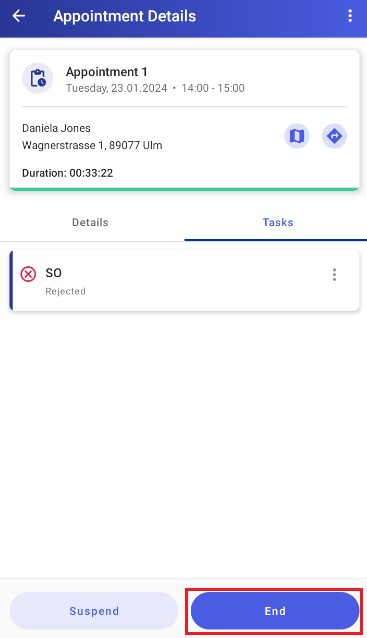
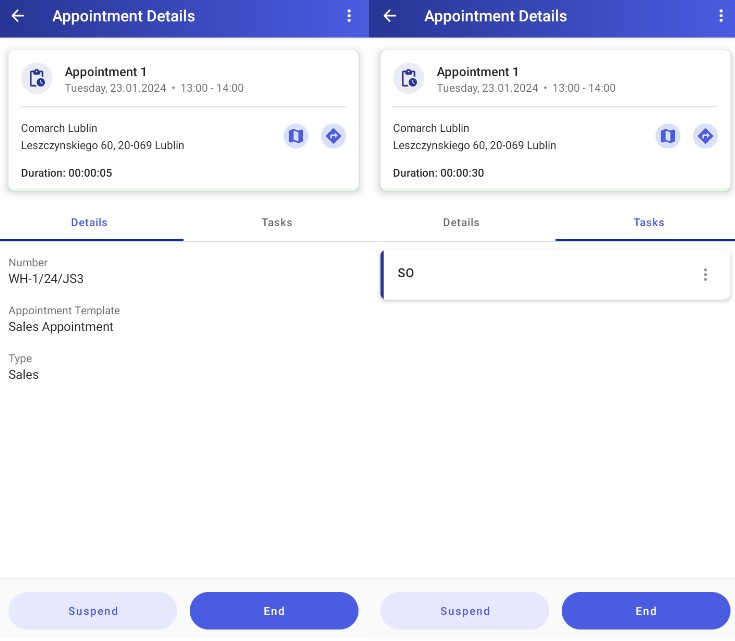
After you start to complete an appointment, the Details tab displays:
- Appointment name
- Scheduled completion time
- Customer address
- Appointment duration timer
- Document number
- Appointment template name
- Appointment type
The Tasks tab displays the list of tasks to do during the appointment.
Completing a sales appointment without a template
Selecting the [Complete] or [Start] option for an appointment scheduled without a template opens an appointment template selection screen.
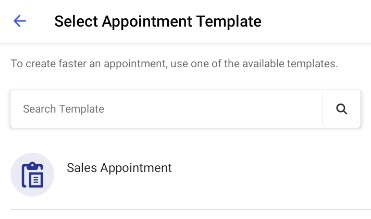
As you select a template from the list, the appointment is completed in the same way as an appointment based on a template.
Completing tasks
To complete a sales appointment, you need to complete or rejects tasks that have been scheduled as part of the appointment.
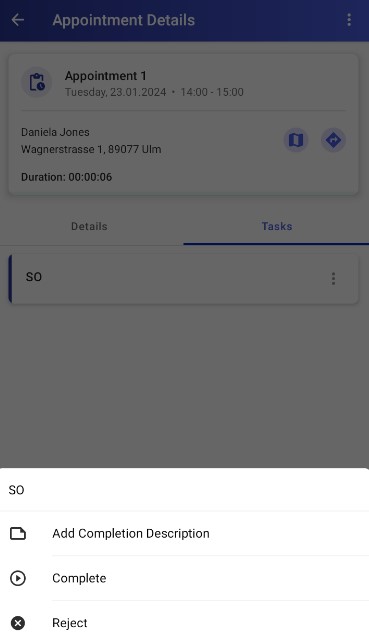
The context menu of each task contains the following options:
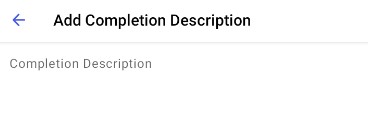
- [Add Completion Description] – it allows you to write a description of a given task
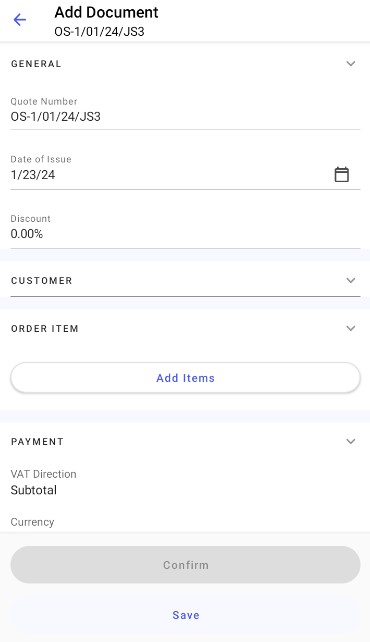
- [Complete] – it initiates the completion of a given task. Selecting it opens a task screen, different for each task type.
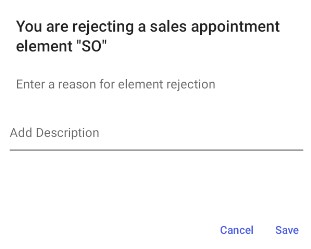
- [Reject] – it allows you to reject the task. Selecting it opens a pop-up where you can enter a reason for element rejection.
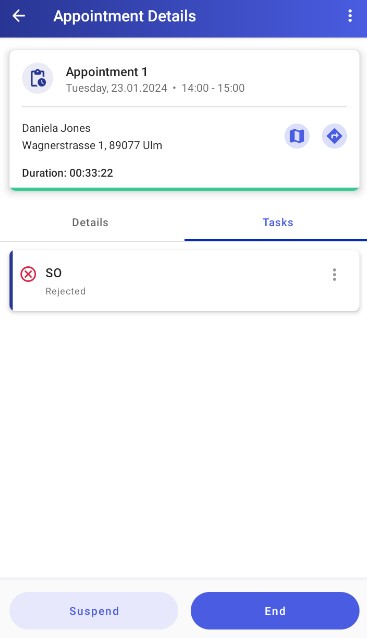
Completed tasks are marked with the green icon ![]() , while rejected tasks are marked with the red icon
, while rejected tasks are marked with the red icon ![]() .
.
Finishing an appointment
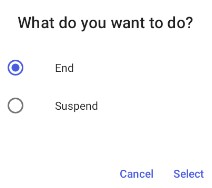
Once you are finished processing the sales appointment, select the [End] button.
