Contents
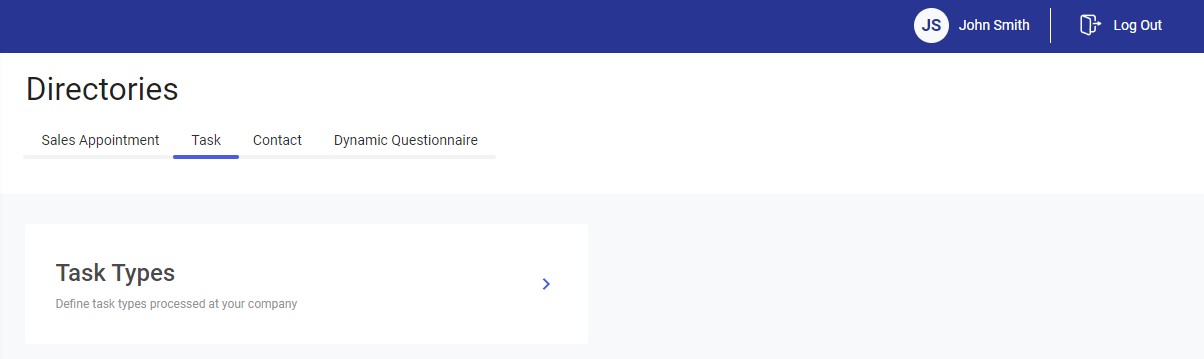
To configure directories, select the option [Appointment Templates] and then [Directories] from the main menu.
The list of directories is divided into three sections:
- Sales Appointment
- Task
- Contact
- Dynamic Questionnaire
As you enter a particular section, the application displays the directories related to a given action type.
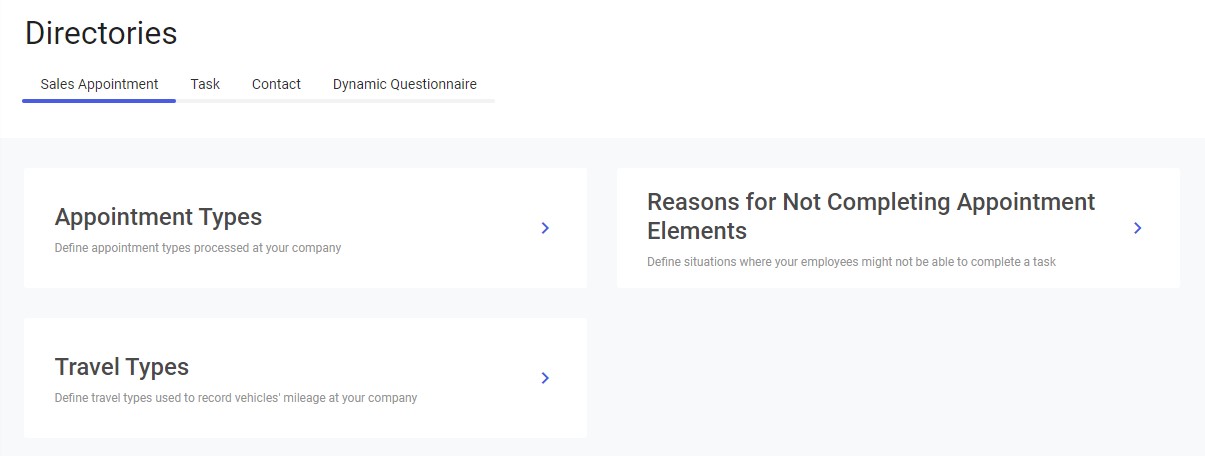
Sales Appointment section
The Sales Appointment section of the directory list contains the following options:
- Appointment Types
- Reasons for Not Completing Appointment Elements
- Travel Types
To edit a directory, select one of the available options. You can add new elements to particular directories or modify existing ones. If no value has been added to a given directory yet, the following notification is displayed: “No values. No values have been added.”
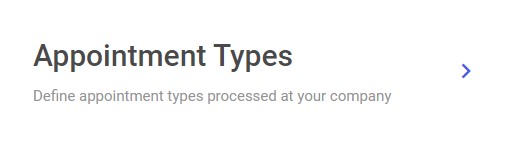
Appointment Types directory
In order to define a new appointment type or edit an existing one, select the [Appointment Types] tile.
Selecting the tile opens the list of all appointment types. The application presents appointment type names, their colors, and statuses; it is also possible to edit a given appointment type by selecting ![]() .
.
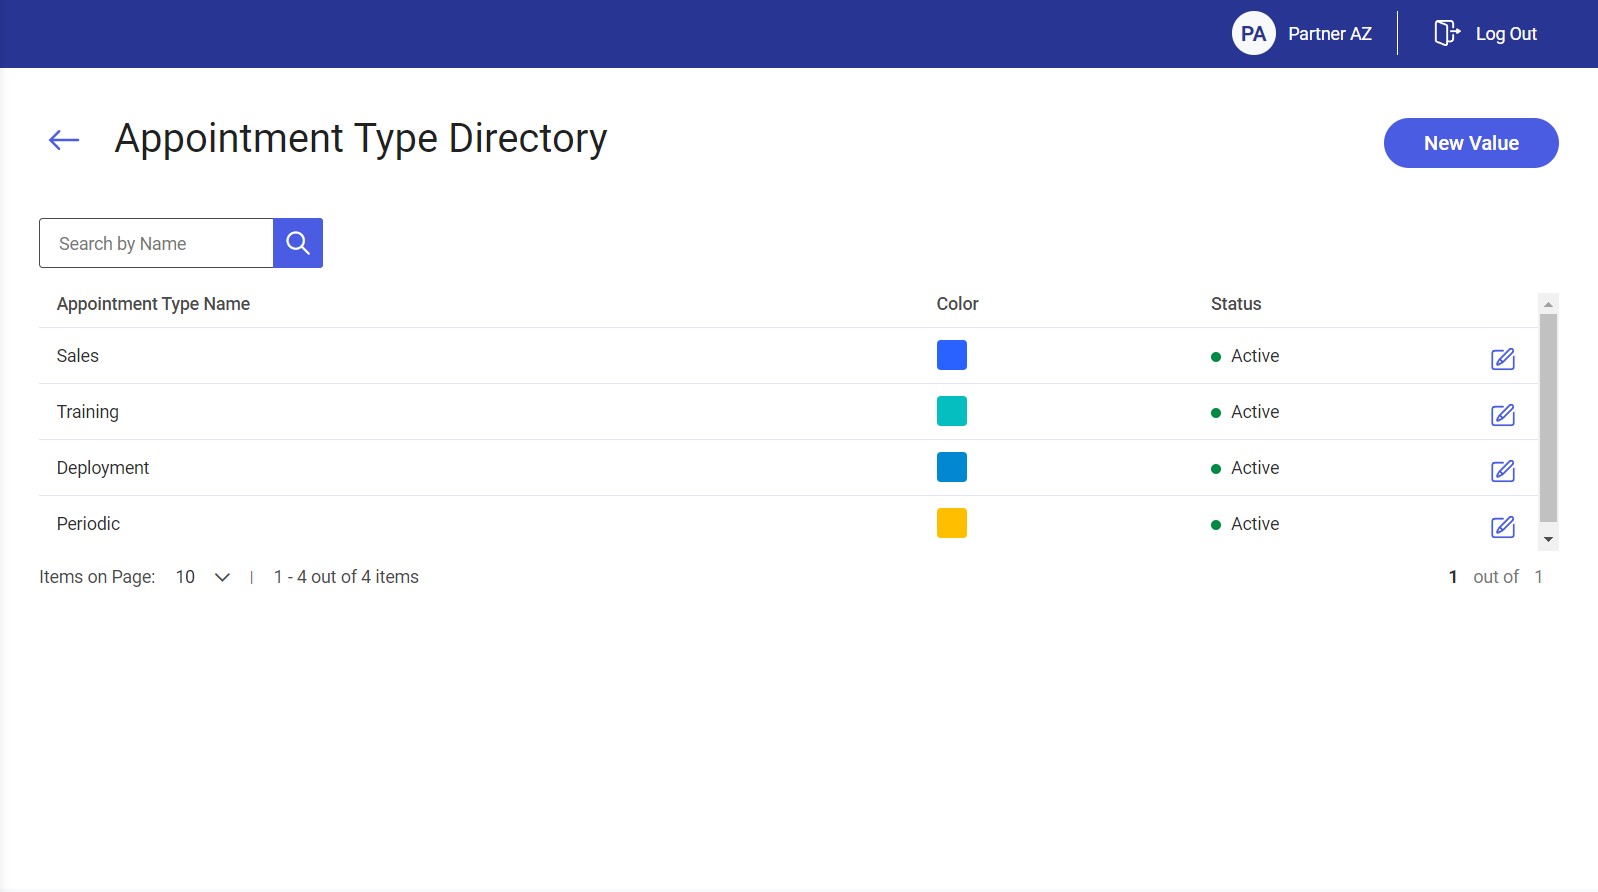
The list of appointment types may be filtered out by providing a relevant name in the Search by Name field.
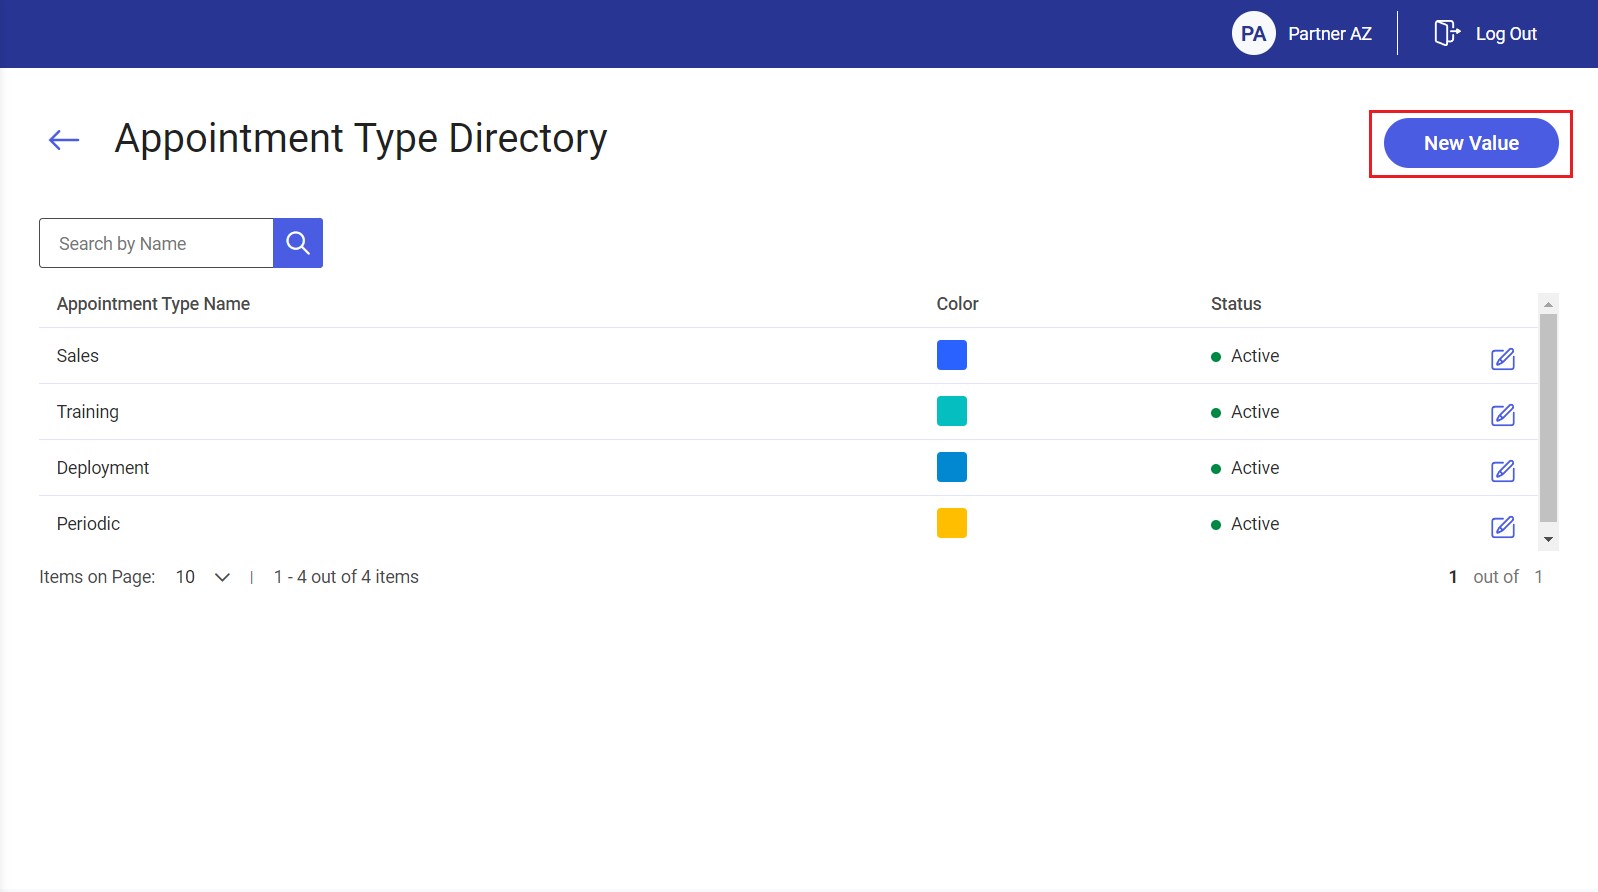
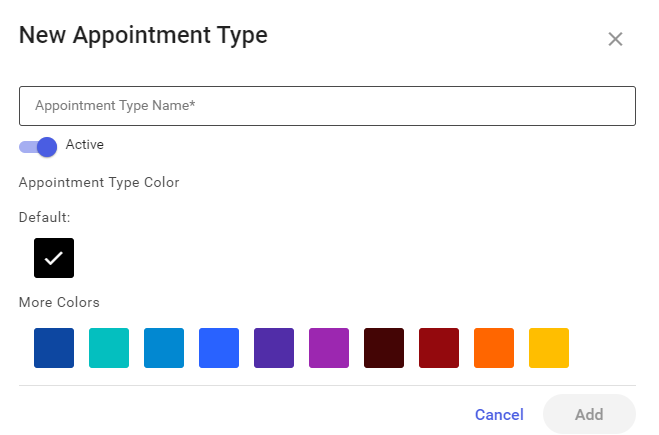
Adding a new appointment type
By using the [New Value] button in the top right corner, you can add a new value to the list of appointment types.
Editing an appointment type
The editing option ![]() enables you to modify an appointment type. The process is similar as in the case of adding a new value.
enables you to modify an appointment type. The process is similar as in the case of adding a new value.
Reasons for Not Completing Appointment Elements directory
In order to define a new reason for not completing appointment elements or edit an existing one, select the [Reasons for Not Completing Appointment Elements] tile.

Selecting the tile opens the list of all defined reasons for not completing appointment elements. The application presents their names and statuses; it is also possible to edit a given reason by selecting ![]() .
.
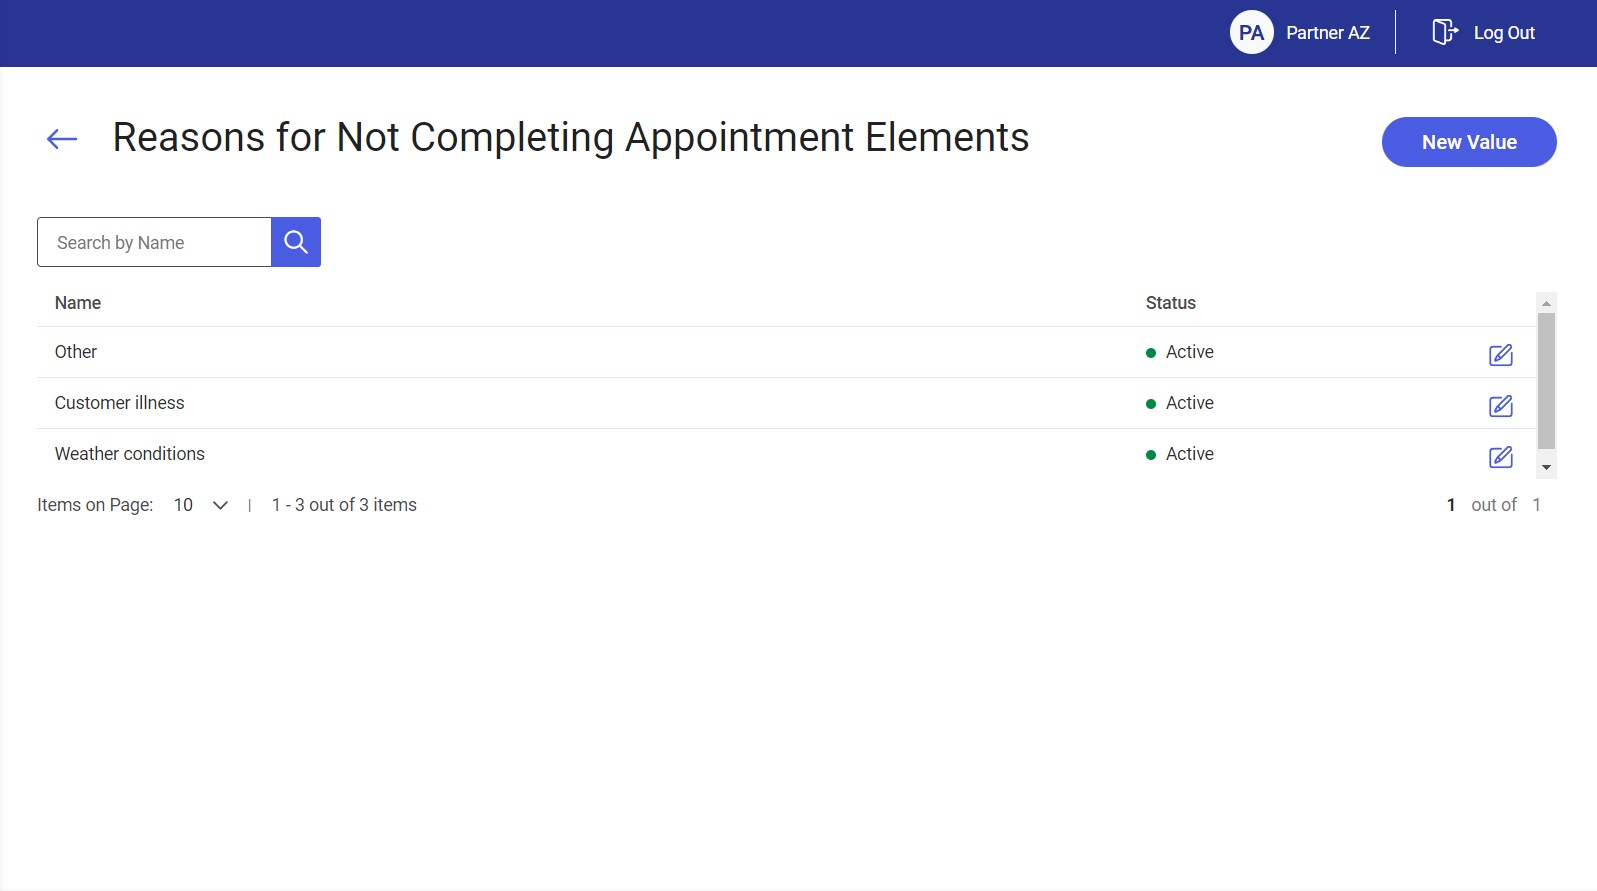
The list of reasons may be filtered out by providing a relevant name in the Search by Name field.
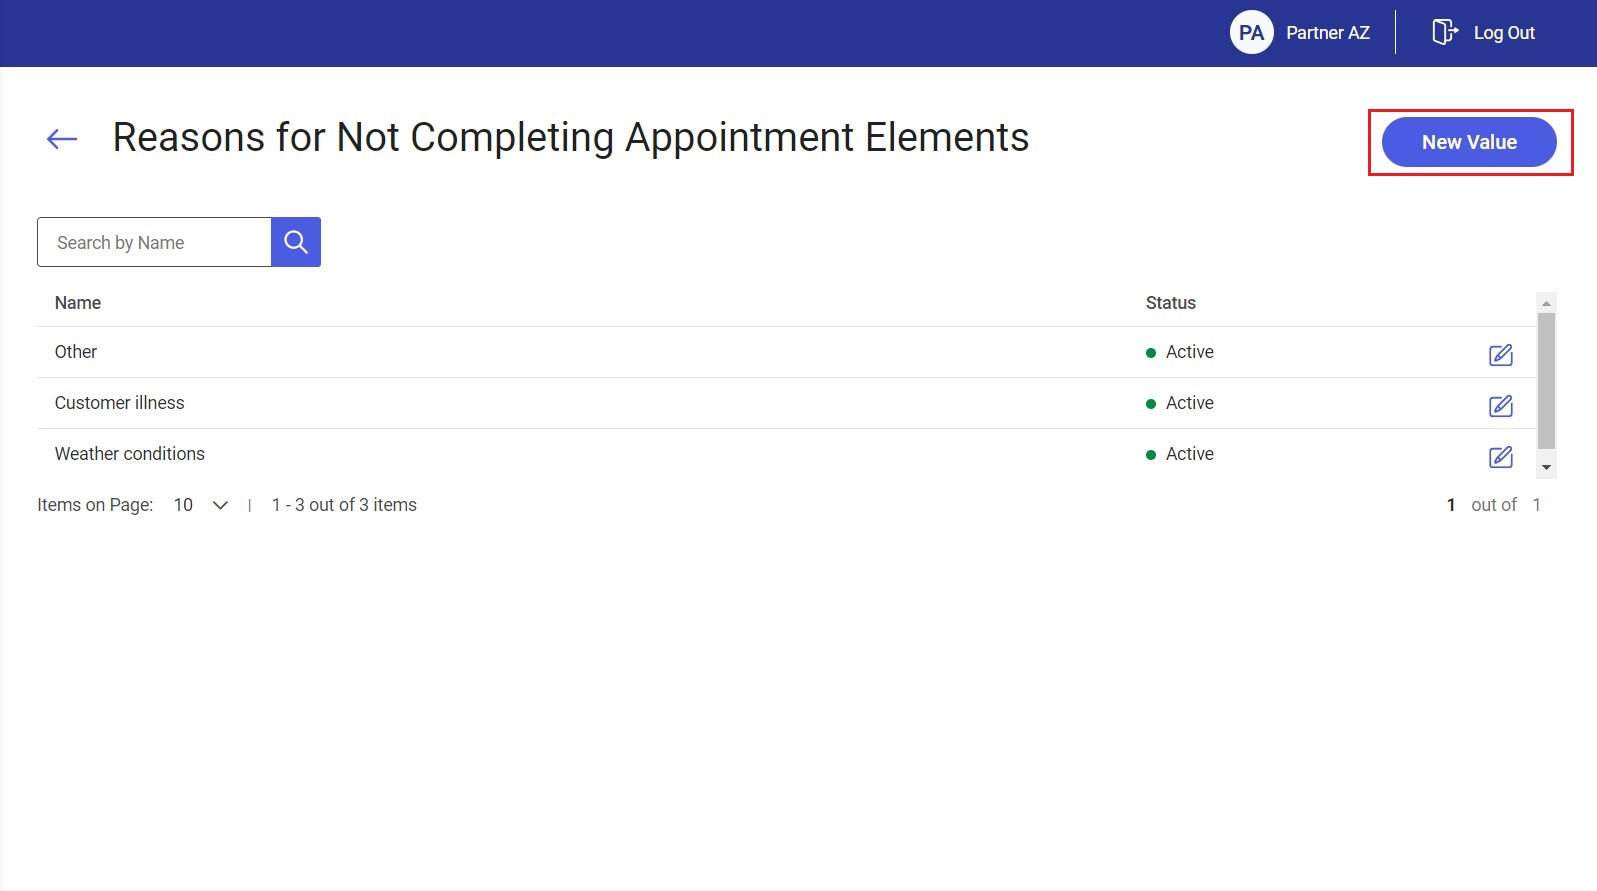
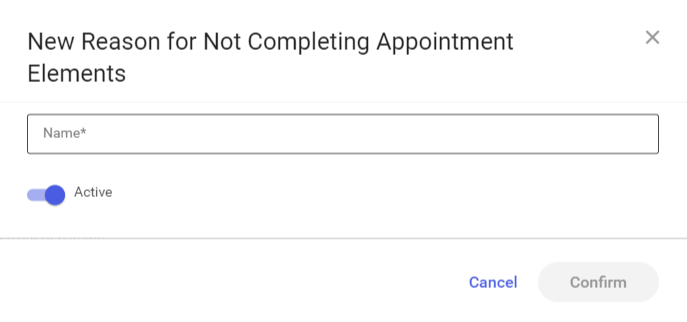
Adding a new reason for not completing appointment elements
By using the [New Value] button in the top right corner, you can add a new value to the list of reasons for not completing appointment elements.
Editing a reason for not completing appointment elements
The editing option ![]() enables you to modify a reason for not completing appointment elements. The process is similar as in the case of adding a new value.
enables you to modify a reason for not completing appointment elements. The process is similar as in the case of adding a new value.
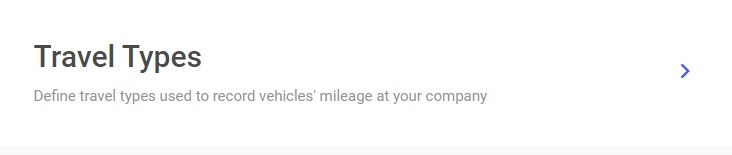
Travel Types directory
In order to define a new travel type or edit an existing one, select the [Travel Types] tile.
Selecting the tile opens the list of all defined travel types used in mileage records. The application presents their names, information on whether a given travel type is predefined or user-defined, and statuses; it is also possible to edit a given travel type by selecting ![]() .
.
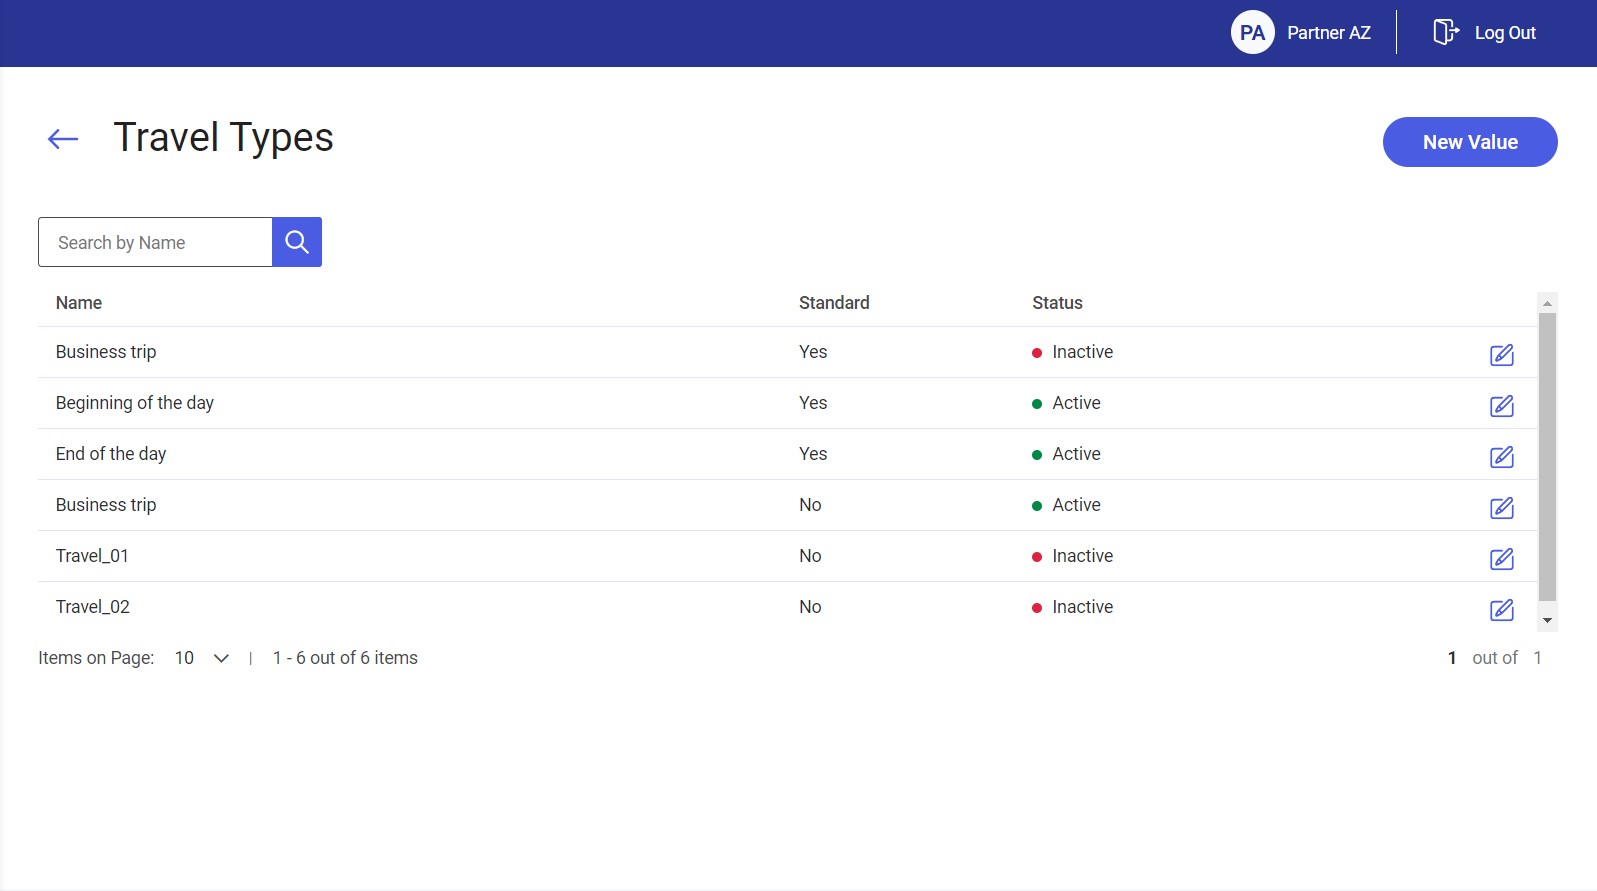
The list of travel types may be filtered out by providing a relevant name in the Search by Name field.
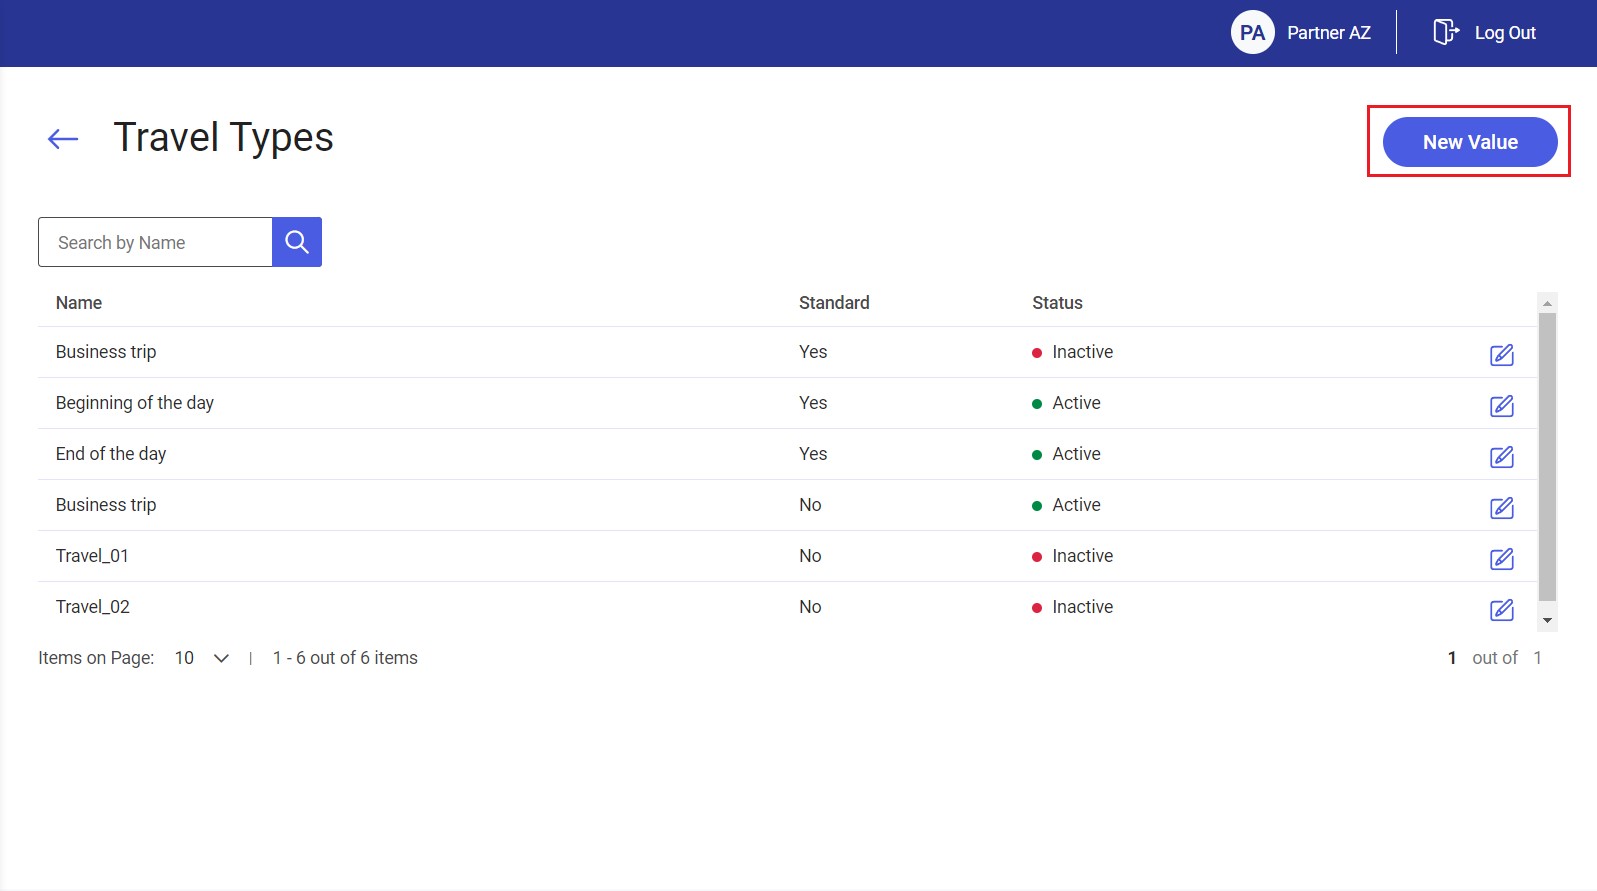
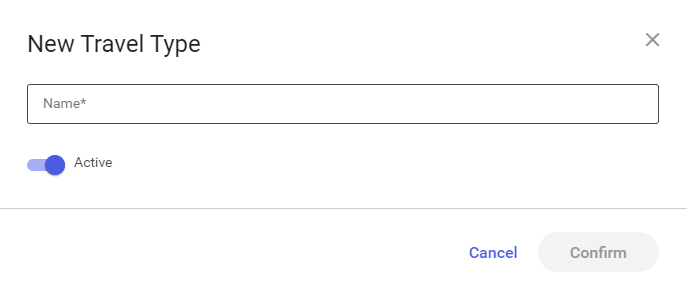
Adding a new travel type
By using the [New Value] button in the top right corner, you can add a new value to the list of travel types.
Editing a travel type
The editing option ![]() enables you to modify a travel type. The process is similar as in the case of adding a new travel type.
enables you to modify a travel type. The process is similar as in the case of adding a new travel type.
Task section
The Task section of the directory list contains the following option:
- Task Types
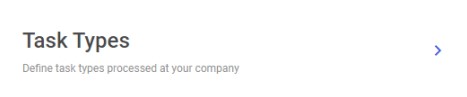
Task Types directory
In order to define a new task type or edit an existing one, select the [Task Types] tile.
Selecting the tile opens the list of all task types. It also allows you to add new types by selecting the [New Value] button.
The window presents task type names and their statuses. You can edit existing types by selecting the editing option ![]() .
.
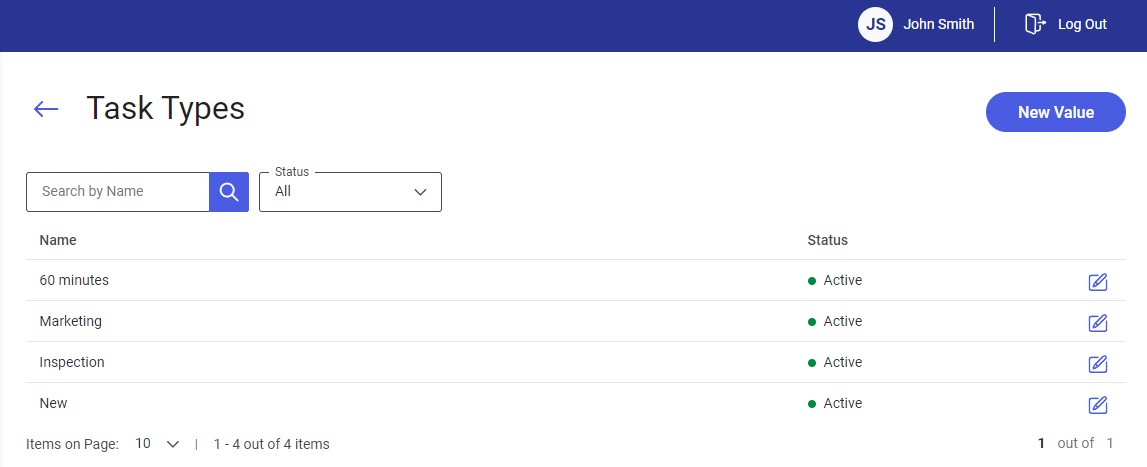
You can filter the list of task types by status and name in the Search by Name field.
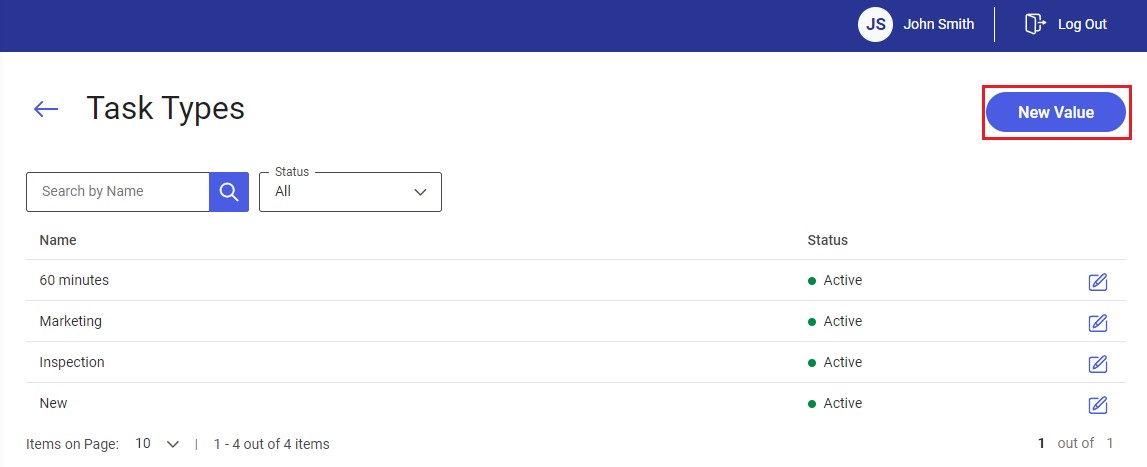
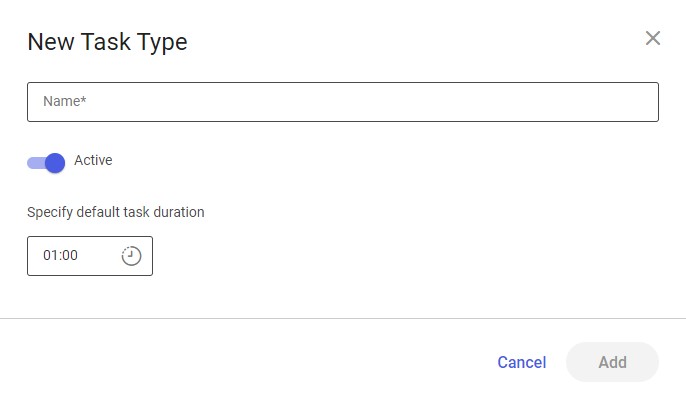
Adding a new task type
Using the [New Value] button in the top right corner, you can add a new value to the list of task types.
Editing a task type
The editing option ![]() enables you to modify a task type. The process is similar as in the case of adding a new value.
enables you to modify a task type. The process is similar as in the case of adding a new value.
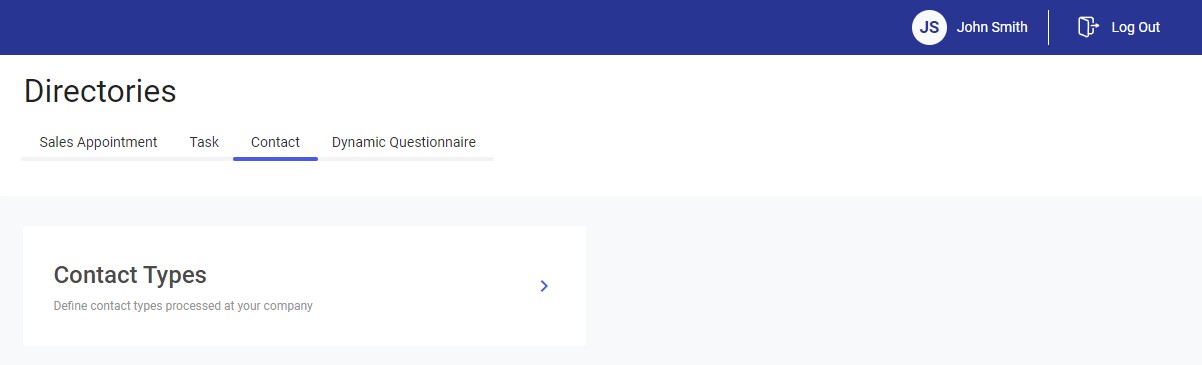
Contact section
The Contact section of the directory list contains the following option:
- Contact Types
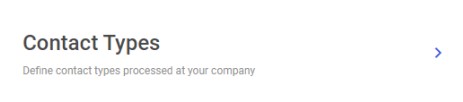
Contact Types directory
In order to define a new contact type or edit an existing one, select the [Contact Types] tile.
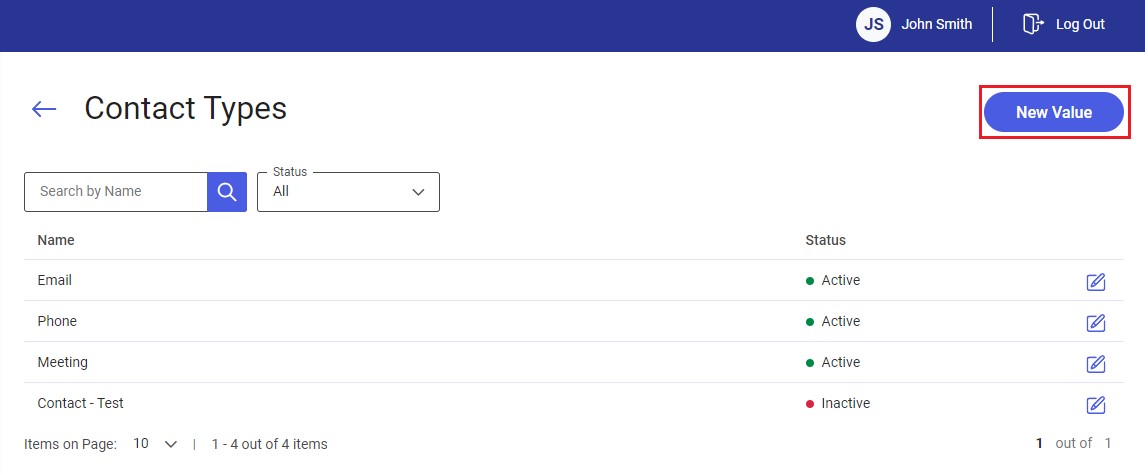
Selecting the tile opens the list of all contact types. It also allows you to add new types by selecting the [New Value] button.
The window presents contact type names and their statuses. You can edit existing types by selecting the editing option ![]() .
.
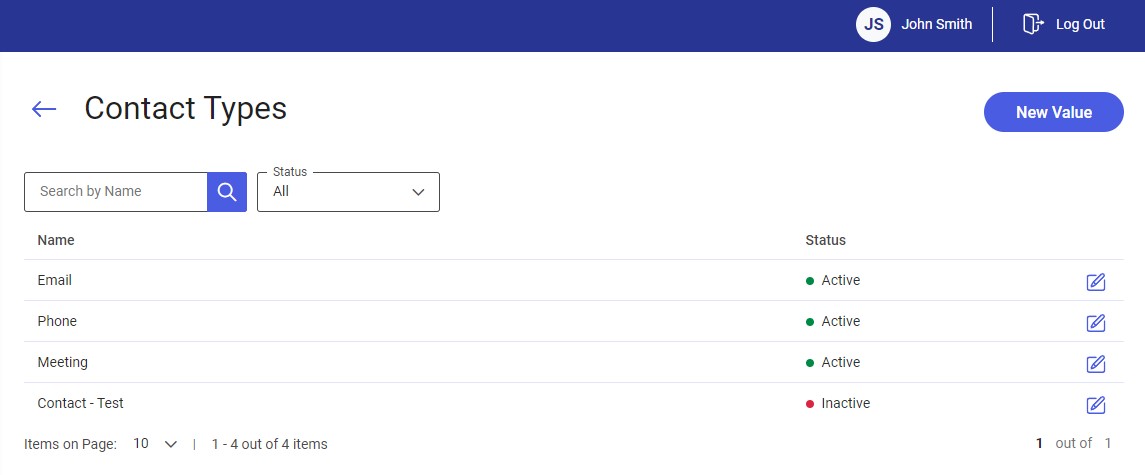
You can filter the list of contact types by status and name in the Search by Name field.
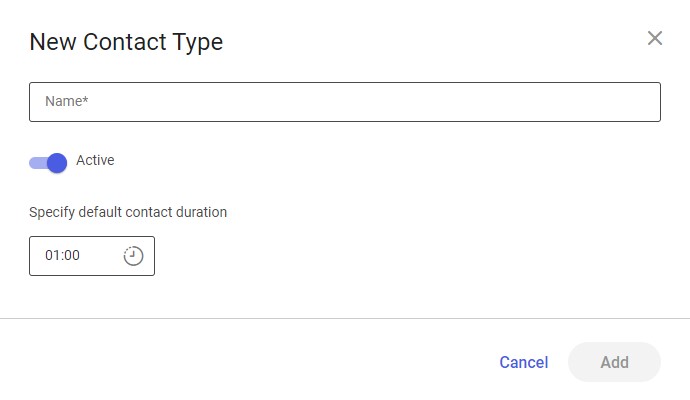
Adding a new contact type
Using the [New Value] button in the top right corner, you can add a new value to the list of contact types.
Editing a contact type
The editing option ![]() enables you to modify a contact type. The process is similar as in the case of adding a new value.
enables you to modify a contact type. The process is similar as in the case of adding a new value.
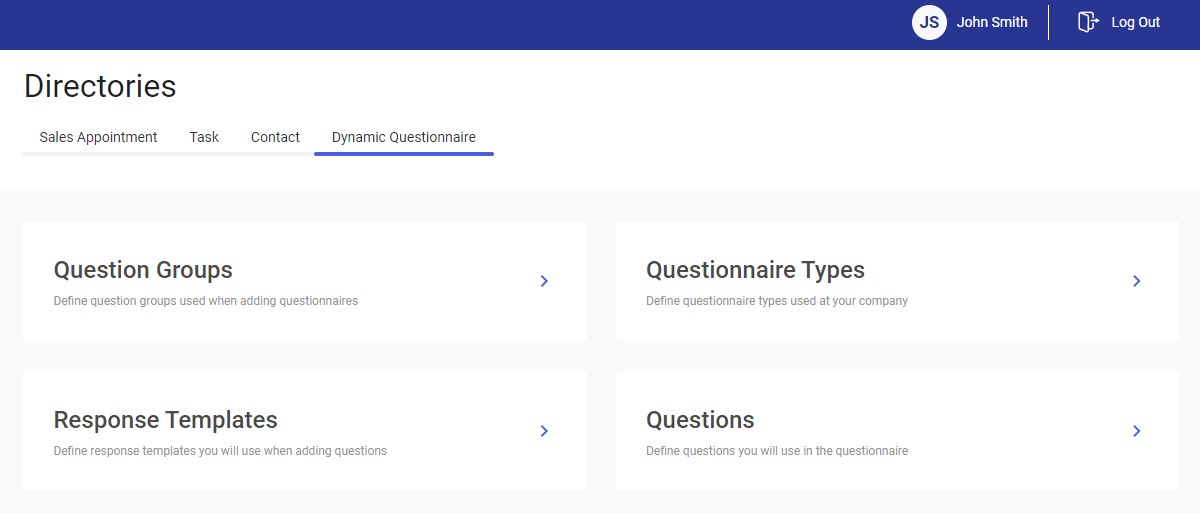
Dynamic Questionnaire section
The Dynamic Questionnaire section of the directory list contains the following options:
- Question Groups
- Questionnaire Types
- Response Templates
- Questions
Question Groups directory
To create a new question group or edit an existing one, select the [Question Groups] tile.

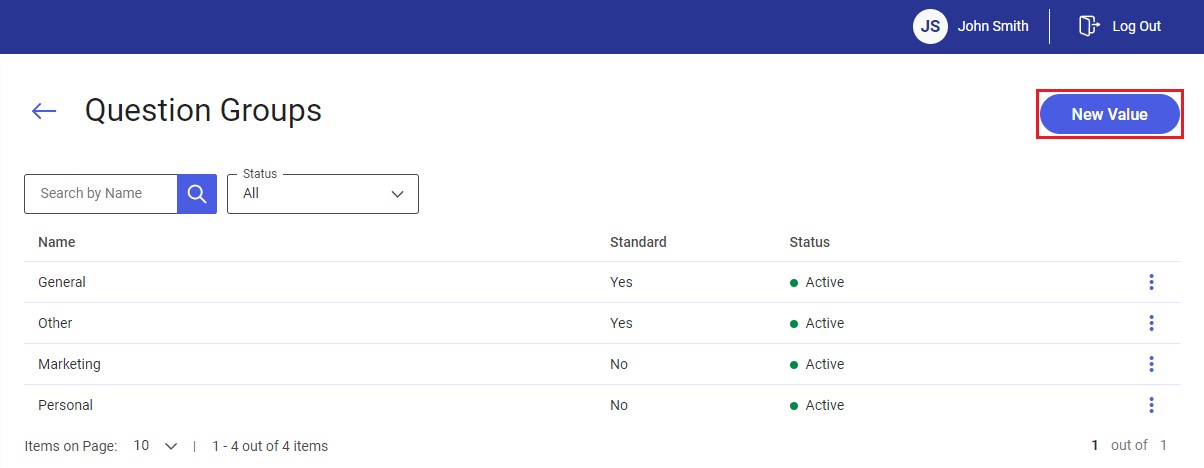
Selecting the tile opens the list of all the defined question groups. It displays question group names, information about whether a group is predefined or user-defined, the activation status, and a context menu with the [Edit] and [Delete] options.
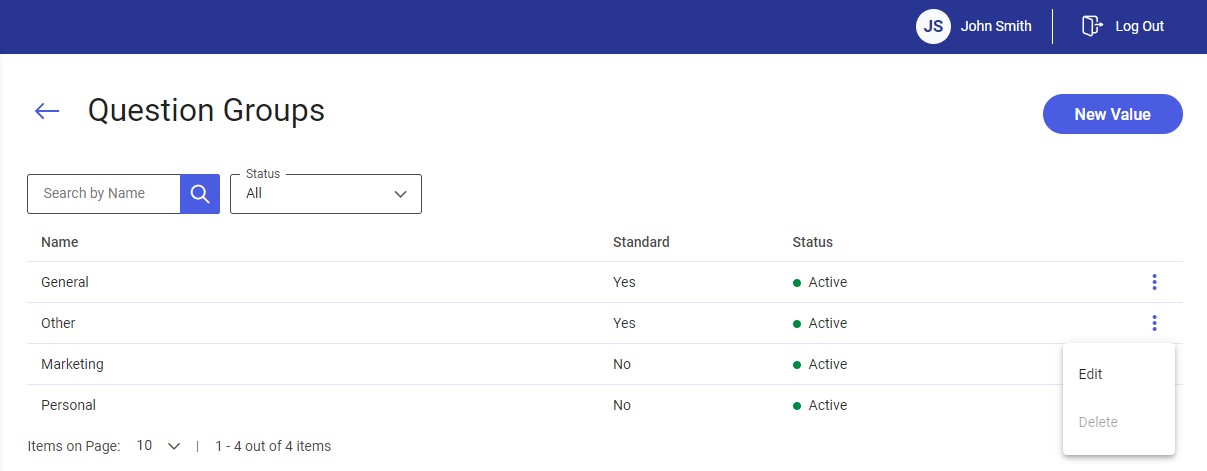
You can filter the list of question groups by status and/or name in the Search by Name field.
Adding a new question group
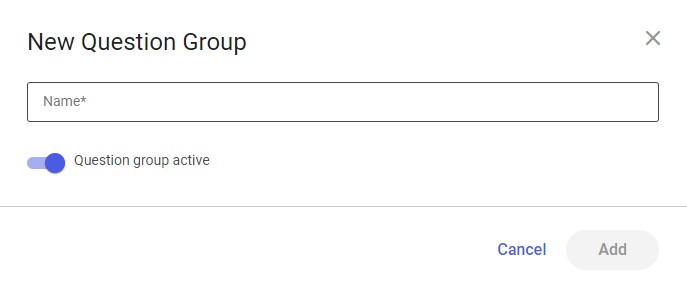
Using the [New Value] button in the top right corner, you can add a new question group.
Editing a question group
The [Edit] option allows you to modify question groups. The process is similar as in the case of adding a new question group.
Deleting a question group
The [Delete] option is available if a question group has not been added to any question.
Questionnaire Types directory
To create a new questionnaire type or edit an existing one, select the [Questionnaire Types] tile.

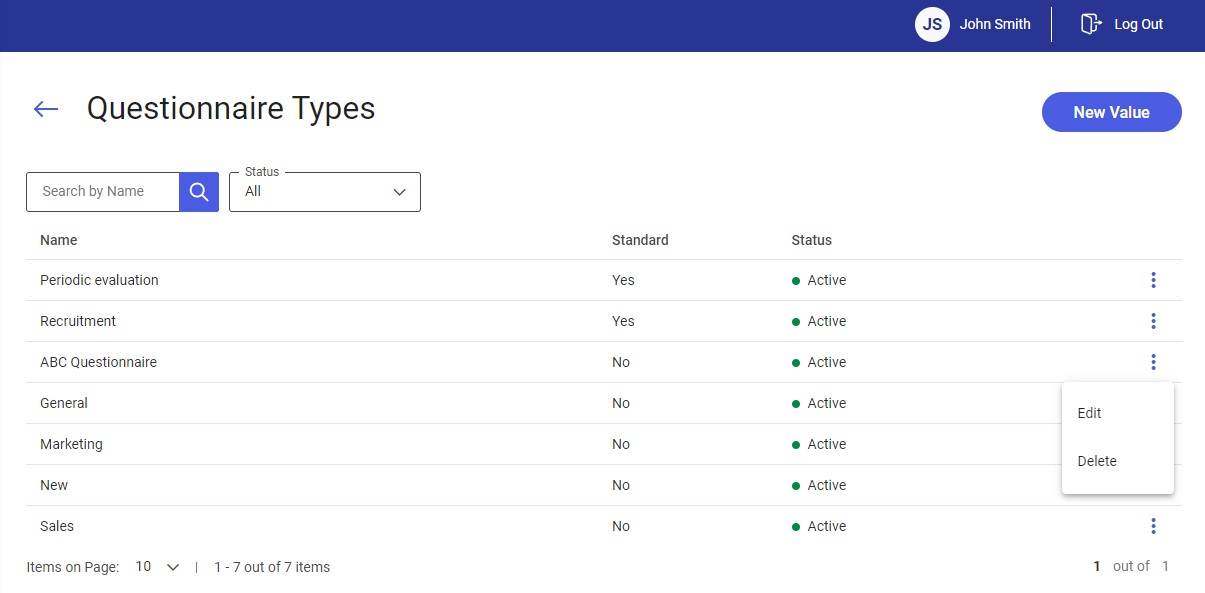
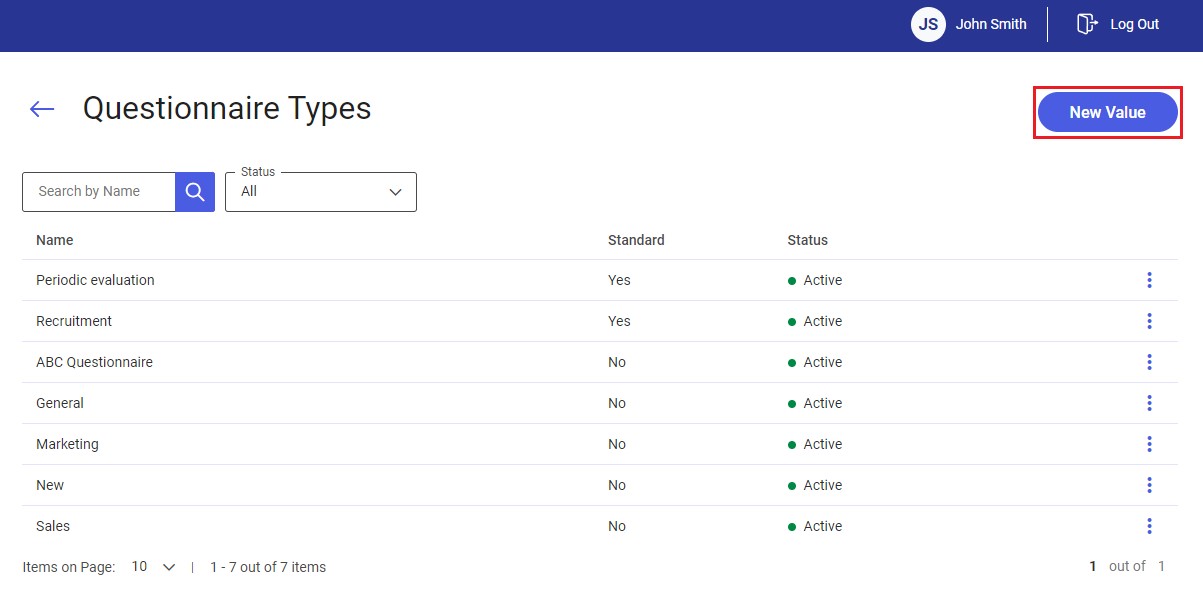
Selecting the tile opens the list of all the defined questionnaire types. It displays questionnaire type names, information about whether a type is predefined or user-defined, the activation status, and a context menu with the [Edit] and [Delete] options.
You can filter the list of questionnaire types by status and/or name in the Search by Name field.
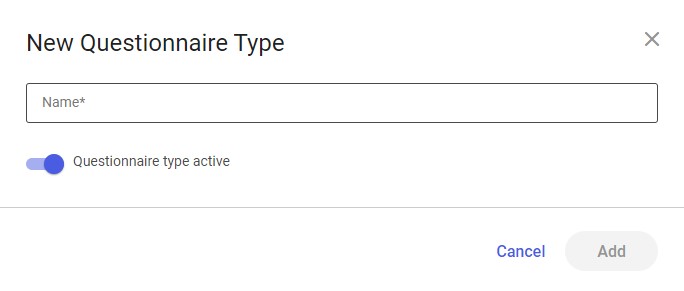
Adding a new questionnaire type
Using the [New Value] button in the top right corner, you can add a new questionnaire type.
Editing a questionnaire type
The [Edit] option allows you to modify questionnaire types. The process is similar as in the case of adding a new questionnaire type.
Deleting a questionnaire type
The [Delete] option is available if a questionnaire type has not been used in any questionnaire.
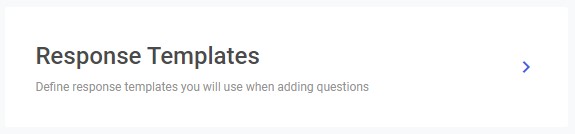
Response Templates directory
In order to define a new response template to be used when creating questions or edit an existing one, select the [Response Templates] tile.
Selecting the tile opens the list of all the defined response templates. It displays response template names, the activation status, and a context menu with the [Edit] and [Delete] options.
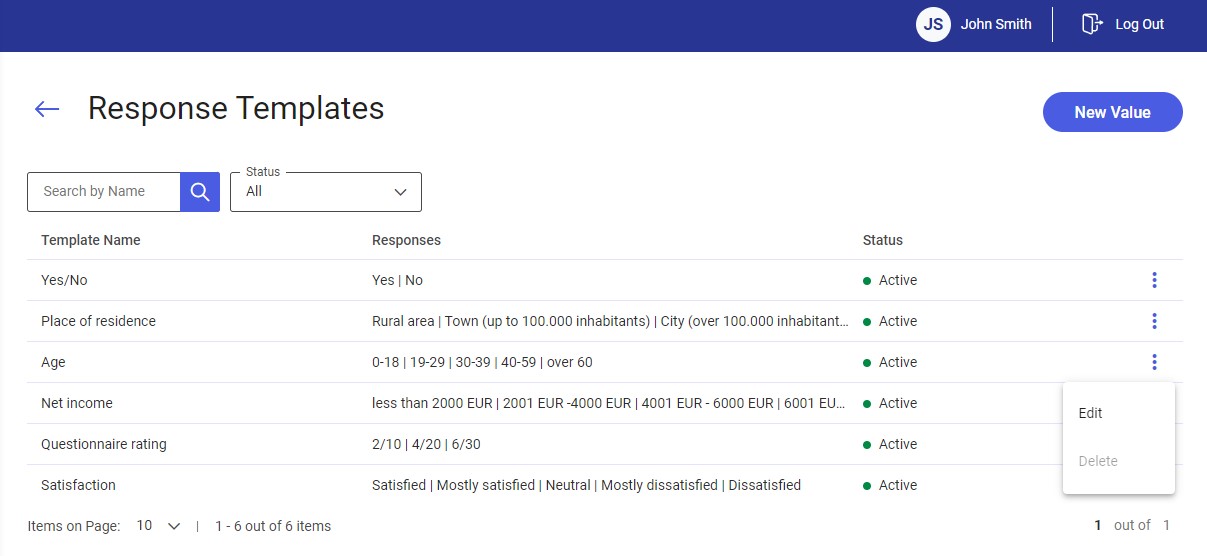
You can filter the list of response templates by status and/or name in the Search by Name field.
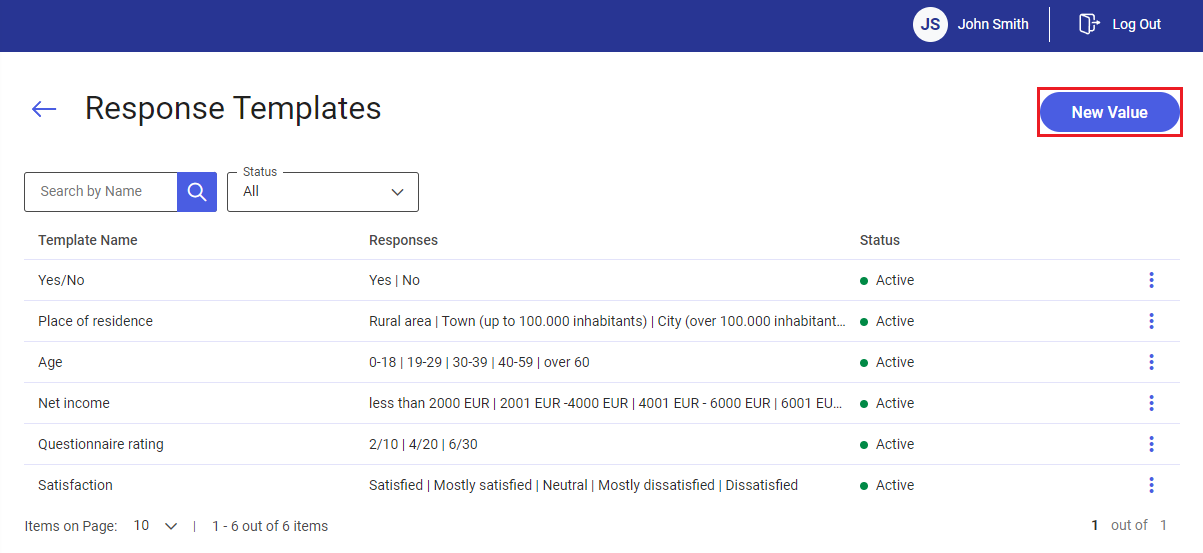
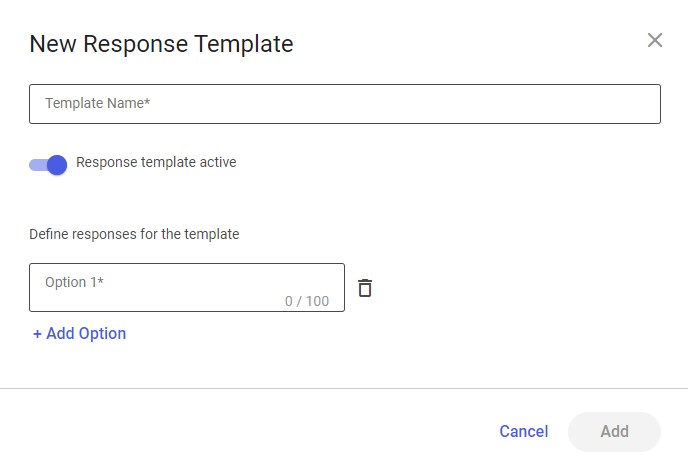
Adding a new response template
Using the [New Value] button in the top right corner, you can add a new response template.
Here you can give the new response template a name, specify whether it should be active (this parameter is enabled by default), and define response options for the template (you must enter at least two responses). To confirm the new response template, select the [Add] button.
Editing a response template
The [Edit] option allows you to modify response templates. The process is similar as in the case of adding a new response template.
Deleting a response template
The [Delete] option is available if a response template has not been added to any question.
Questions directory
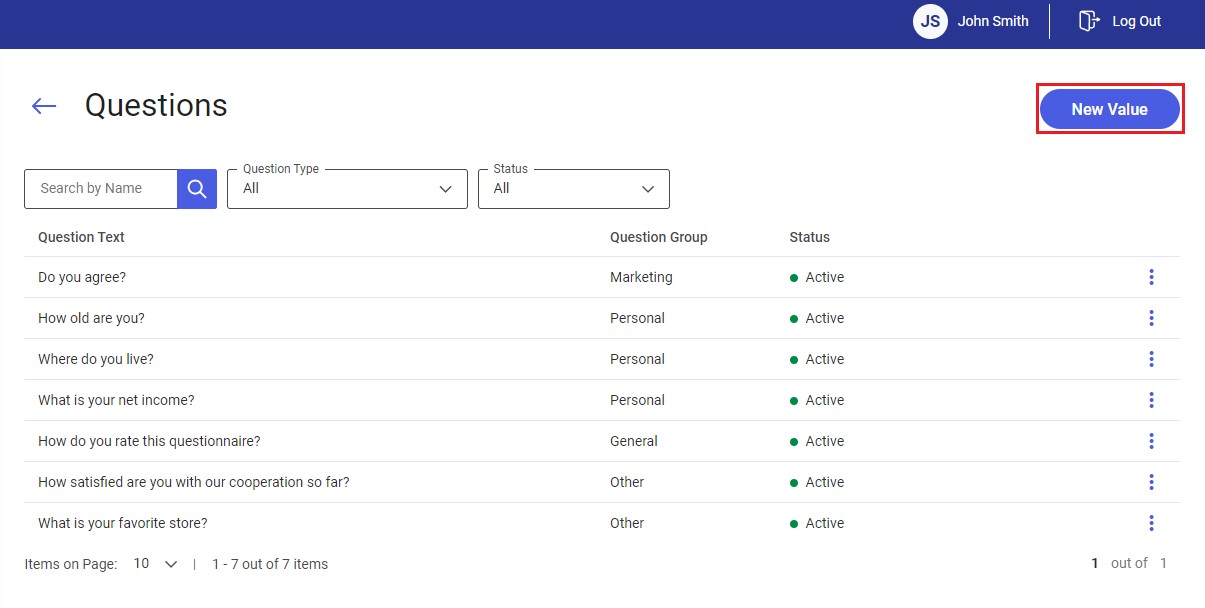
In order to define a new question or edit an existing one, select the [Questions] tile.

Selecting the tile opens the list of all the defined questions. It displays question texts and groups, the activation status, and a context menu with the [Edit] and [Delete] options.

You can filter the list of questions by status and/or name in the Search by Name field.
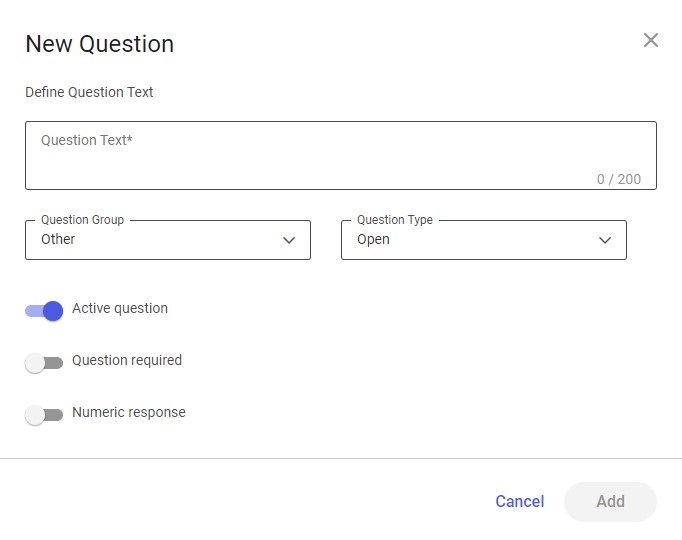
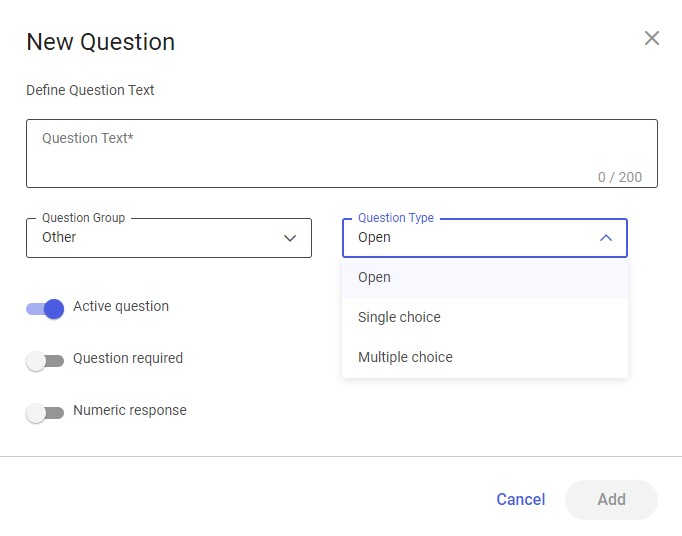
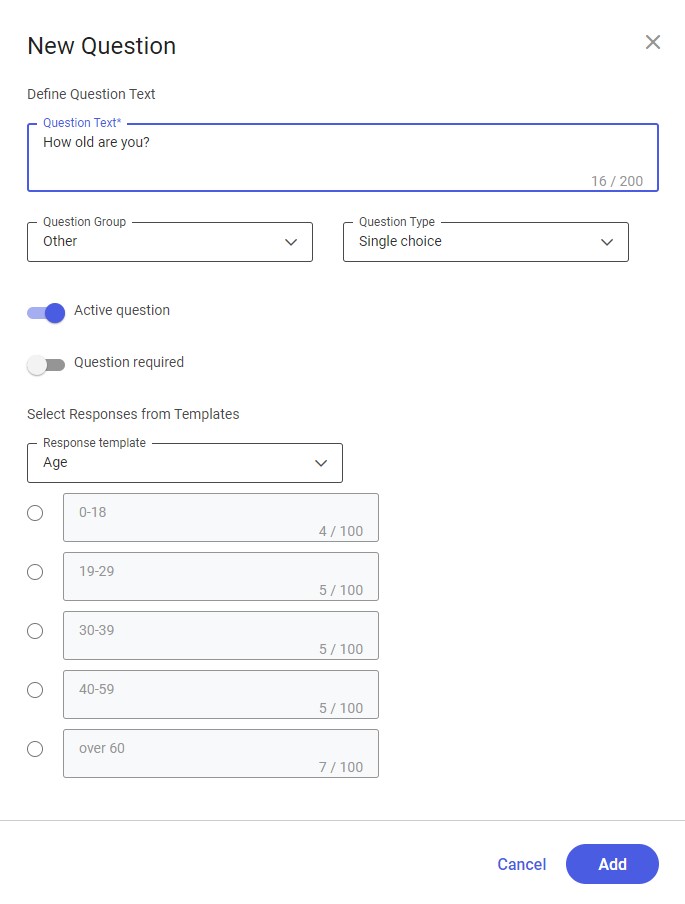
Adding a new question
Using the [New Value] button in the top right corner, you can add a new question.
Editing a question
The [Edit] option allows you to modify questions. The process is similar as in the case of adding a new question.
Deleting a question
The [Delete] option is available if a question has not been used in any questionnaire.