To install Comarch Mobile application, download the installation file from Comarch Mobile Management. The file is available in the Get App panel.
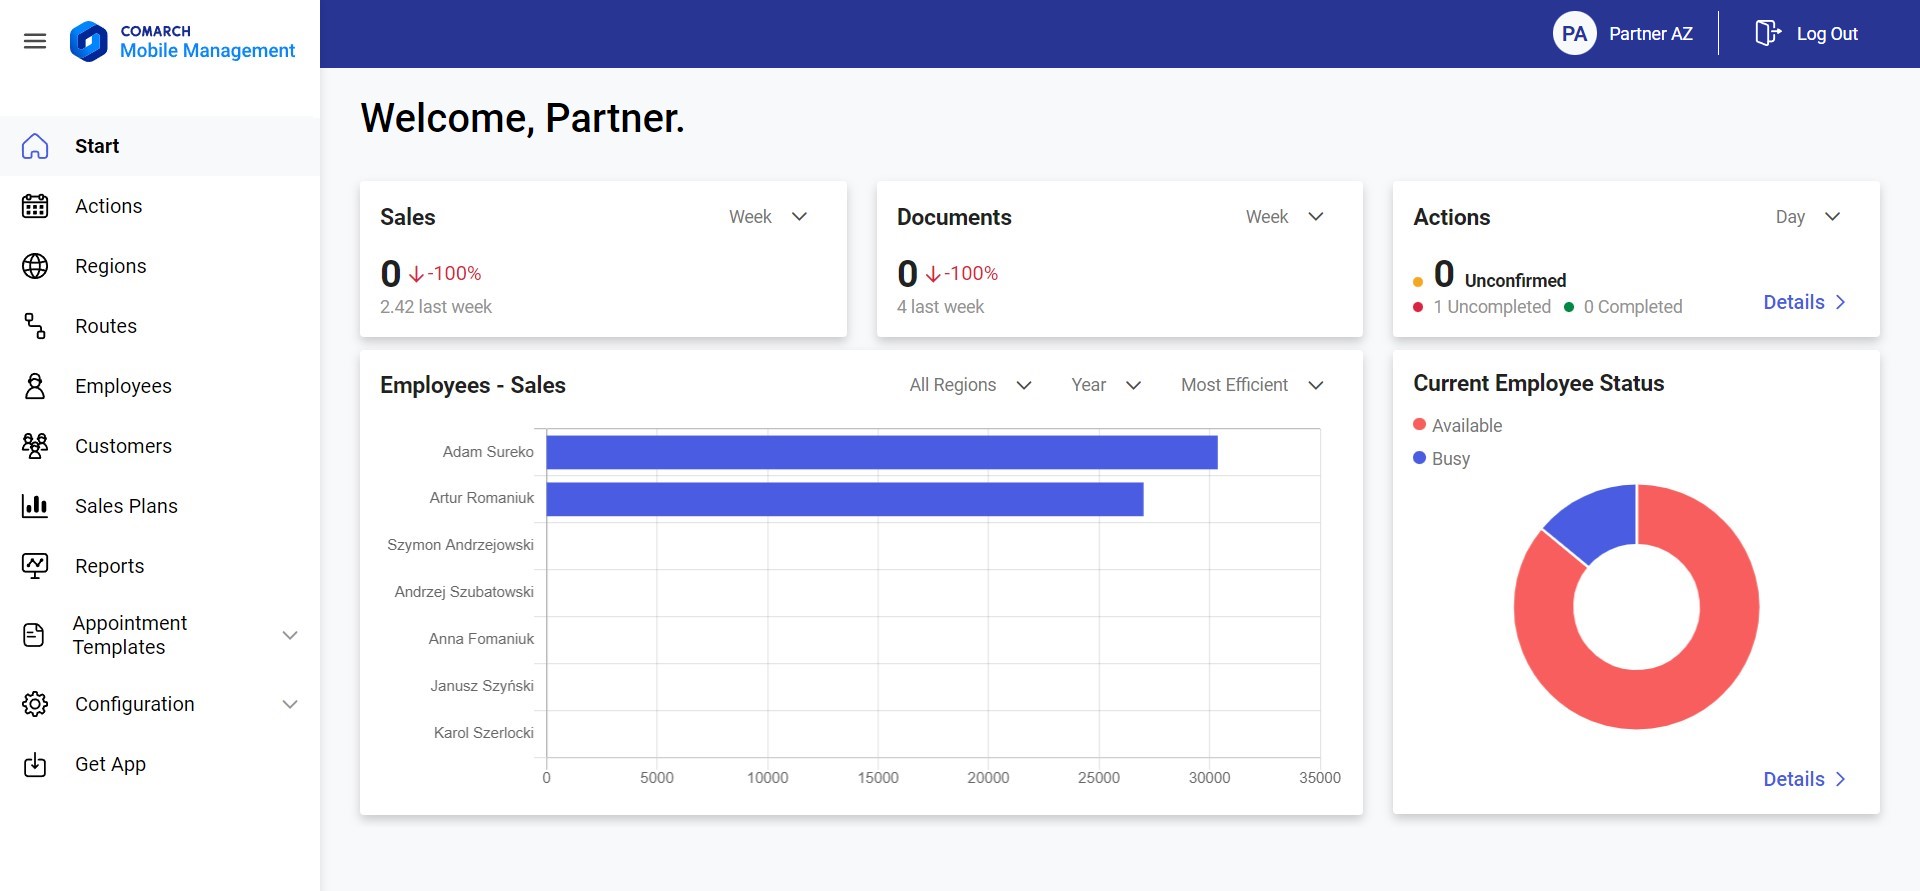
Select the [Get App] button in the main menu to download an appropriate Comarch Mobile version:
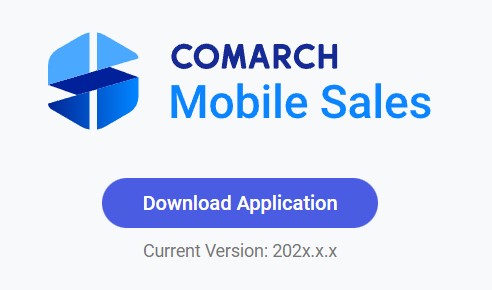
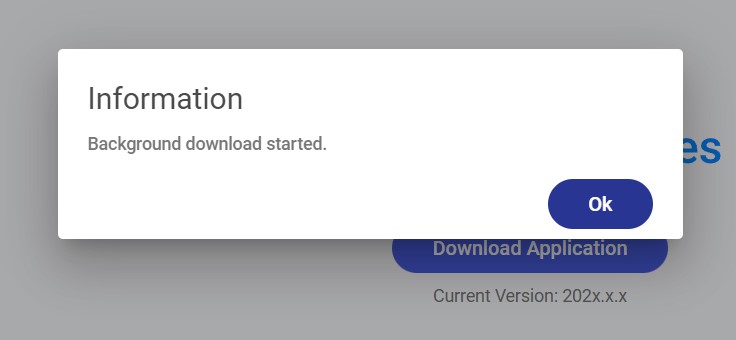

In the next step, transfer the 3.Vendor.Core.apk installation file to your Android mobile device.
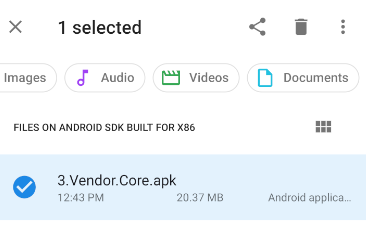
After transferring the installation file to the mobile device, open the file. You will see the screen below; once there, select the [Continue] button.
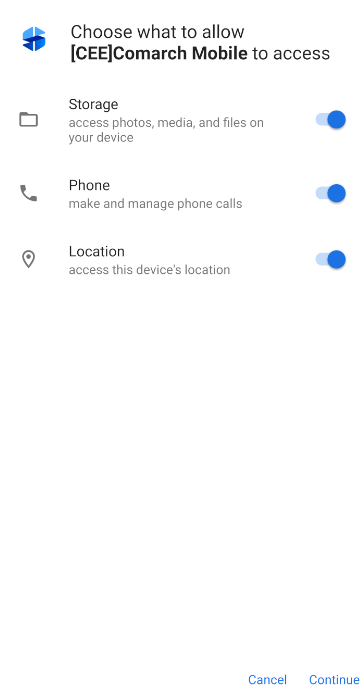
After you select the button, the application will be installed.
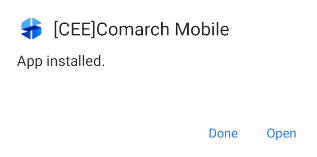
Now, select the [Open] button to run the application wizard; it will guide you through the process of launching the application for the first time.

Here, select the [Configure Application] button. It will direct you to the Connect to the server screen, where you will be asked to enter data needed to perform synchronization and download information from Comarch ERP Enterprise to the mobile database.
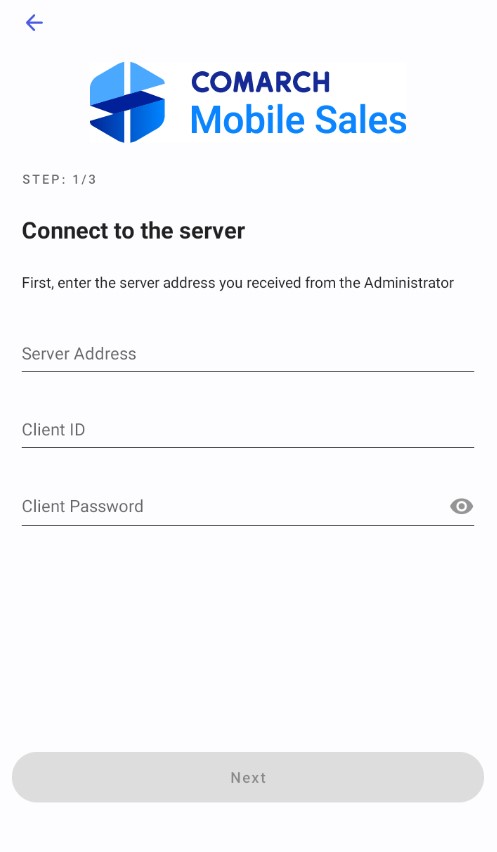
You need to fill in the following fields on the Connect to the server screen:
- Server Address – the name of the server to synchronize data with
- Client ID – the ID of your client license
- Client Password – the client ID’s password
Complete the above data based on information received from Comarch.
Select the [Next] button to continue to the Log in step, where you need to complete the data of the mobile operator.
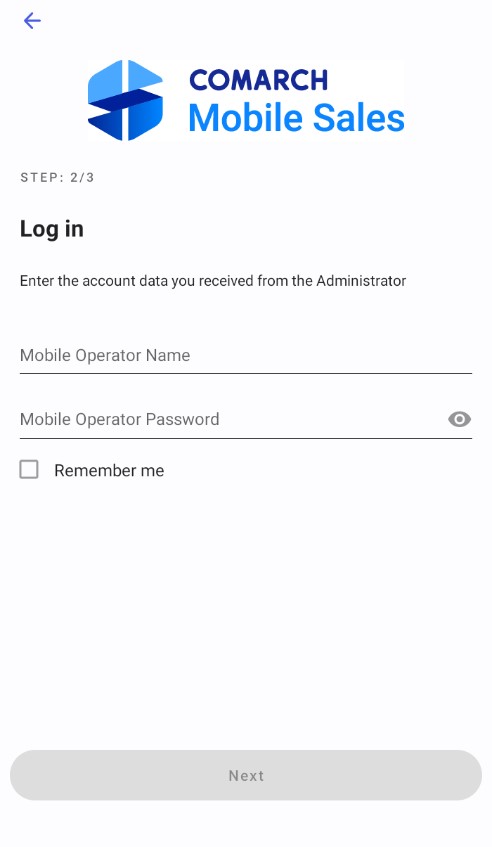
After entering the correct data of the mobile operator, select the [Next] button. The application will display the Perform the first synchronization screen.
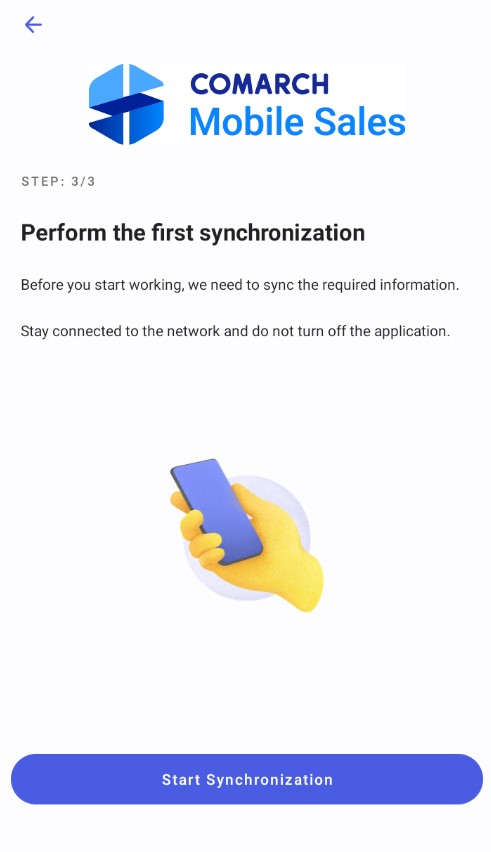
Here, select the [Start Synchronization] button to initiate the first synchronization process.
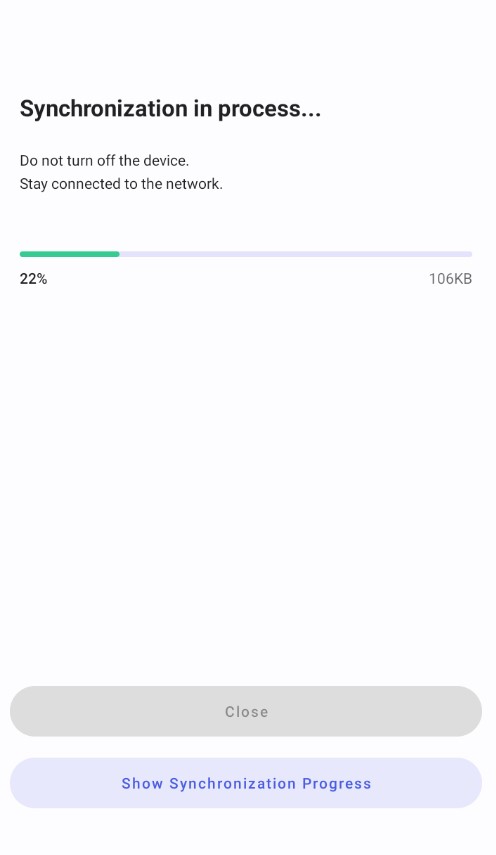
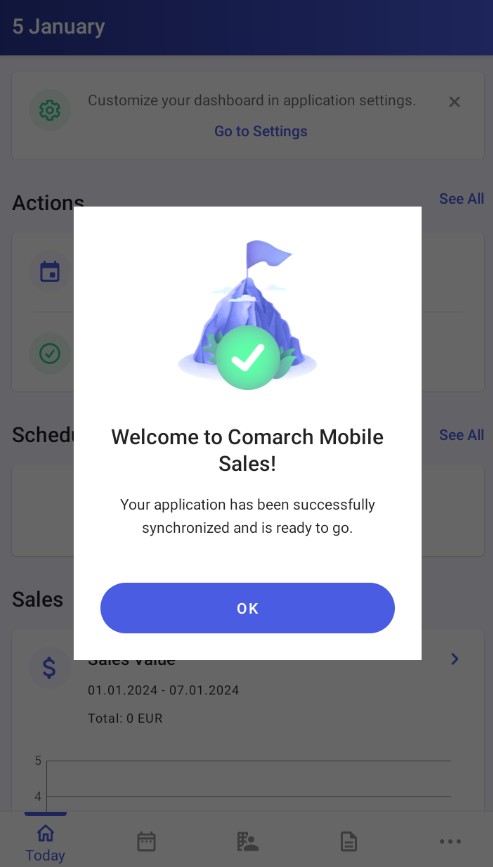
Once the synchronization is completed successfully, the view of the application should be as follows:
