The New Receipt view may be opened either by selecting [New Document] in the Start view or by selecting the [+ New Receipt] button in the Trade Documents view.
Once it is opened, the view displays the “Start scanning the items” notification in the center. Next, this place presents the list of added items.
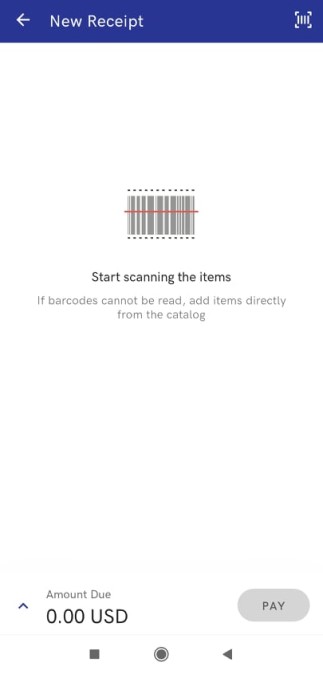
The bottom part of the view contains information on the amount due and the [Pay] button.
The upwards arrow enables the user to display the document summary:
- Total
- Discount
- Mark-up
- Total quantity

Items may be added to a receipt with the use of:
- a physical scanner if the device is equipped with one
- a camera scanner – opened by the barcode icon in the top right corner. Using the camera scanner requires a permission for Comarch mPOS to access the camera.
Once an item is added, it is presented with the following details:
- Image
- Name
- UPC code
- Unit of measure
- Price

When item details are expanded, the application also presents an item quantity, which can be increased or decreased using the plus and minus buttons.
An item may be deleted using the red recycle bin button.
The pencil button allows the user to edit an item, opening the Item Details view.
The Item Details view is composed of:
- Item image browser – an item may be changed by selecting the arrows. If no image is attached to an item, the application presents a white background.
- Item name
- Expandable section Price – presenting a regular and discounted price
- Expandable section Value – presenting a regular and discounted value
The bottom part of the view contains the button [Save Changes], enabling the user to save changes made and return to the previous view.
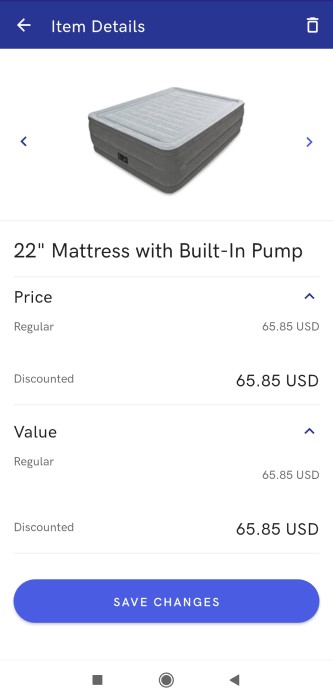
To return, the user may also select the arrow in the top left corner.
The recycle bin button in the top right corner of the Item Details view deletes a given item from the receipt.
The bottom right corner of the New Receipt window contains the [Pay] button, which makes it possible to continue the purchasing process. Once the button is selected, the Payment view is opened.
The Payment view presents an amount due and the receipt’s value. Selecting the button [Confirm] continues the payment process. After selecting the button, the payment starts to be processed; if it is completed successfully, the receipt is printed out.
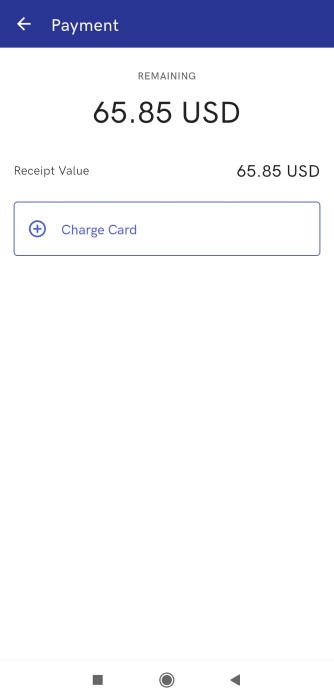
If the payment cannot be confirmed, the application displays an error notification and asks the user to confirm the document. Selecting the [Confirm] button opens the Trade Documents view containing the new receipt.