After running the application, you need to perform the necessary operations such as database conversion, store loading.
The first configuration window will then be displayed. Select the button [Begin Configuration].
First, complete the data service details such as:
- mPOS workstation code
- Maximum size of data pack for first synchronization – by default, 10000
- Maximum size of data pack for subsequent synchronizations – by default, 10000
- Used ERP system (Comarch ERP Standard, Comarch ERP Enterprise)
- Data service address (computer IP, name or address)
- Data service port
After completing the fields, select the button [Confirm and Test Connection].
If connection is established successfully, the following message will be displayed:

Next, complete the Auto Update and the POS Agent settings such as:
- Parent agent address (AU)
- Parent agent port (AU) – by default, 11365
- Message broker address (broker IP address)
- Message broker port (broker port) – by default, 5672
- Agent code (AU) – the mPOS workstation is treated as a child agent
- Profile code (AU) – by default, mainprofile
- SSL – activates the SSL support
- User’s certificate name – it activates after enabling the SSL parameter; use this field to enter the name of a certificate exported from Comarch Update Agent
- Certificate password – it activates after enabling the SSL parameter; use this field to enter the password of a certificate exported from Comarch Update Agent
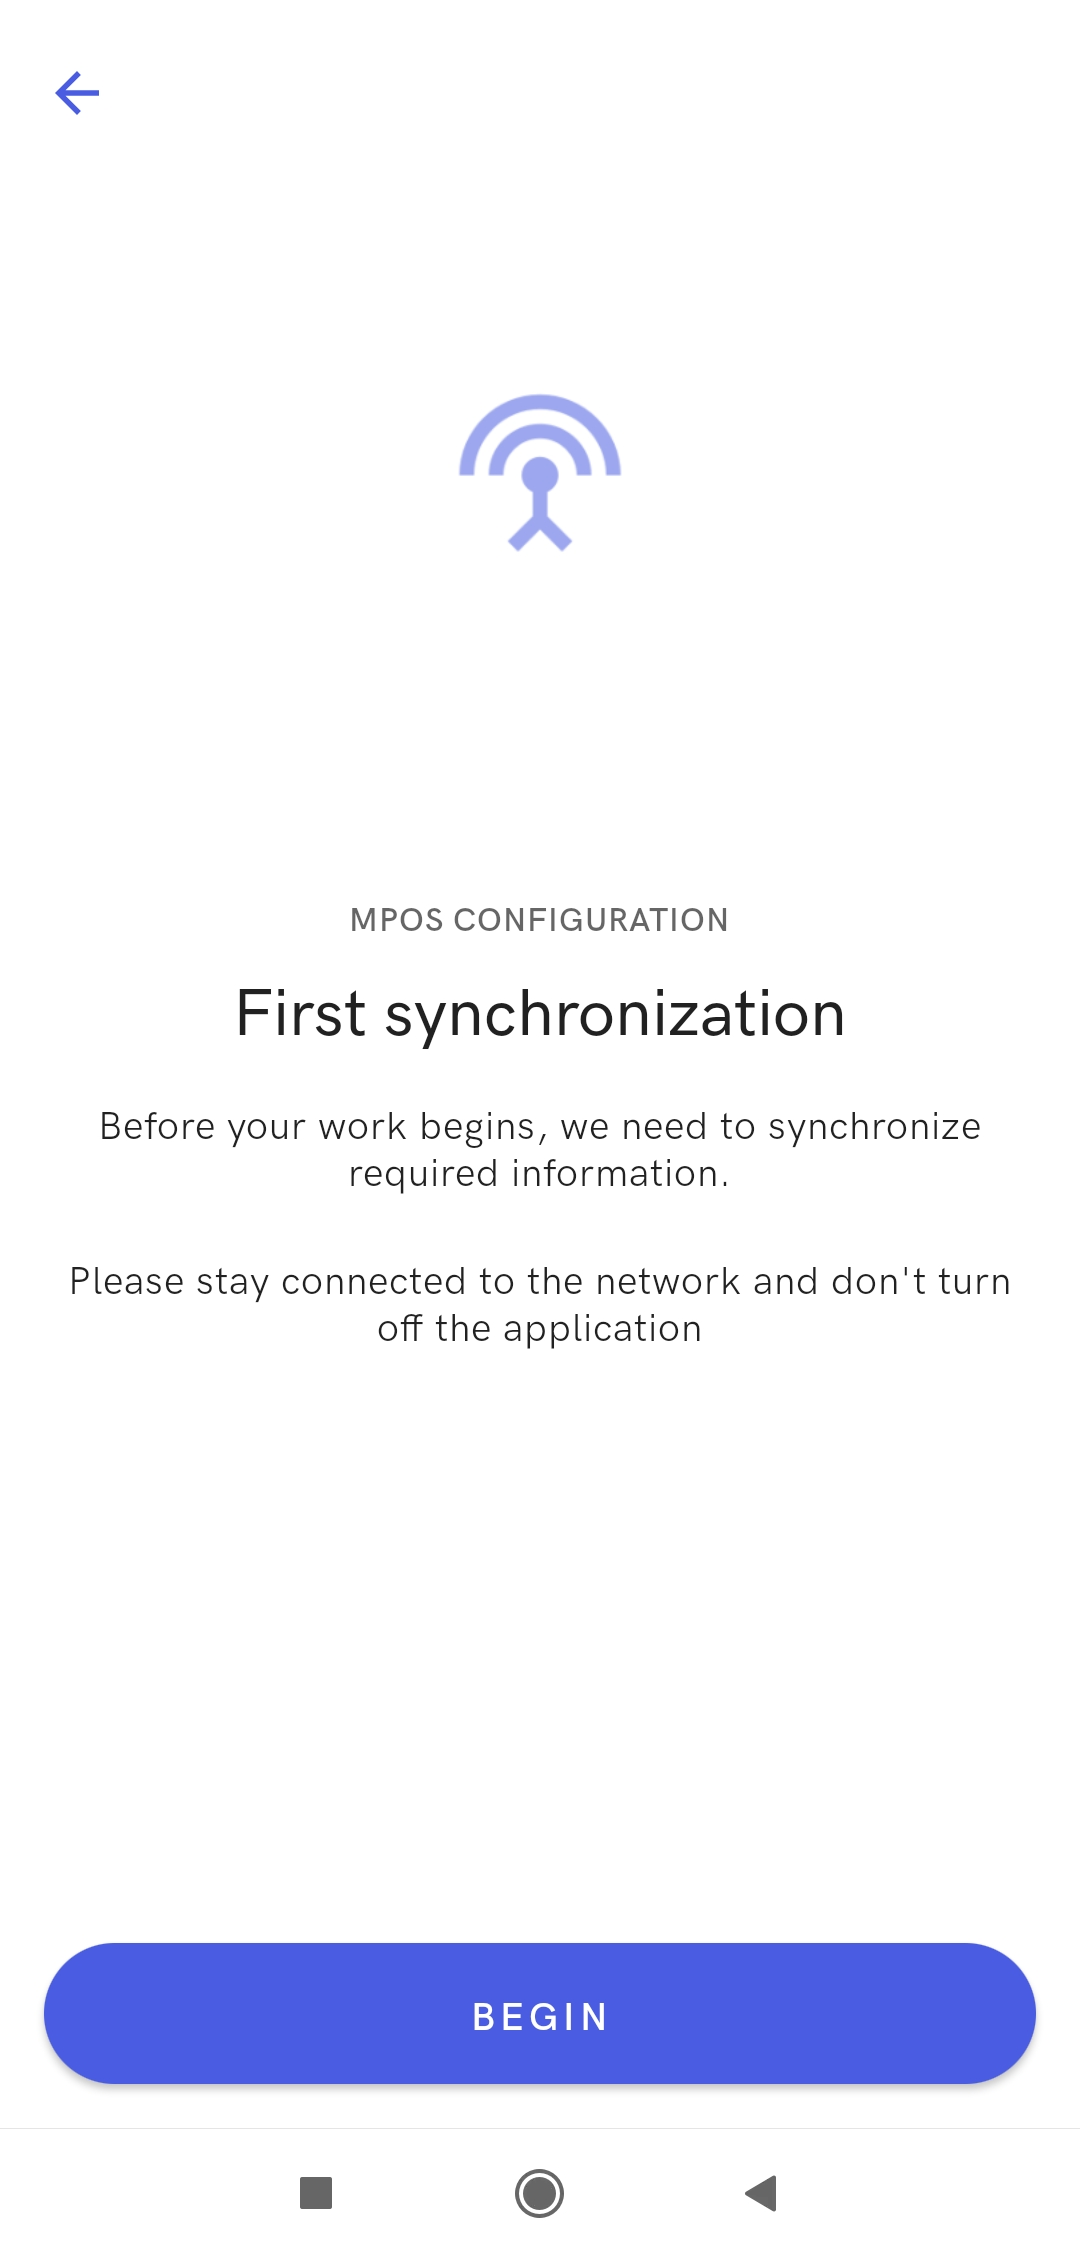
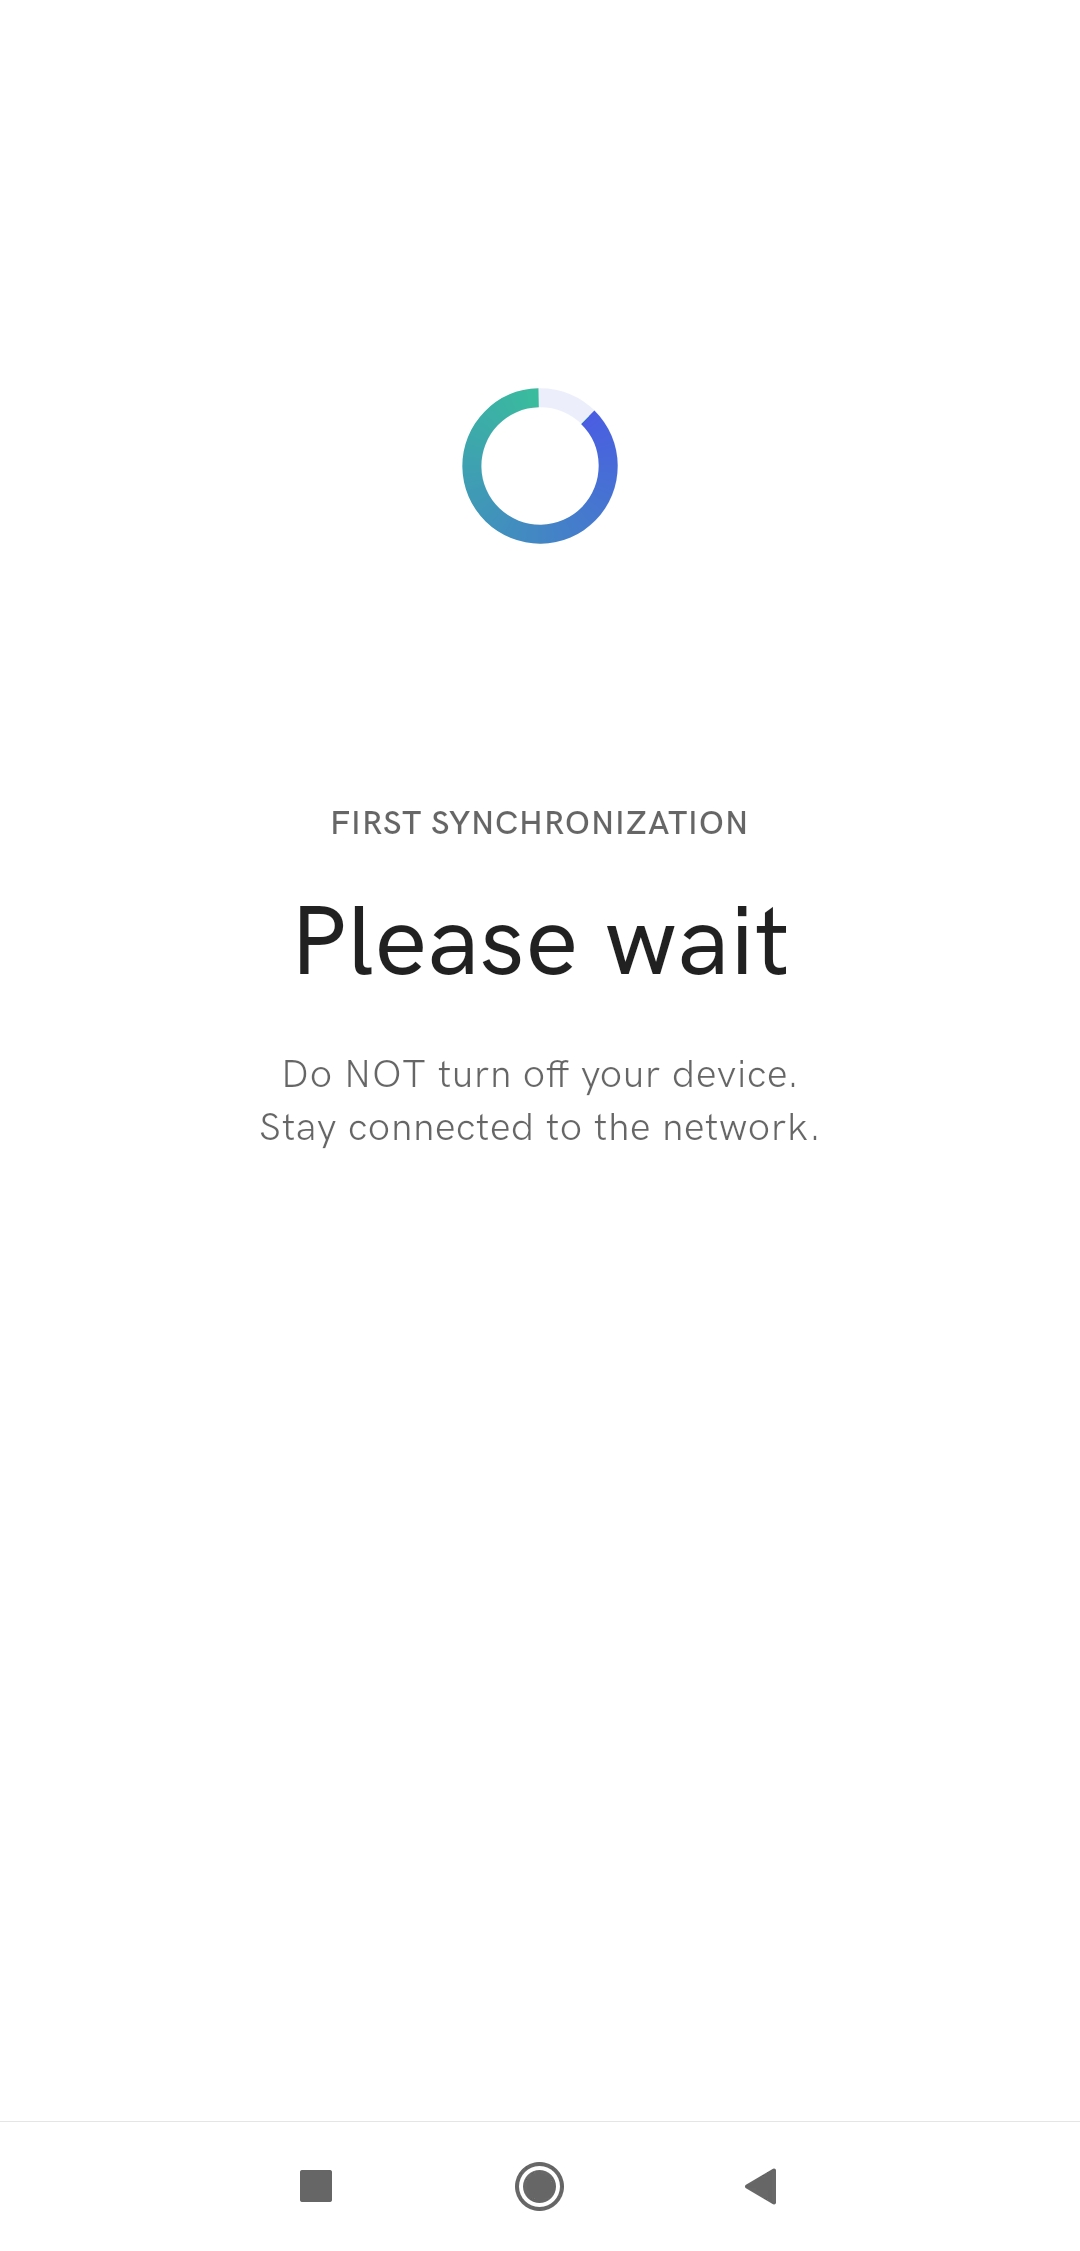
Upon confirmation, the first synchronization view will be displayed. Selecting the [Begin] button starts the first synchronization process with the ERP system.
If you encounter any errors during connection, the relevant messages will be displayed.
When everything is configured correctly, the data exchange will take place.
Upon synchronization, a login window will be displayed.
After logging in, you will see the Start view of the application.