
In Comarch POS, it possible to verify business entities on the basis of a tax identification number and get address data from the GUS (Statistics Poland) register and VIES database (used in the European Union). This feature optimizes the process of registering new customers, automatically downloading data from the GUS/VIES services. Additionally, it eliminates errors that frequently occur when filling in the customer form manually.
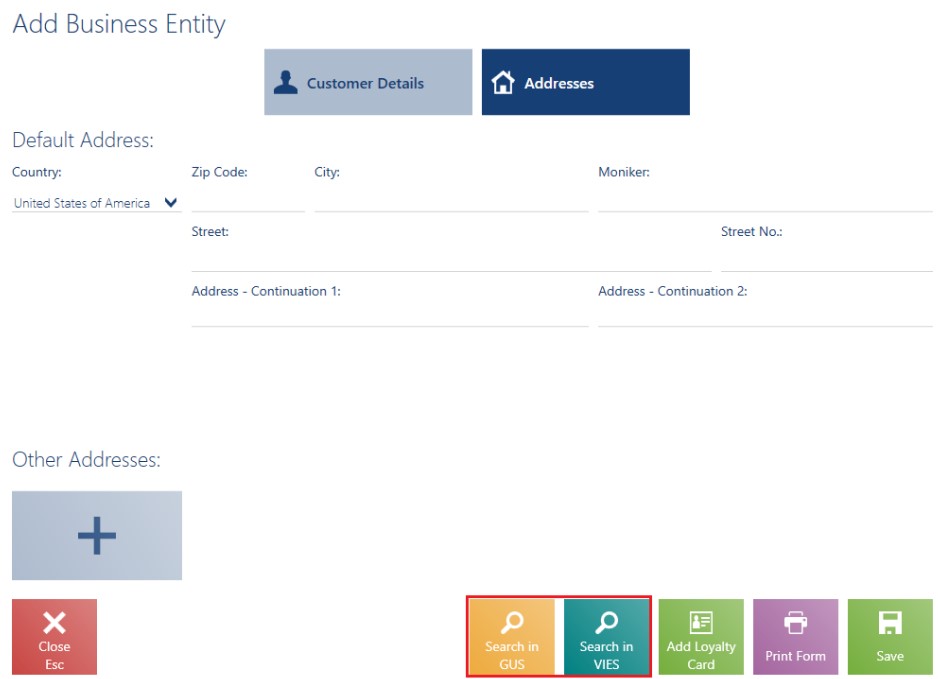
The [Search in GUS] and [Search in VIES] buttons are available:
- On the customer list
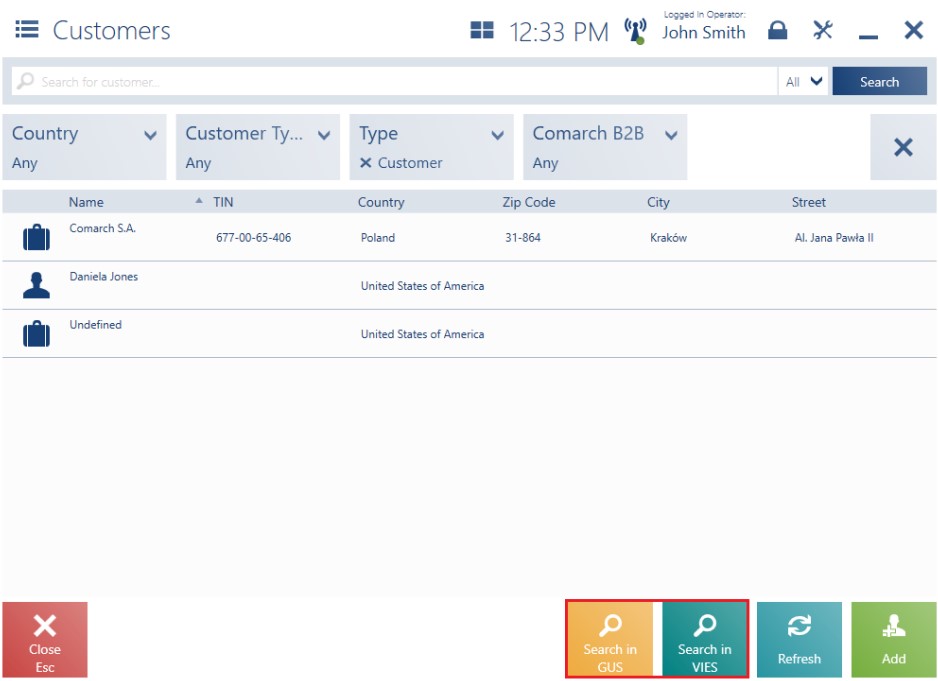
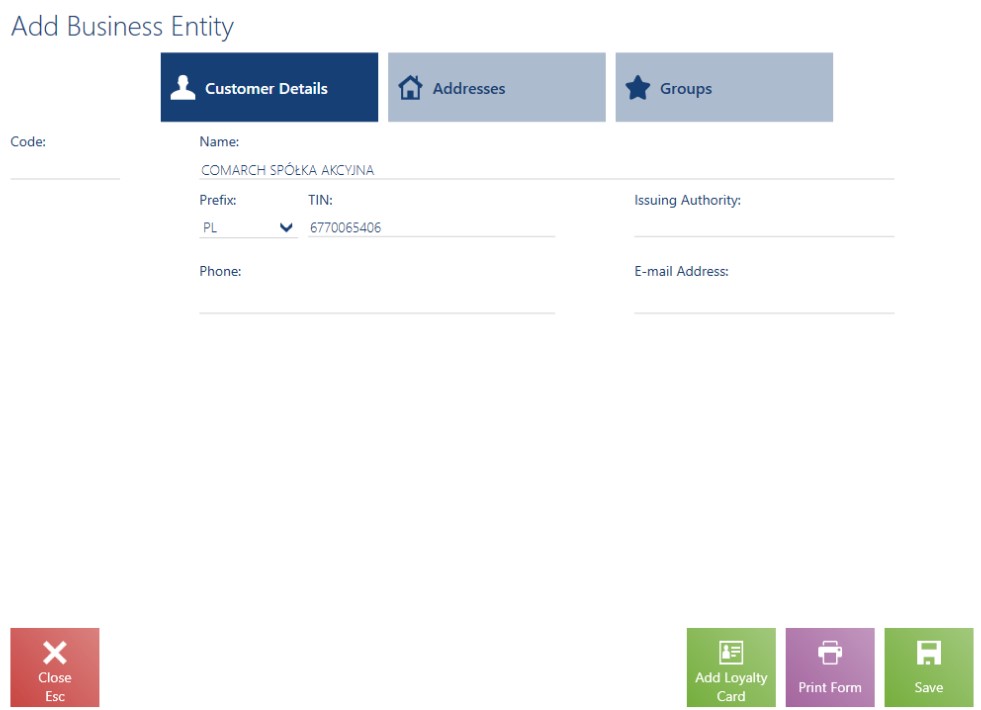
- On the new business entity form
Data from the GUS and VIES databases may only be verified with active Internet connection, regardless of the status of connection to the ERP system synchronization service. If there is no connection to the Internet, a relevant blocking notification is displayed: “No Internet connection or the server is not responding. Check your network connection or try again later.”
GUS verification
After the user selects the [Search in GUS] button on the customer list or new business entity form, the application displays a window where it is possible to enter a TIN number. The GUS database makes it possible to verify Polish customers – the default, non-editable prefix in the Search in GUS window is PL.
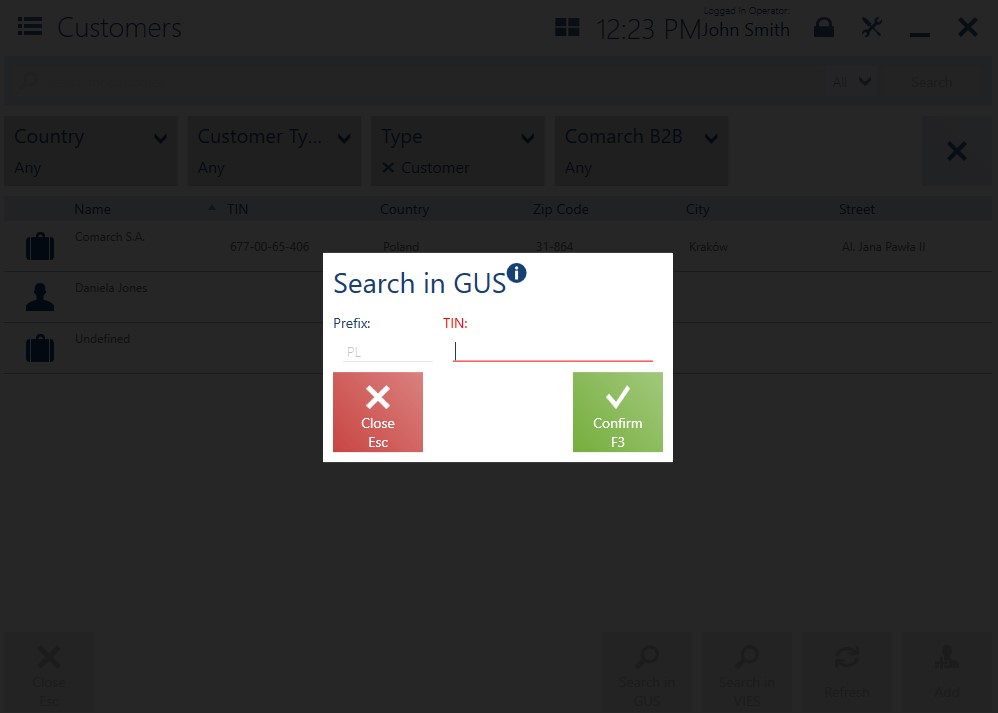
The Search in GUS window contains the following buttons:
- [Close] – it closes the window and returns to the customer list/new business entity form
- [Confirm] – it transfers data to the GUS service
After the user enters a given TIN number and selects the [Confirm] button, the data entered is verified and the application displays search results.
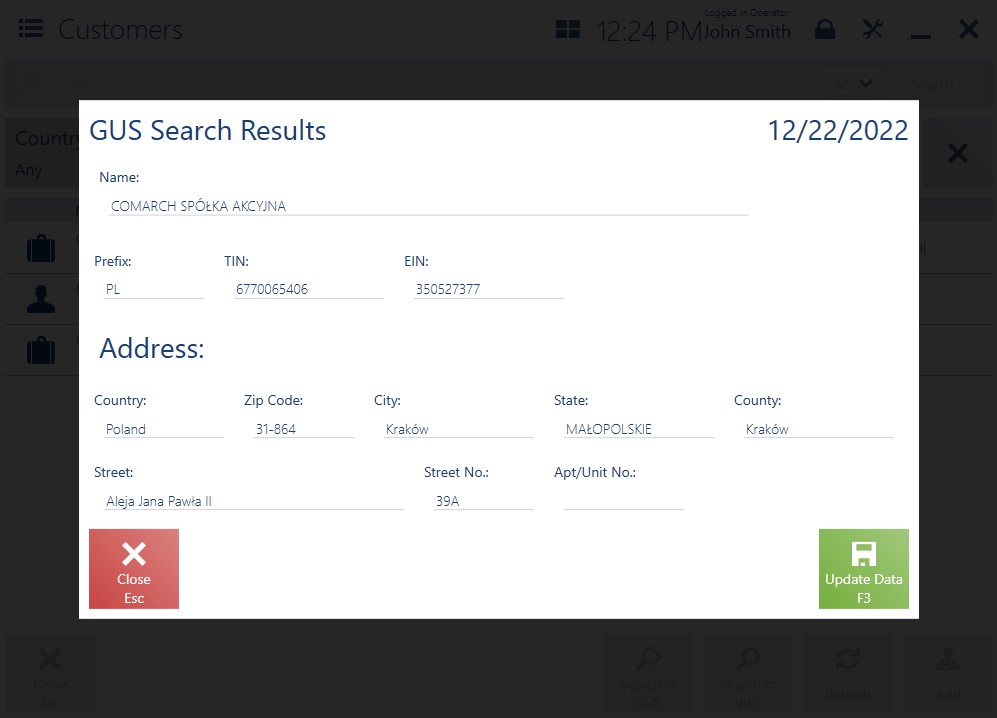
The GUS Search Results window contains the following buttons:
- [Close] – it closes the search results window
- [Update Data] – it updates data and automatically transfers it onto the new customer form
The GUS Search Results window presents the following data:
- Search date – the date of search in the GUS service
- Name
- Prefix
- TIN
- EIN
- The Address section with the following fields:
- Country
- Zip Code
- City
- State
- County
- Street
- Street No.
- Apt/Unit No.
If a customer with the same TIN number already exists in the POS database, the workstation displays the following notification: “A customer with this TIN number [number] already exists.”
Selecting [Yes] opens the window allowing the user to edit the customer with the searched TIN number. Selecting [No] returns to the customer list.
VIES verification
After the user selects the [Search in VIES] button on the customer list or new business entity form, the application displays a window where it is possible to enter a TIN number. The VIES database makes it possible to verify customers originating from the European Union. In the Search in VIES window, it is necessary to select a prefix from the drop-down list (predefined in the ERP system) and enter a relevant TIN number.
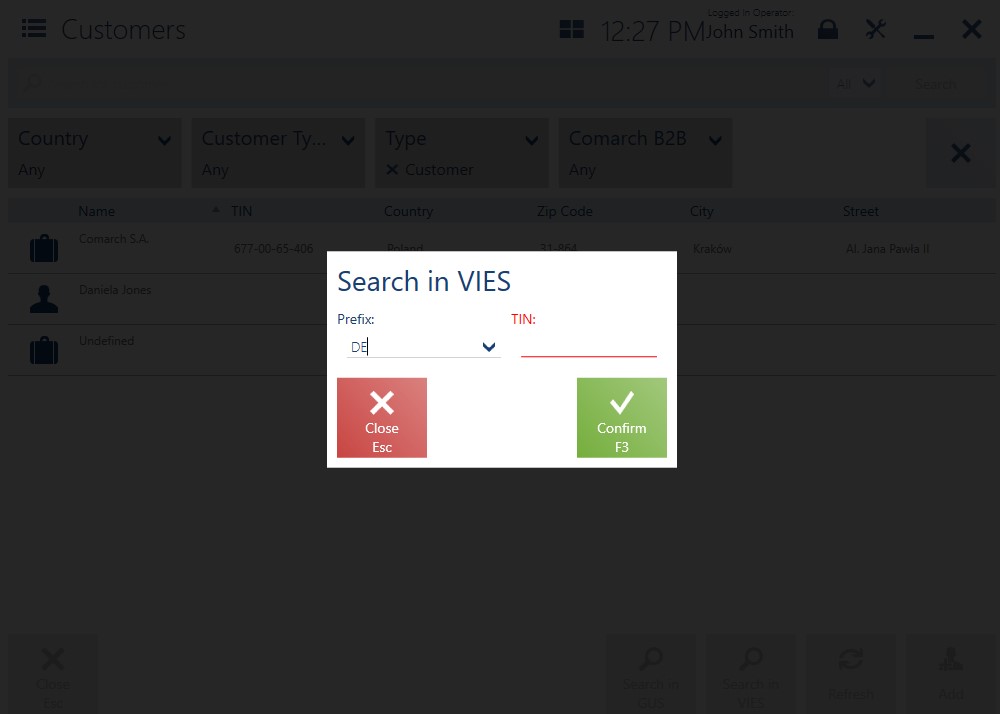
The Search in VIES window contains the following buttons:
- [Close] – it closes the window and returns to the customer list/new business entity form
- [Confirm] – it transfers data to the VIES service
After the user enters a given TIN number and selects the [Confirm] button, the data entered is verified and the application displays search results.
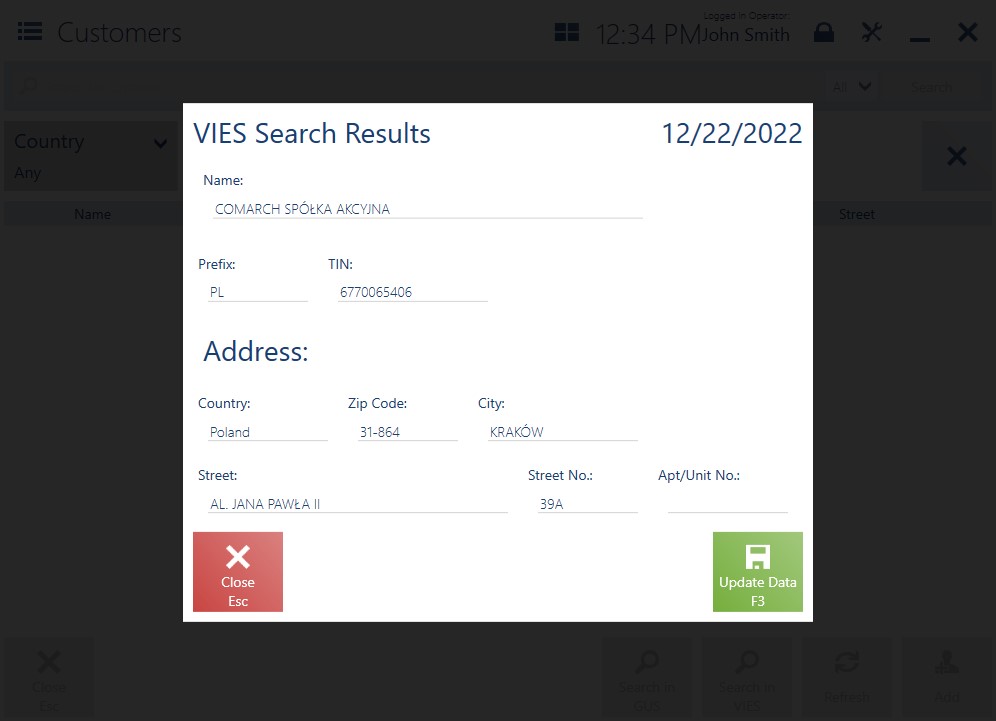
The VIES Search Results window contains the following buttons:
- [Close] – it closes the search results window
- [Update Data] – it updates data and automatically transfers it onto the new customer form
The VIES Search Results window presents the following data:
- Search date – the date of search in the VIES service
- Name
- Prefix
- TIN
- The Address section with the following fields:
- Country
- Zip Code
- City
- Street
- Street No.
- Apt/Unit No.
If the POS database contains no countries belonging to the European Union, the following notification is displayed: “There are no countries belonging to the European Union in the database.“