Contents
General information
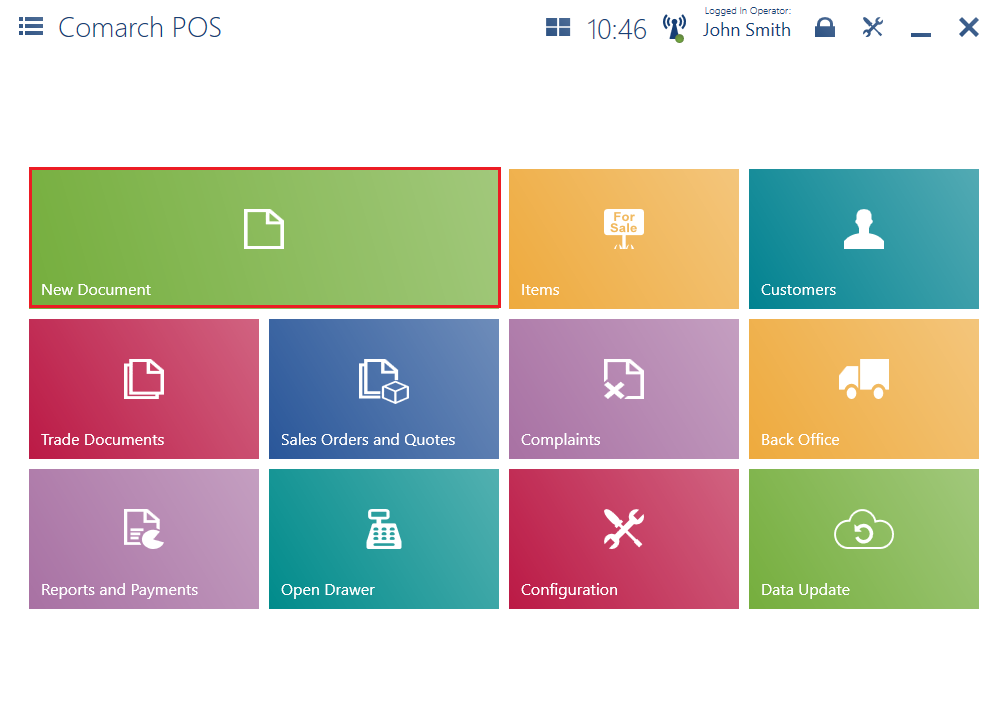
In order to add a new receipt (R) or sales invoice (SI), the user needs to select the button [New Document] in the main menu.
By default, the application displays a new receipt form. To change the document type, it is necessary to select the button [Change to Invoice]/[Change to Receipt].
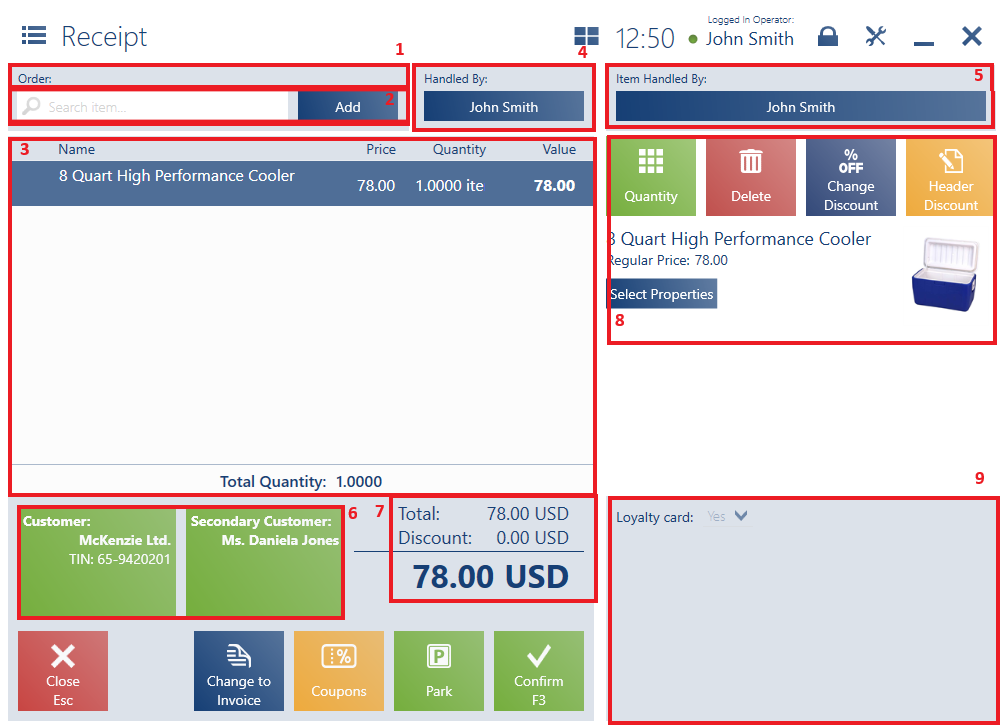
A new R/SI document form contains the following fields (particular points correspond to areas marked in the figure above):
1. Order – the field is editable
2. Search Item – it enables the user to search and add a document item
3. Document Item List, containing the following columns:
- Name
- Price
- Quantity
- Value
Hidden by default:
- Base Price
- Regular Price
- Code
- VAT
- Total Price
- Subtotal Price
4. Handled By – it presents an employee issuing the document
6. Customer – it makes it possible to select a (primary and secondary) customer in the document. In SI documents, selecting a customer other than Undefined is required.
7. Summary – it presents the total value of all entered document items:
-
- Total – displayed for documents with the VAT direction specified as On Total
- Subtotal – displayed for documents with the VAT direction specified as On Subtotal
- Base Total – the sum of all document items at a base price, including the quantity of each item
- Price Difference – a difference between the value of items at a base price and at a regular price
- Discount
- Mark-Up
- Prepayments
- VAT – displayed for documents with the VAT direction specified as On Subtotal
- Credit Limit – depending on configuration in the ERP system, this field presents the value of a credit limit granted to a given customer which either is or is not reduced by the document’s value
- The overall sales value after considering a discount/mark-up/VAT
8. Document Item Details – it presents detailed information on a document item and enables the user to change the item’s quantity, regular price, etc.
9. Attributes – it presents attributes assigned to a given document type
The form of a new receipt or sales invoice contains the following buttons:
- [Park] – it saves the document as unconfirmed to enable its completion later or on another workstation
- [Confirm] – it confirms the document
- [Print] – it prints the document (hidden by default)
- [Coupons] – it displays discount coupons
- [Calculate Promotions]/[Promotions] – it calculates/deletes bundle promotions
- [Advance Invoices] – it opens the list of existing advance invoices issued for the selected customer
In the ERP system, it is possible to specify whether a trade document which contains at least one document item with a zero price can be confirmed on the POS workstation.
The application makes it possible to confirm SI, SIQC, ASI, and ASIQC documents for an undefined customer. The functionality may be activated on the ERP system’s side.
Simplified invoices (Polish legal regulations)
According to changes in Polish legal regulations, Comarch POS should verify the process of invoice generation. As of 1 October 2020, receipts up to 450 PLN total with a customer holding a TIN number should be treated as simplified invoices. Therefore, generating invoices to such receipts is blocked when an appropriate parameter is activated in the ERP system.
Printing invoices on a receipt printer
When verifying conditions that need to be met to print invoices and advance invoices on a receipt printer, the application takes into account the customer type:
- An advance invoice may be printed on a receipt printer if a retail customer has been selected and the VAT direction On Total has been set in the source sales order
- A sales invoice may be printed on a receipt printer if a retail customer has been selected and the VAT direction On Total has been set in that invoice
Integration with the KSeF National System of e-Invoices (Comarch ERP Standard)
The National System of e-Invoices (KSeF) came into force in Poland in January 2022. Its purpose is to collect e-invoices issued by entrepreneurs. The KSeF system makes it possible to issue structured invoices as one of the accepted forms of documenting transactions, in addition to paper invoices and electronic invoices currently used in business transactions.
From the beginning of 2025, the KSeF system is to be made mandatory. Therefore, to meet market requirements, integration with KSeF has been implemented in Comarch POS. On your Comarch POS workstation, you can:
- Directly record invoices to KSeF
- Get status confirmations for Official Acknowledgements of Receipt
- Print invoices with QR codes
- Preview invoice statuses
In the event that there is no connection to the KSeF platform, you can issue a document in Comarch POS and send it to KSeF from the ERP system at a later time.
KSeF – Customers
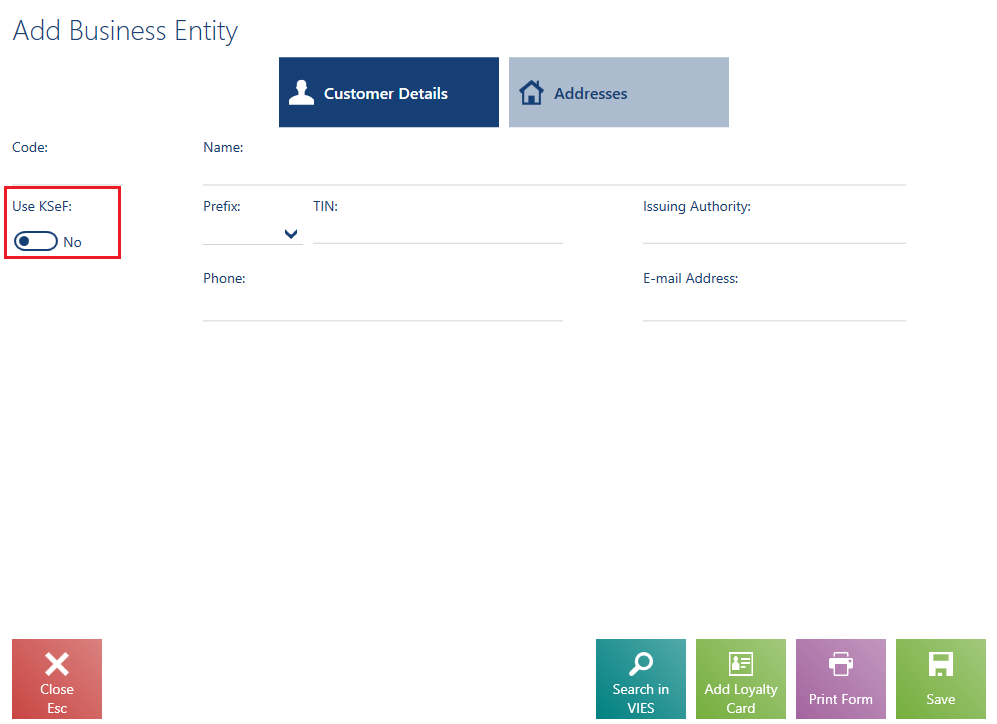
The customer form contains a parameter Use KSeF. The parameter determines whether a given customer has agreed to receive invoices via KSeF. The parameter is available for business entities.
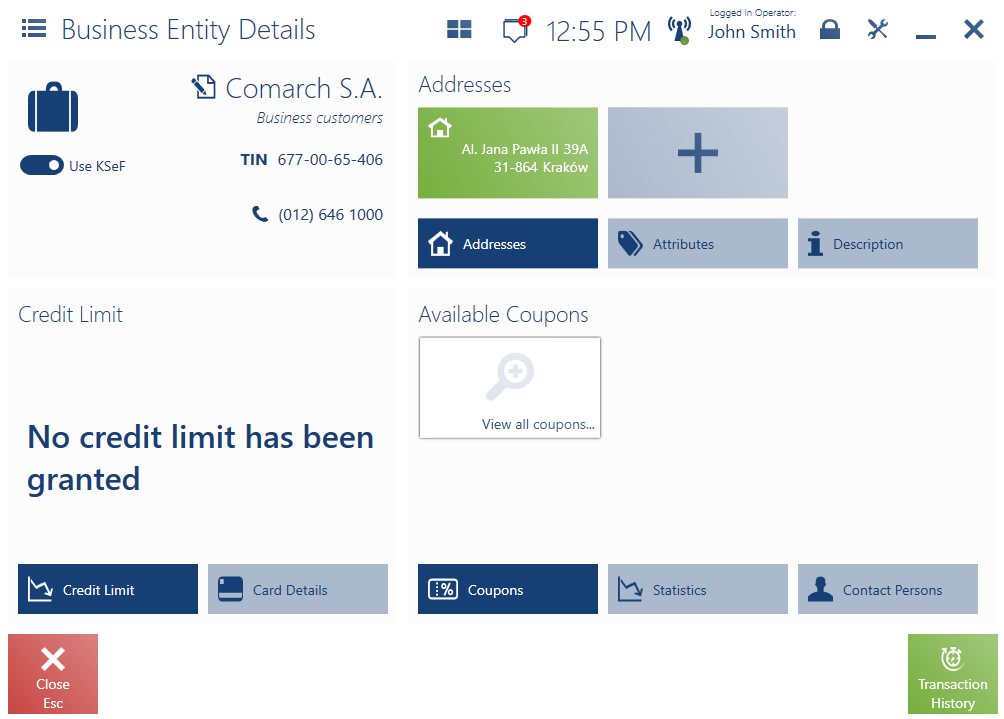
After a customer is saved with the Use KseF parameter selected, the parameter is also displayed in the customer preview.
The first time you select a business entity with the Use KSeF parameter enabled in an invoice issued on the POS workstation, the application verifies whether a certificate is installed on the computer by displaying a certificate selection window. After a relevant certificate is selected, invoice data is verified by the KSeF connector and the POS workstation displays an appropriate message. Once the verification is successfully completed, the payment window opens. After you confirm it, the document is sent to KSeF in the background.
KSeF data
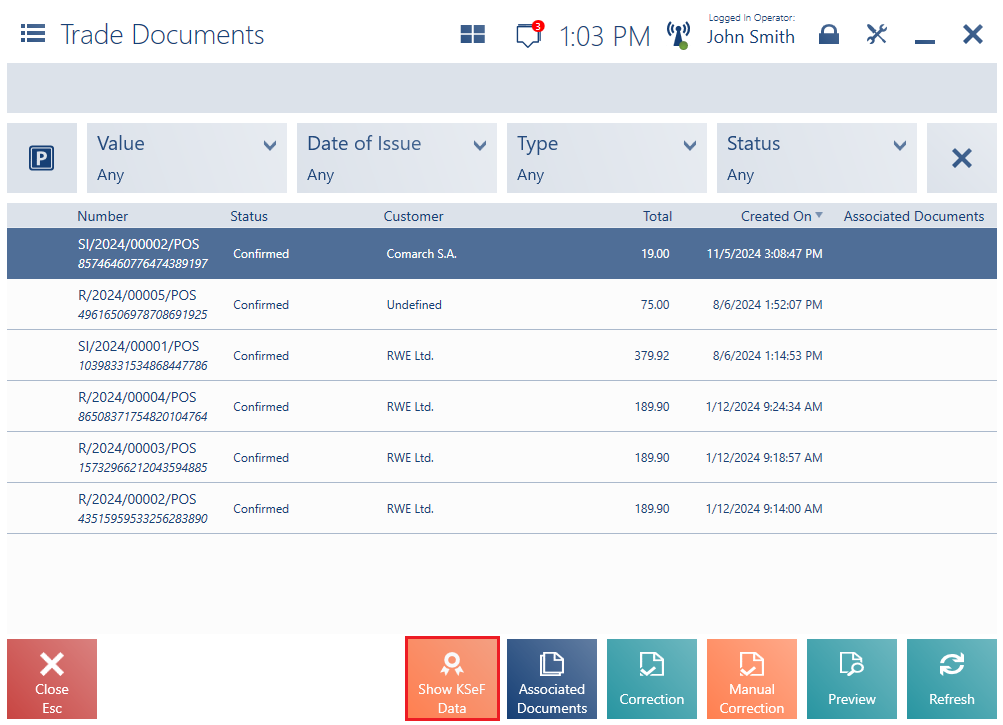
A button [Show KSeF Data] is available for documents that have been registered in KSeF. The button is available:
- For the document types: SI, SIQC, ASI, and ASIQC
- If the Use KSeF parameter is enabled. You can find the parameter in Comarch ERP Standard, in the Trade section of the company form, if the VAT rate group is set as PL.

The window contains:
- QR code of the KSeF document
- KSeF number
- KSeF document status
- Link to KSeF document
- [Close] and [Copy Number] buttons
