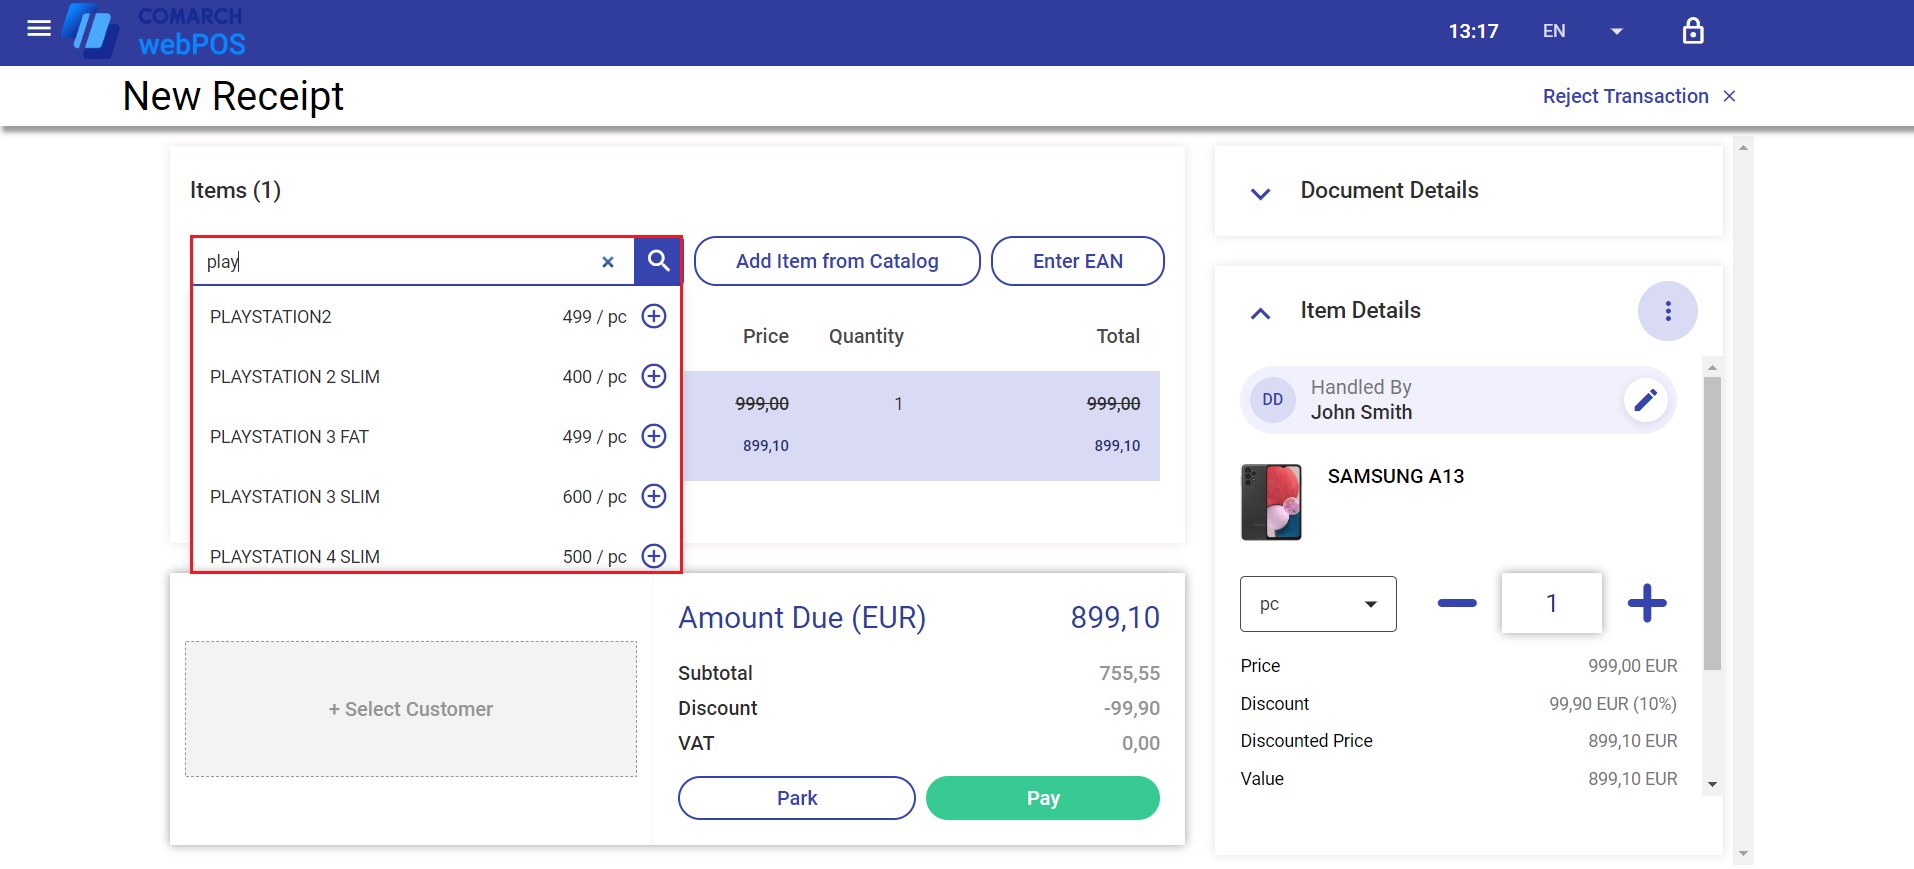
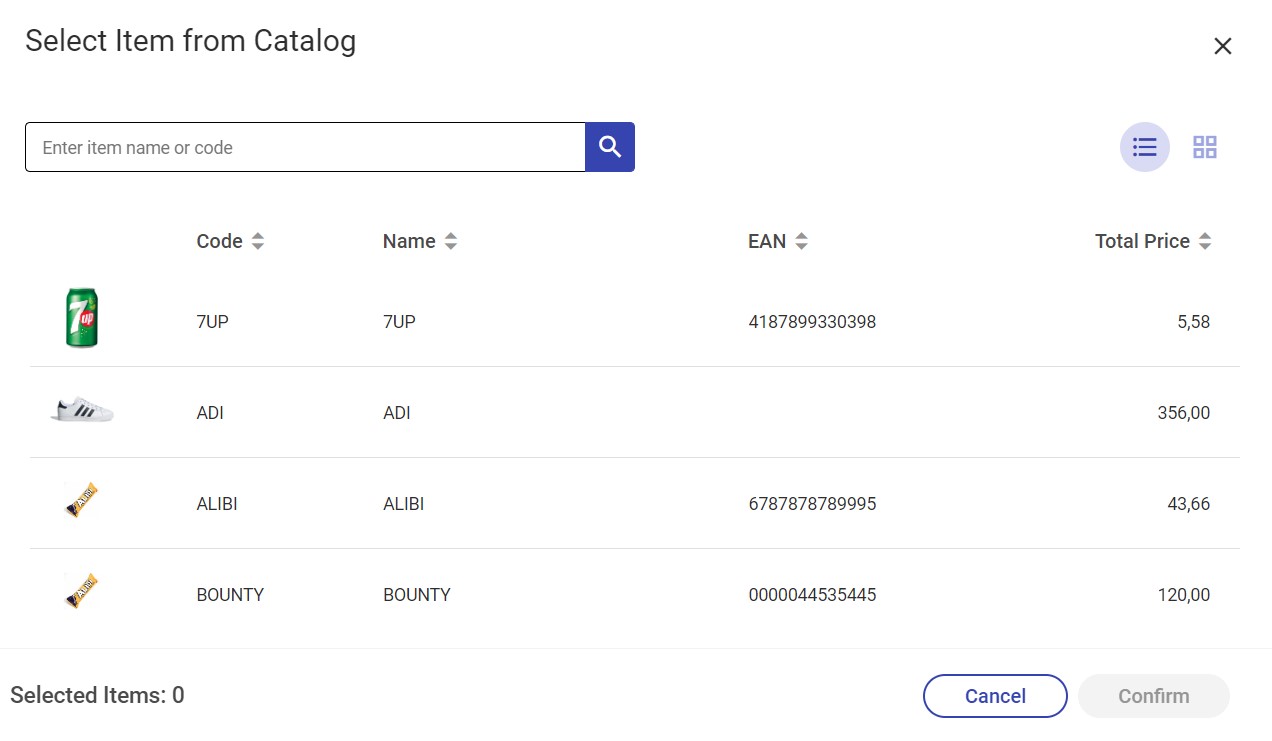
Selecting the [Add Item from Catalog] button in the new receipt window opens the list of items defined in the ERP system and shared with the webPOS workstation.
You can select a specific item directly from the list or search for it by typing a part of its name or code in the Search field. To add a given item, select it and click [Confirm]. You can also search for an item by entering an appropriate phrase (at least 3 characters). The application will display the list of suggestions that match the entered characters below the Search field. To add an item to the document, select the [+] button.

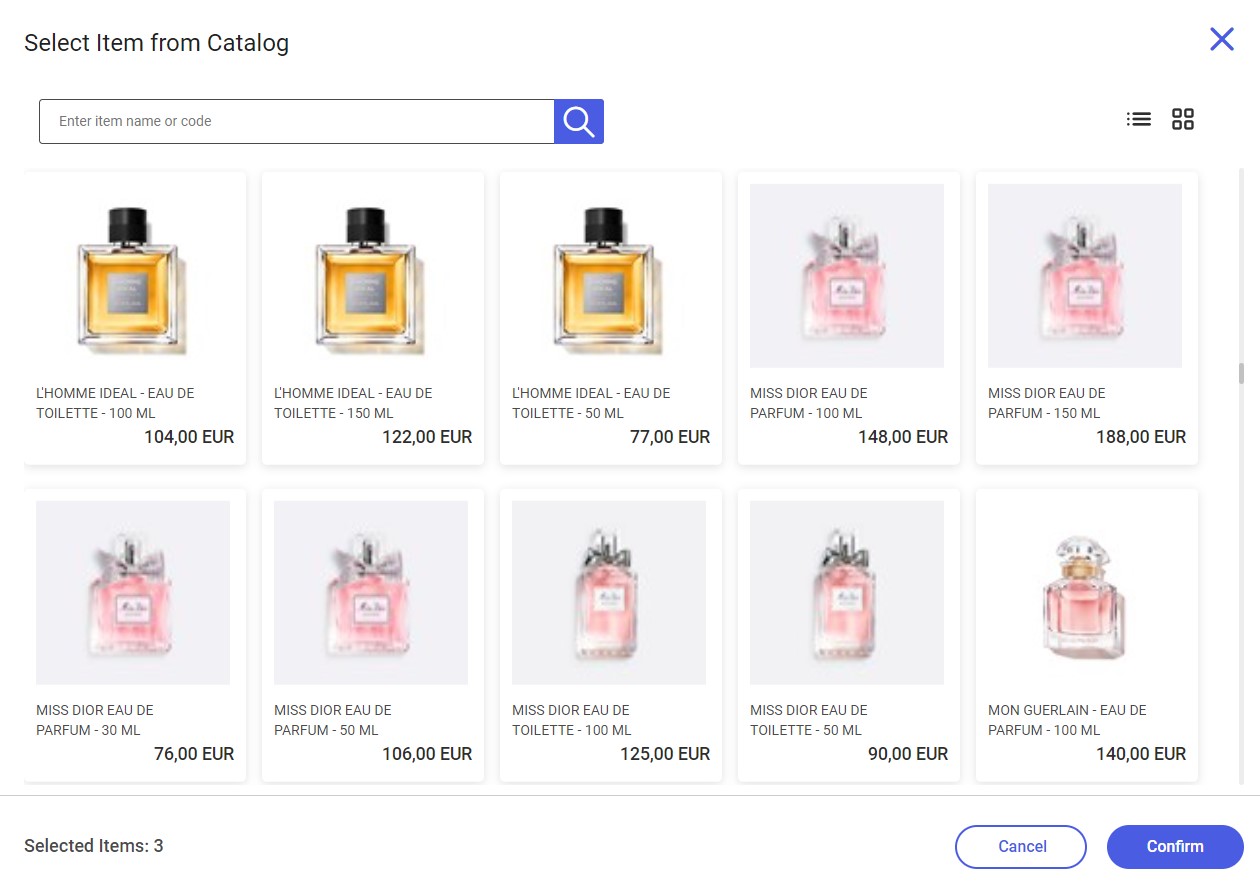
You can also select multiple items from the list – after you confirm the selection, the application adds all the items to the document at once. The number of selected items to be added to the document is displayed in the bottom left corner of the Select Item from Catalog window.

The list is composed of the following columns:
- Item image thumbnail
- Code
- Name
- EAN
- Total Price
The text filter field allows you to search for or limit the items displayed in the list based on their:
- Name
- Code
- EAN code
The search feature:
- Is not case-sensitive
- Presents results containing the entered phrase (after at least 3 characters are entered)
In the Select Item from Catalog window, you can:
- Select an item using the [Confirm] button
- Close the window using the [Cancel] or [X] buttons
- Change the display mode from the list view
 to the tile view

