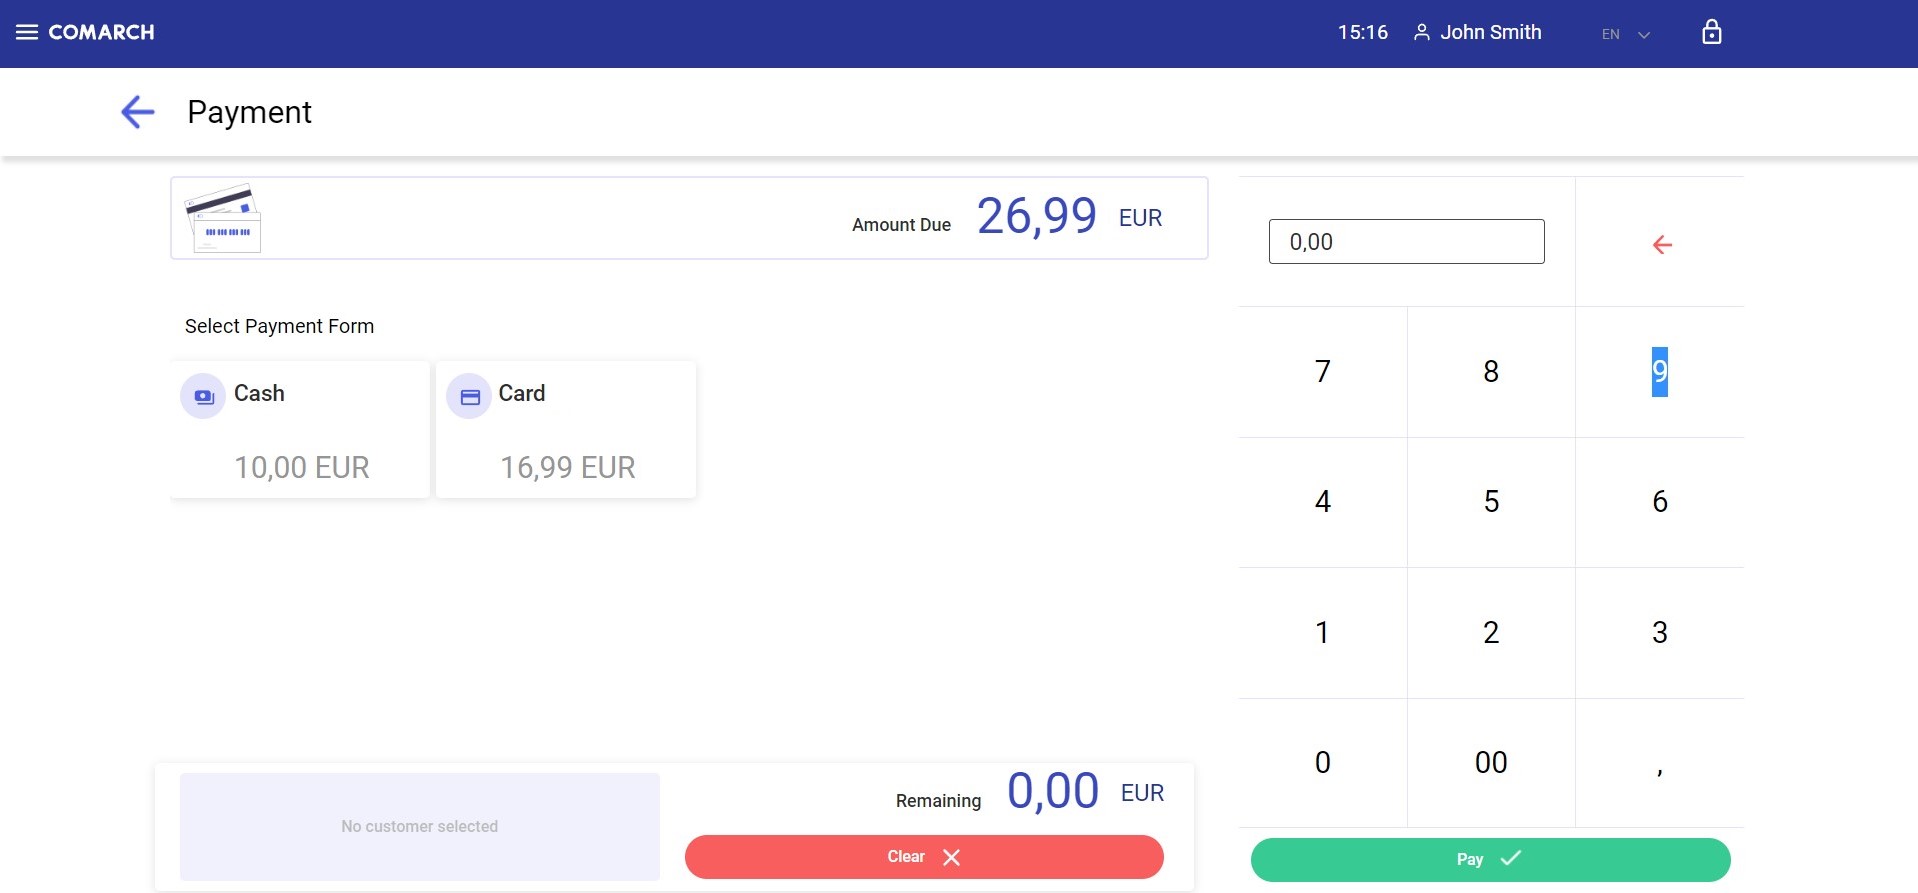
The payment window is displayed once you select the [Pay] button on the new receipt form.
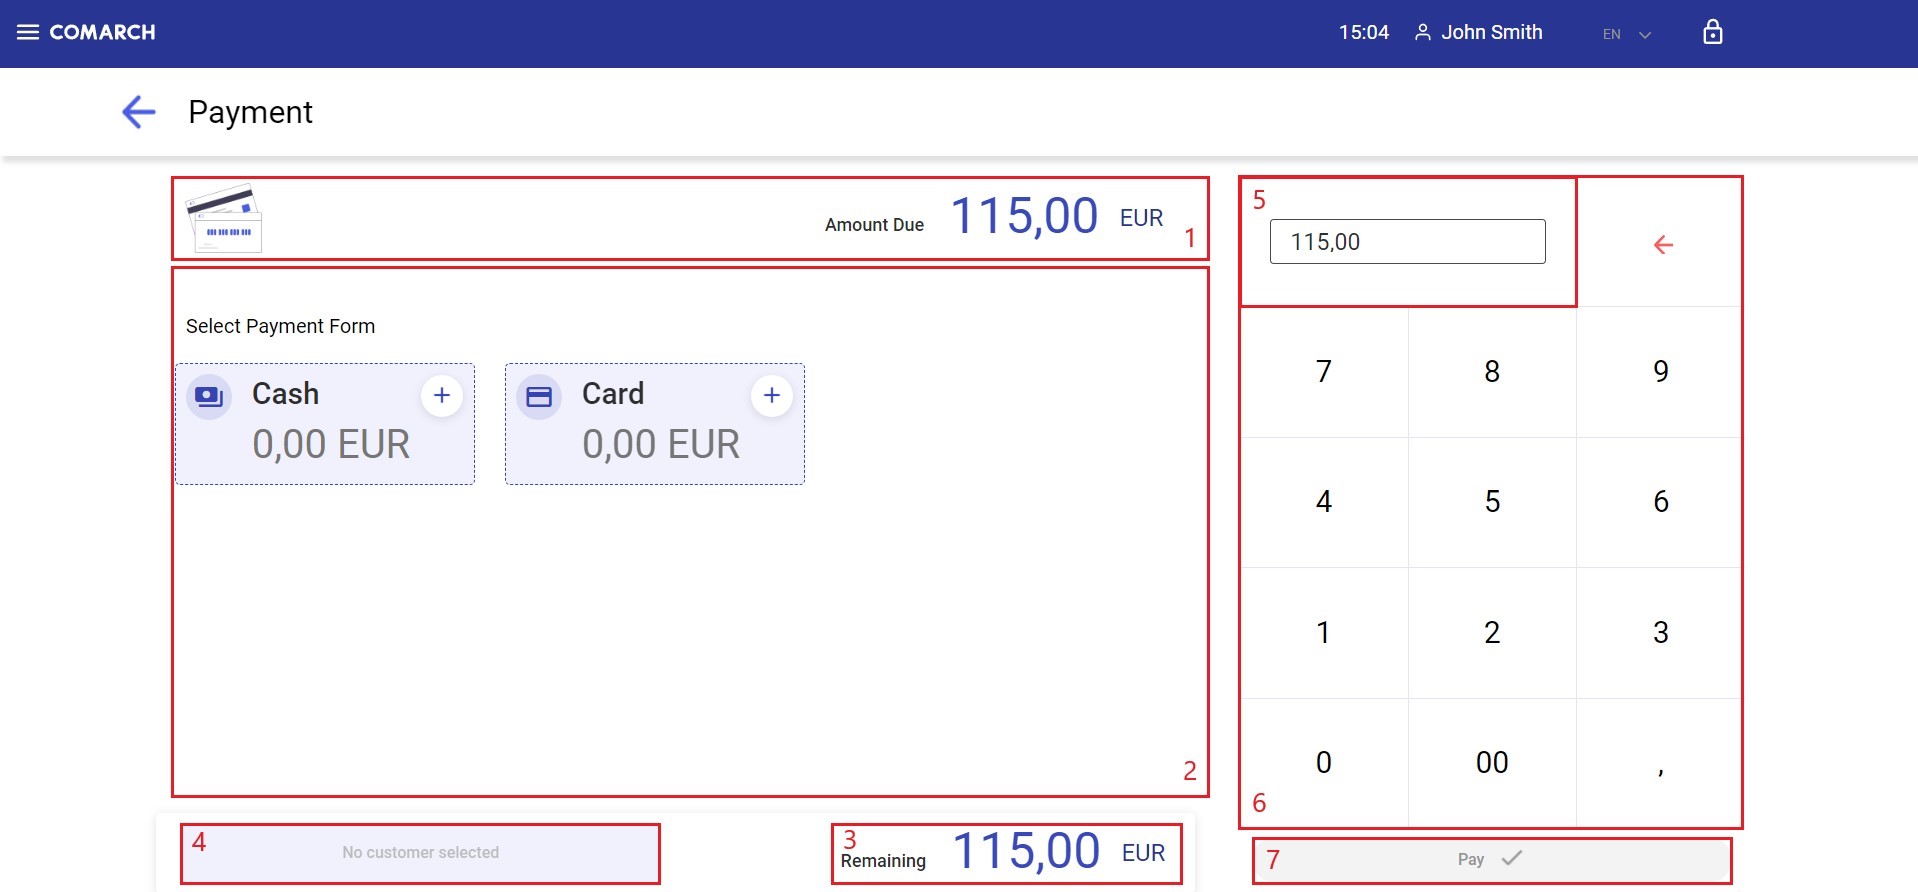
The payment window is composed of the following elements (particular points correspond to areas marked in the figure above):
1. Amount Due – the transaction amount displayed in the system currency
2. Payment forms – all active payment forms
3. Remaining/Change – amount displayed in the system currency; it is reduced by an already paid amount if multiple payment forms are used. You can assign an amount due to a payment form by selecting a relevant payment form tile.
4. No customer selected
5. Amount to be assigned – automatically filled in with an amount from the Amount Due field
6. Numeric keyboard – allows you to change an amount to be assigned to a payment form
7. [Pay] button – confirms the document. If the amount due has not been entirely assigned to a payment form, the button is deactivated.
The window also contains the following buttons:
- [Clear] – deletes all payments added, except for card payments. The button is displayed if an amount has been assigned to a payment form. The button is not displayed if:
- The payment form selected is Card
- [Back] – if no amount has been assigned to a payment form, selecting this button allows you to return to the document form. If an amount has been assigned to a payment form, an appropriate warning is displayed.
If the entire amount due is paid in the payment window, all tiles are deactivated. Successful payment confirms the document and displays the payment summary window.
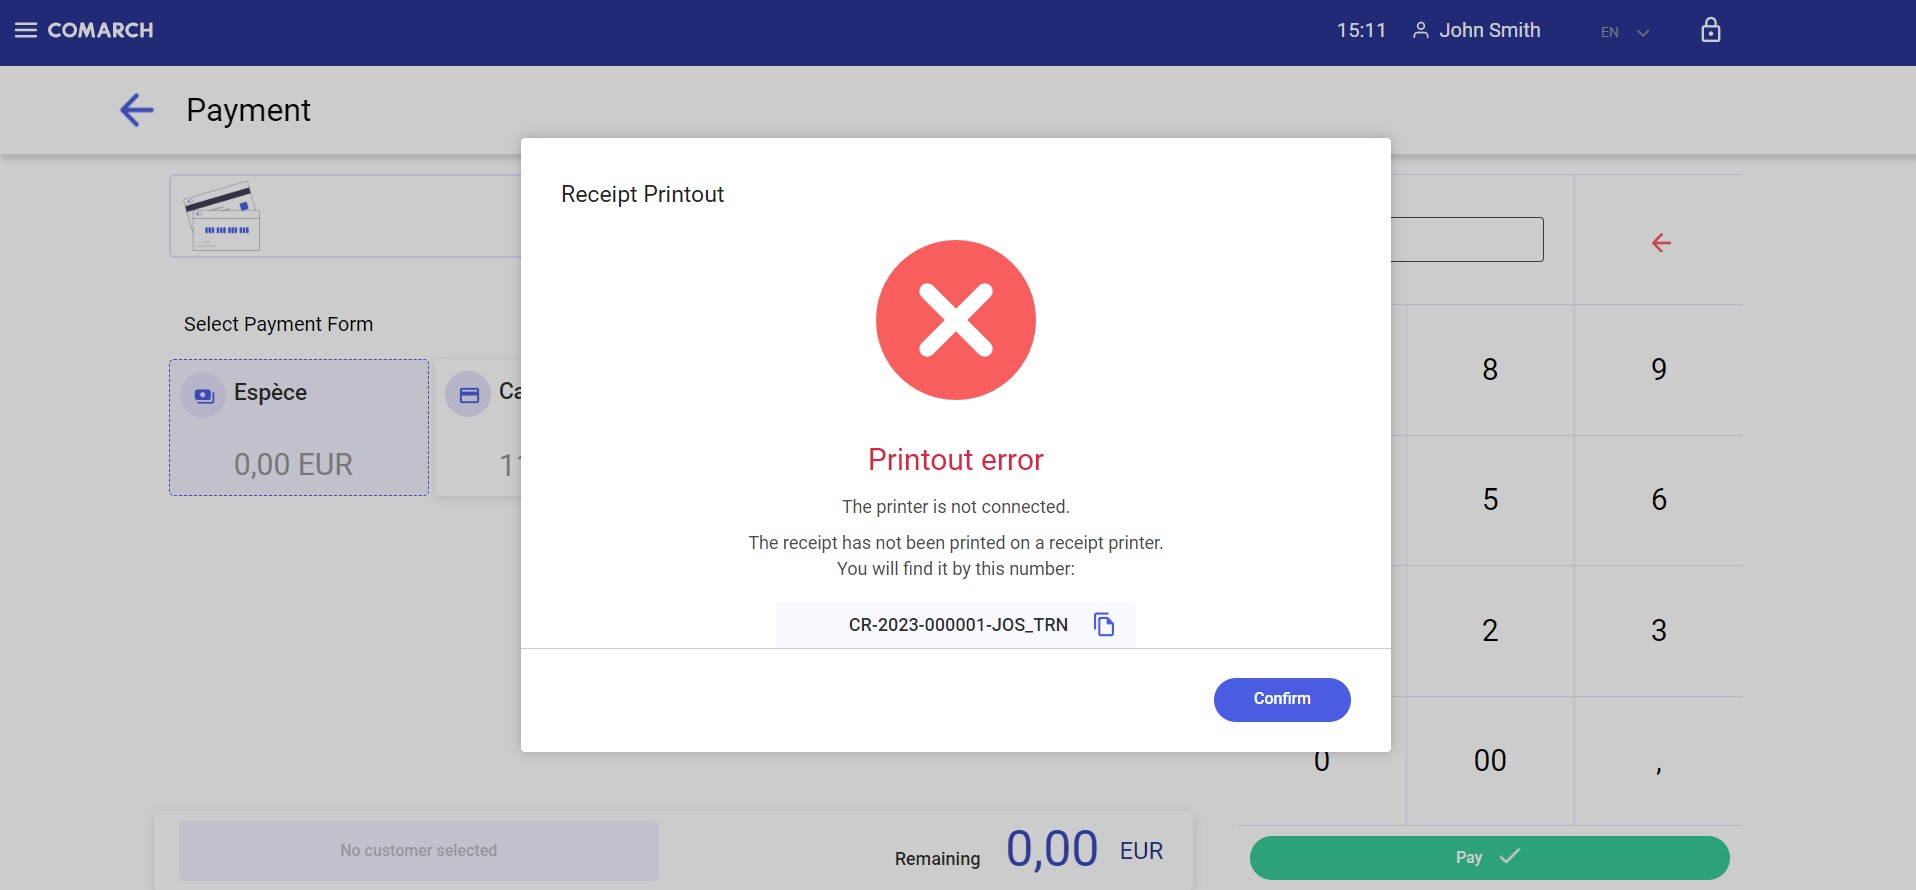
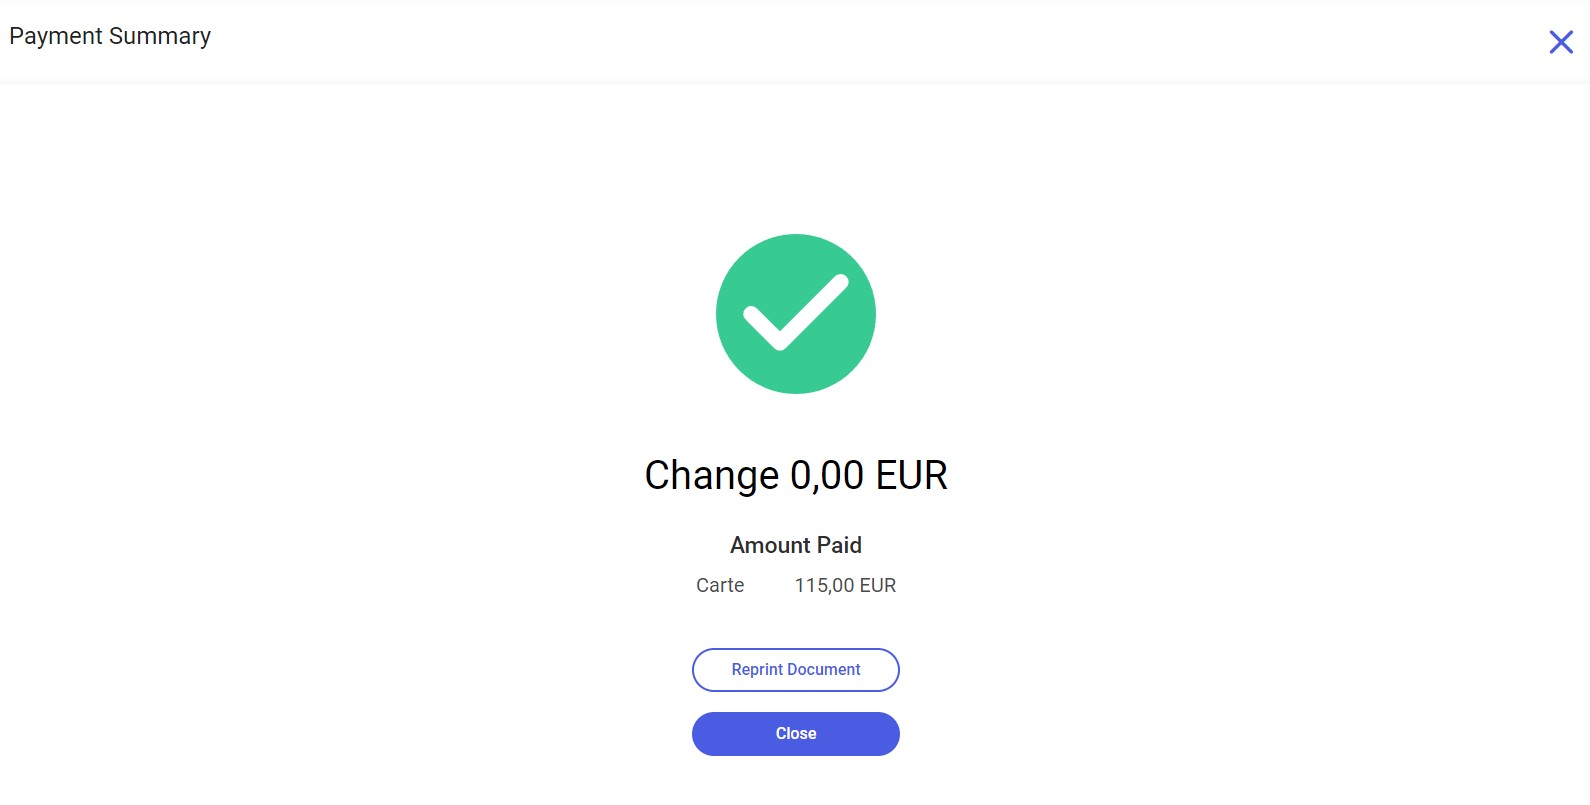
The Payment Summary window contains the following data:
- Amount of change
- Payment forms with assigned amounts used in the document
- [Reprint Document] button – opens the Receipt Printout window with the information about the unconnected printer
- [Close] button – closes the Payment Summary window and opens the New Receipt window
Card payments
Selecting a payment form of the Card type blocks the screen and displays a message that informs you that the payment process is now to be handled through the payment terminal.
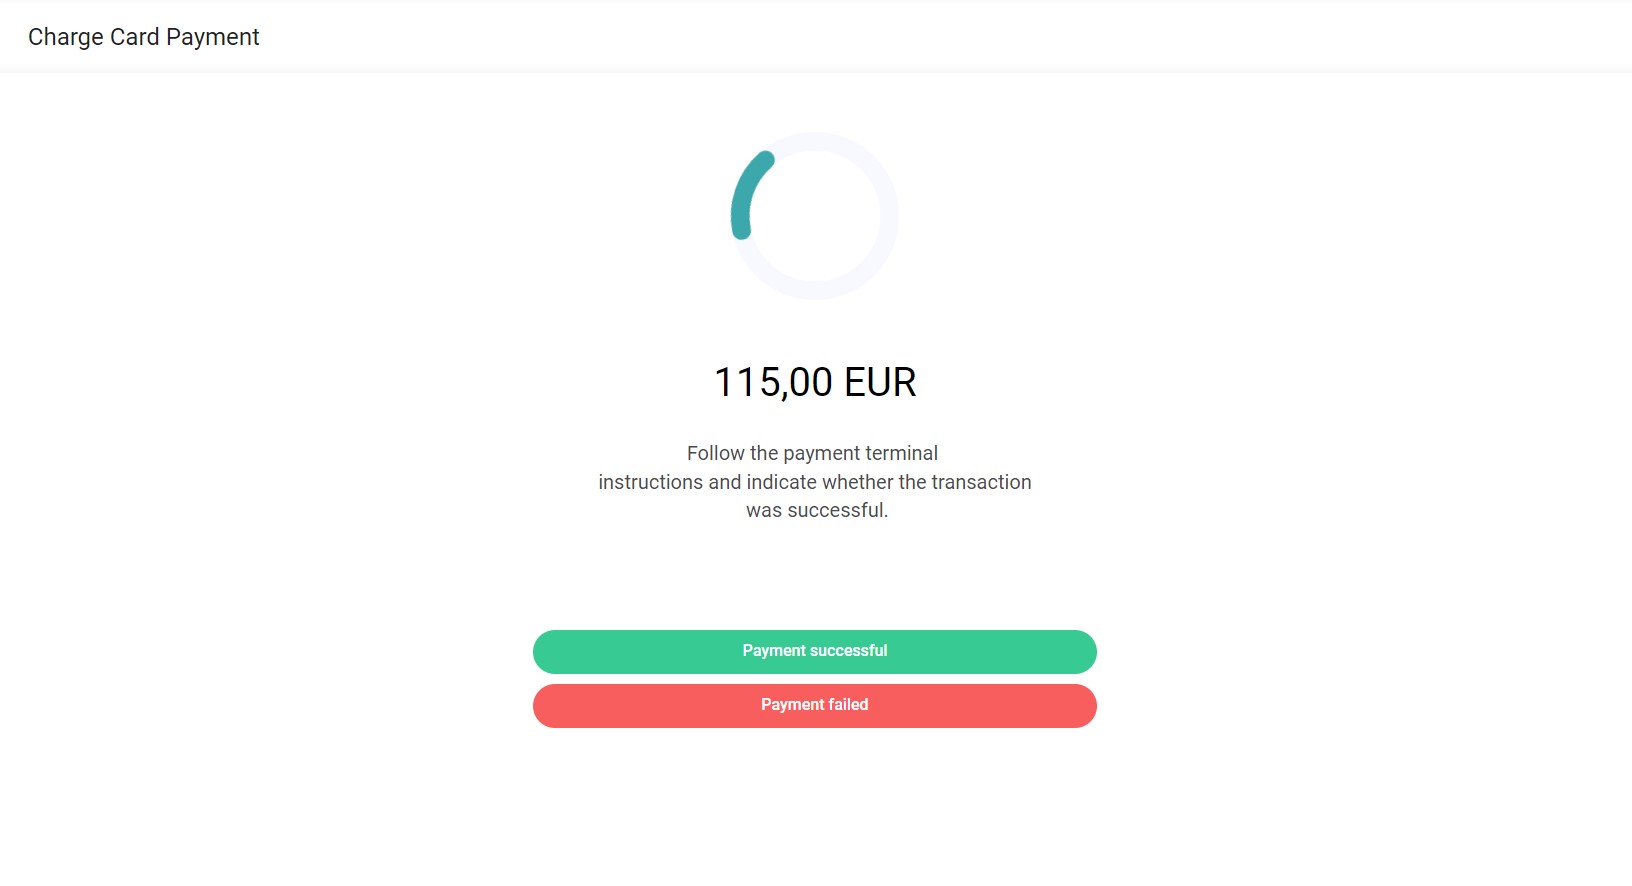
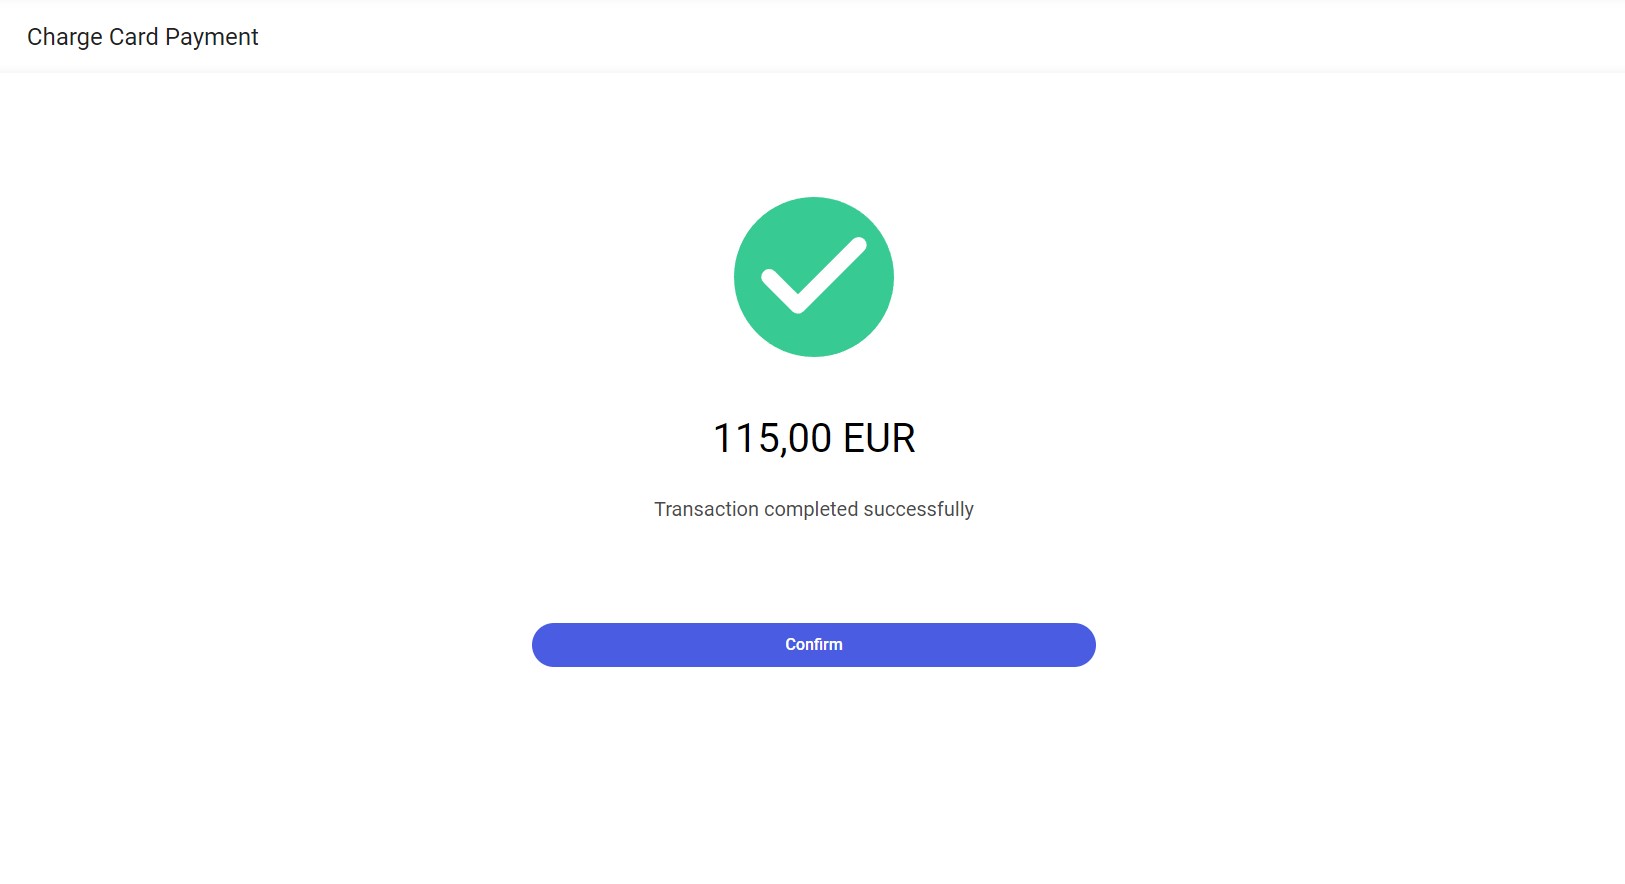
After you select the [Payment successful] button, the transaction will be completed successfully. You can close the window by selecting [Confirm].
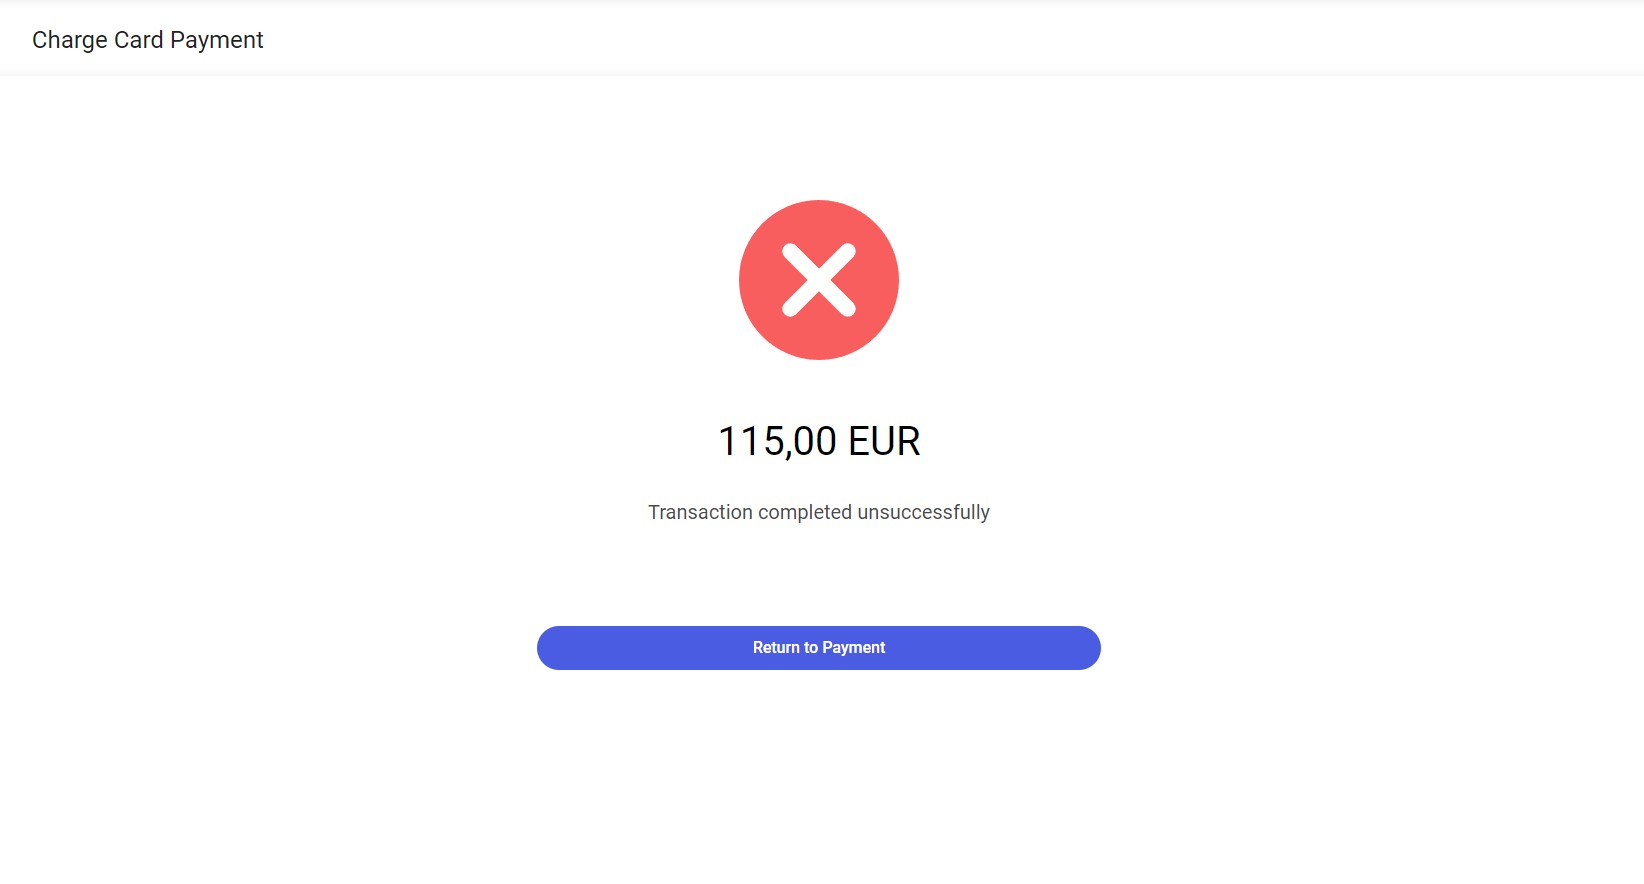
After you select the [Payment failed] button, the transaction will be aborted. You can close the window by selecting [Return to Payment].
