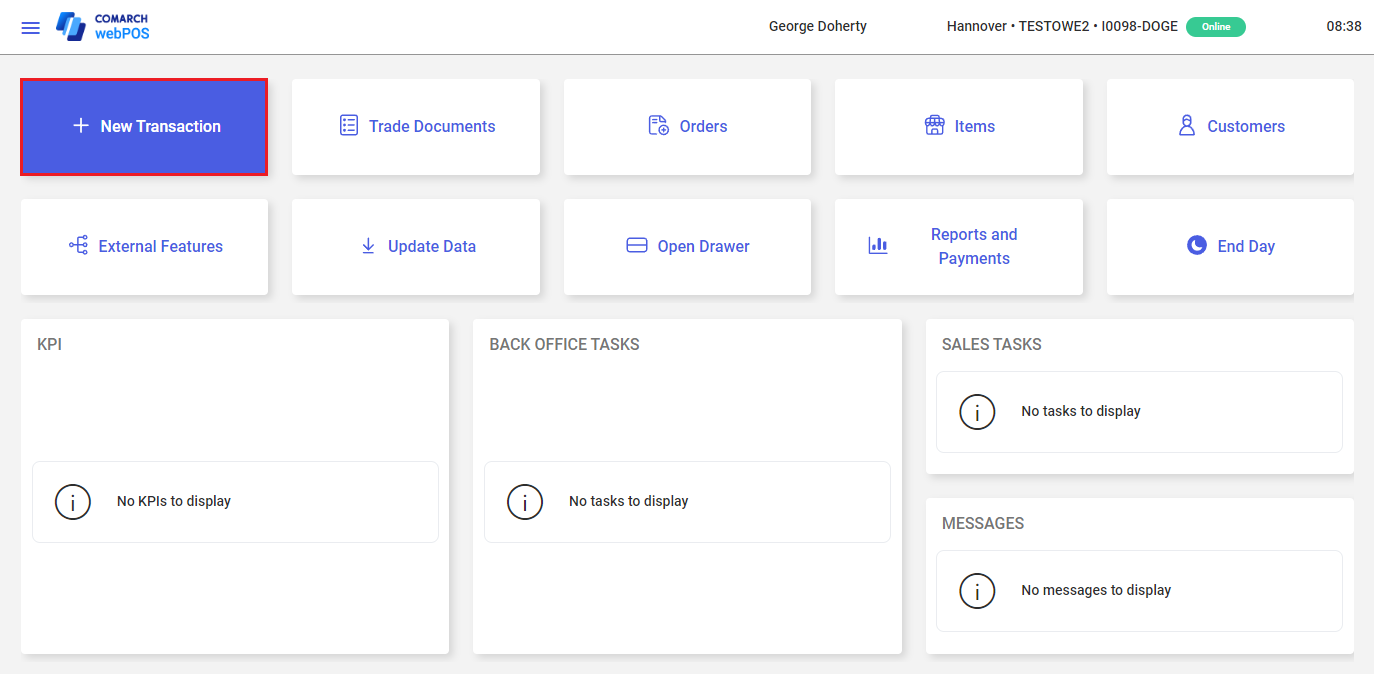
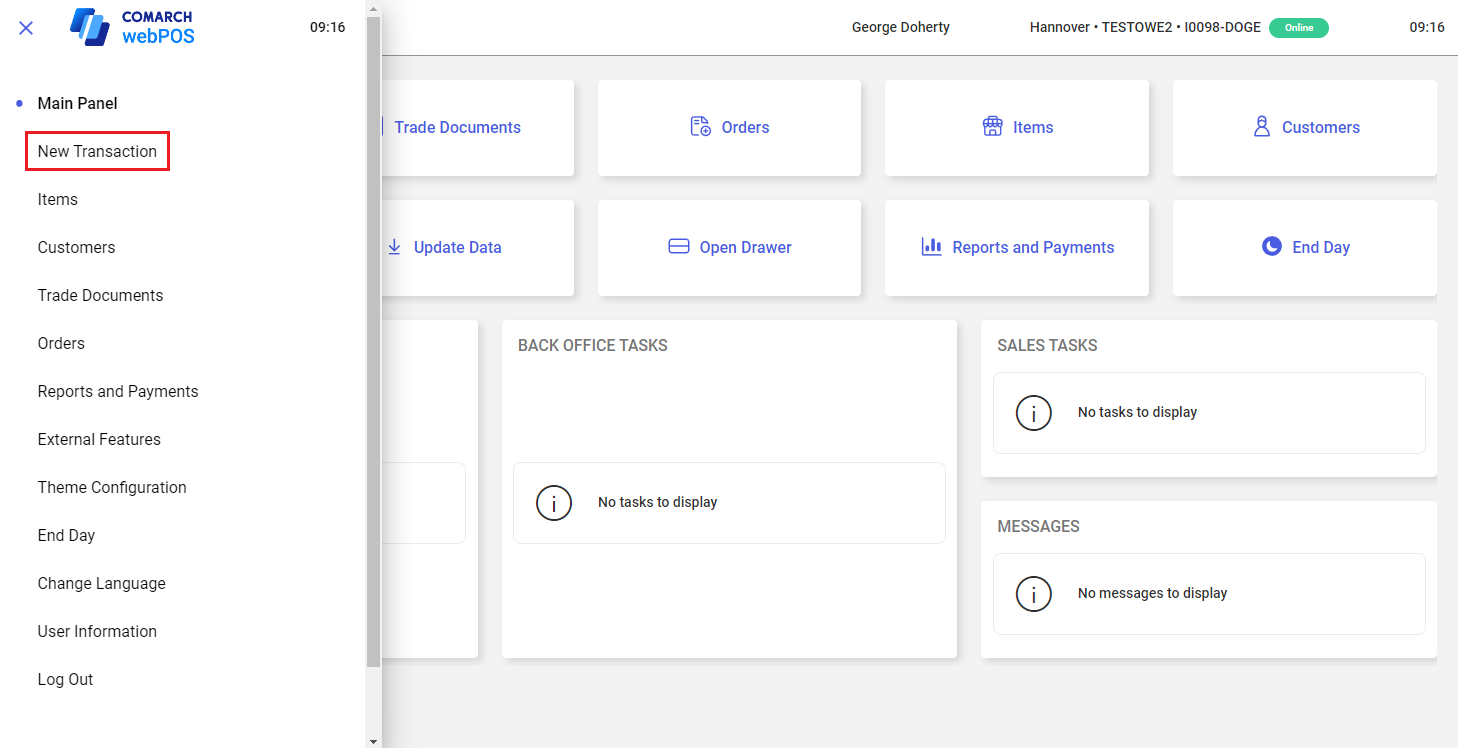
In order to add a new receipt, select the [New Transaction] tile from the main panel or the [New Transaction] button from the side menu.
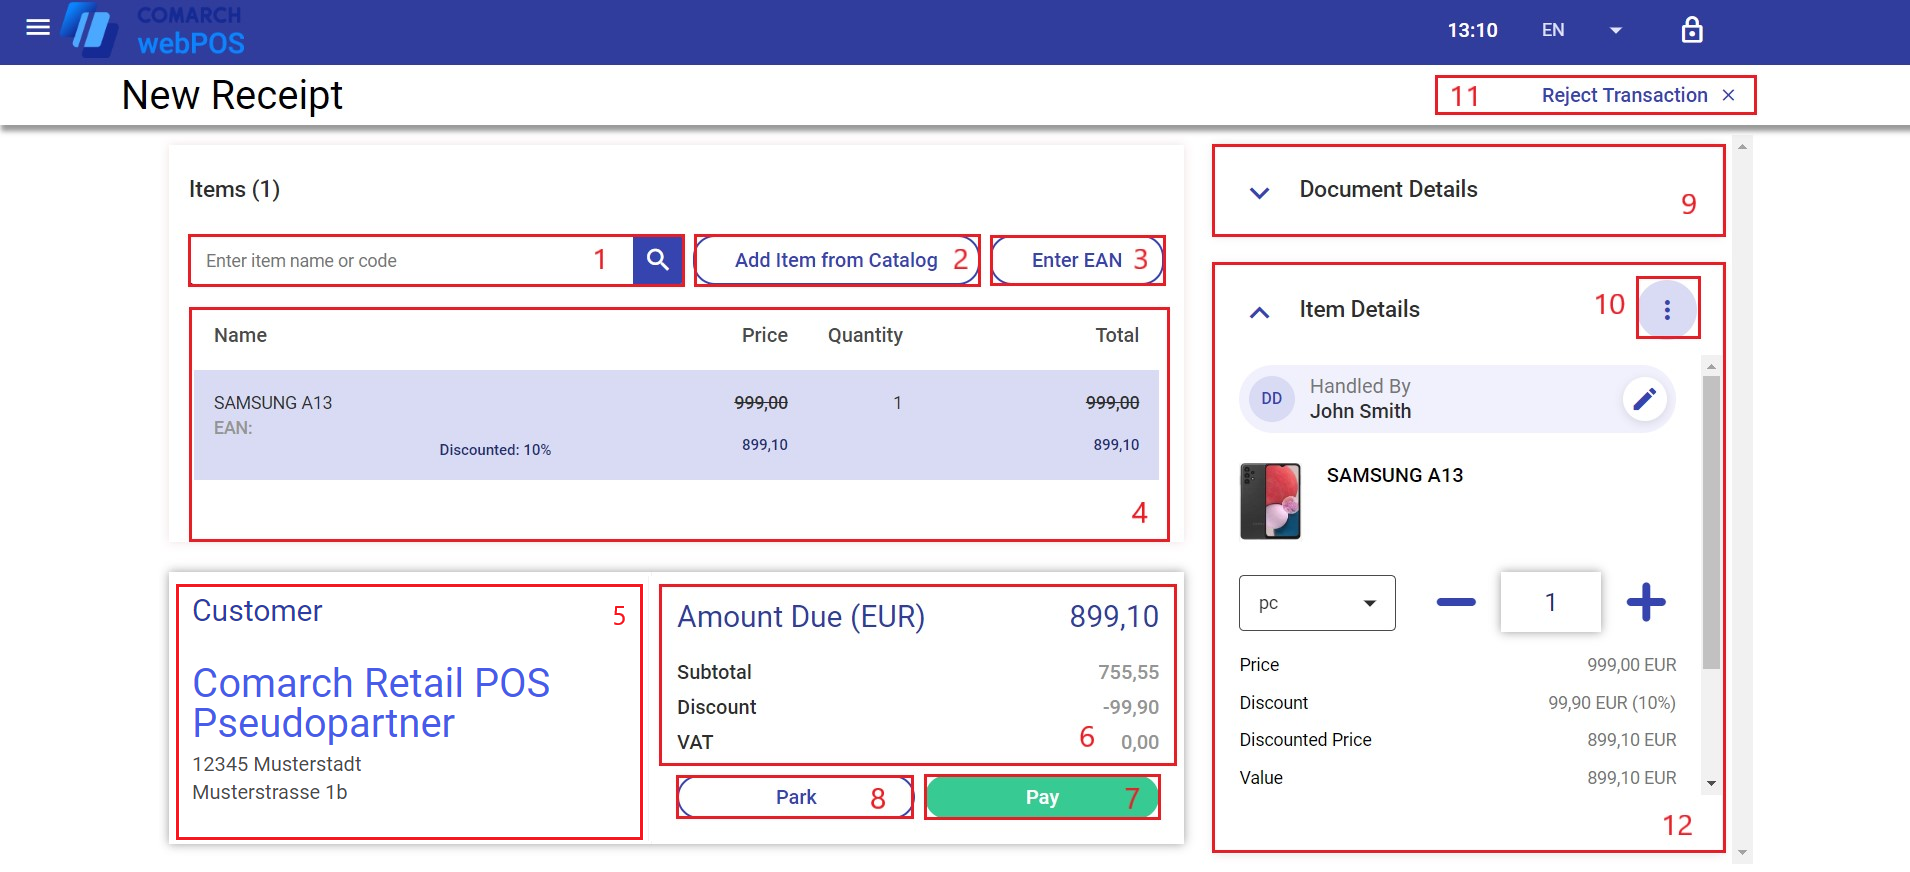
The form of a new receipt document contains the following fields (particular points correspond to areas marked in the screenshot above):
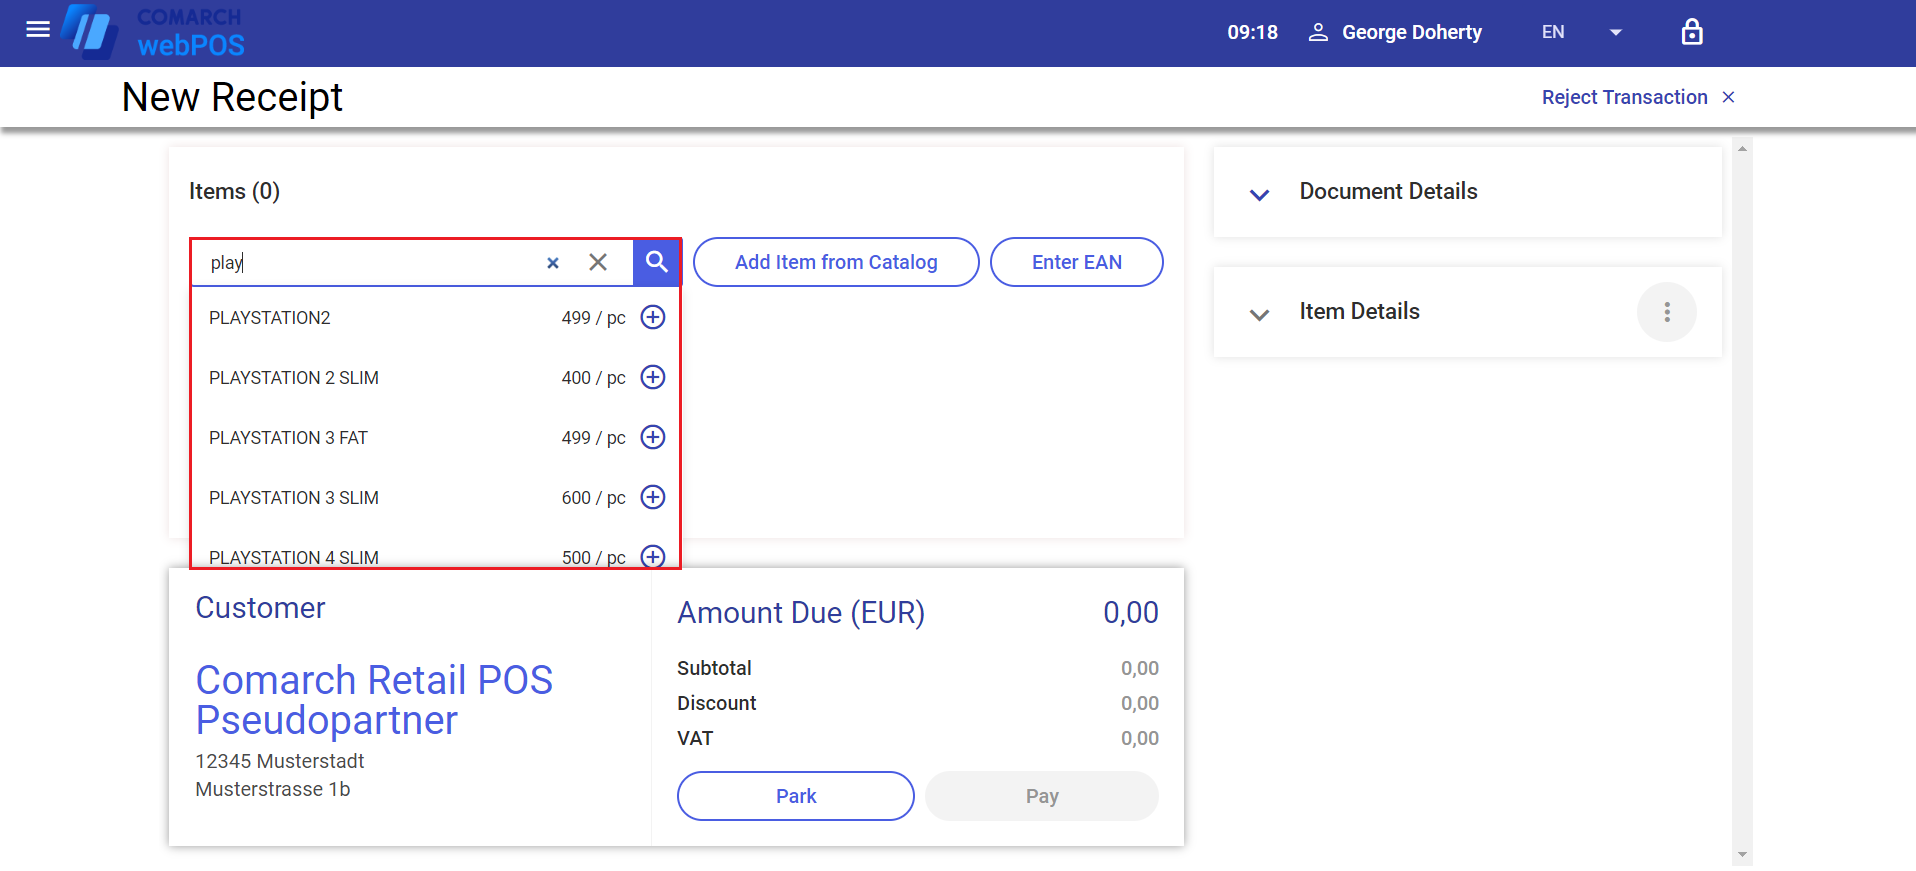
1. Search – allows you to search and add document items. You can use this field to scan an item code with a barcode scanner. If the item is uniquely identified, the application automatically adds it to the document. You can also search for an item by entering an appropriate phrase (at least 3 characters). The application will display the list of suggestions matching the entered characters below the Search field. To add an item to the document, select the [+] button.
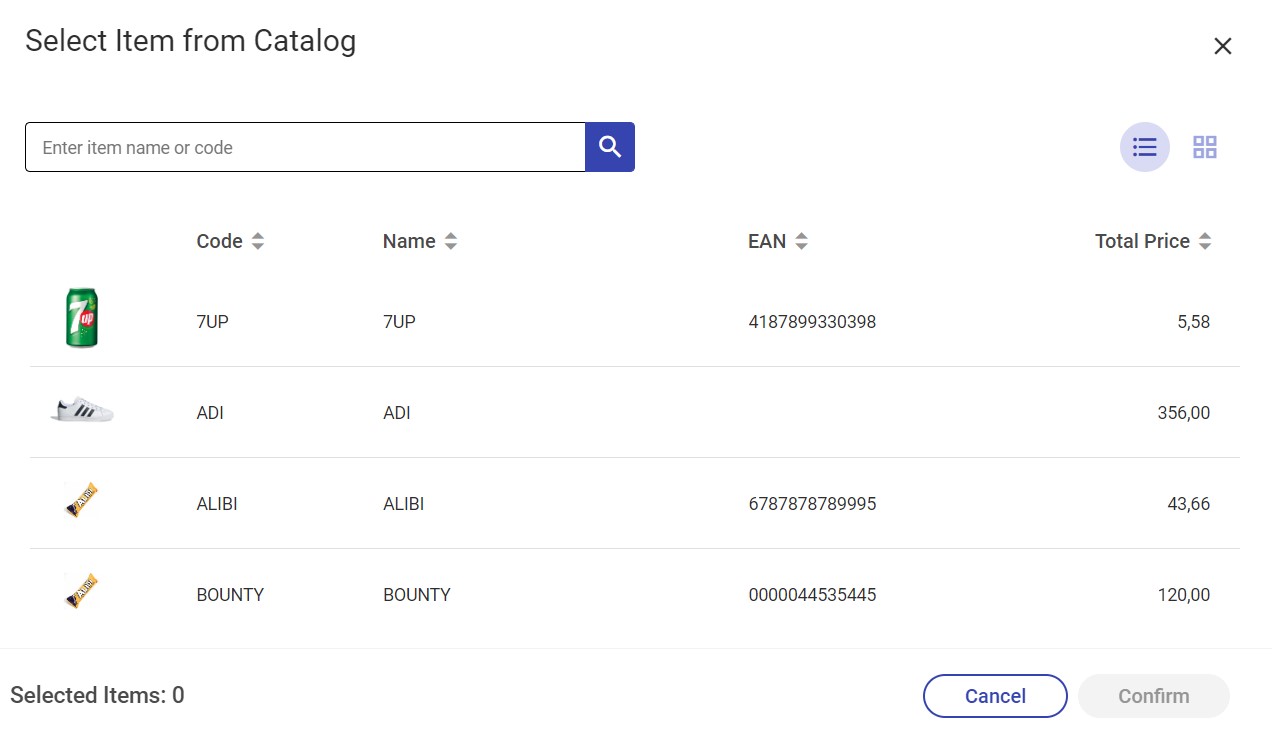
2. [Add Item from Catalog] button – opens the list of items available in the system. You can select an item directly from the list or search for it by entering its name (or a part of it) in the Search field. To add a given item, select it and click [Confirm]. You can also select multiple items from the list – after you confirm the selection, the application adds all the items to the document at once. The number of selected items to be added to the document is displayed in the bottom left corner of the Select Item from Catalog window.
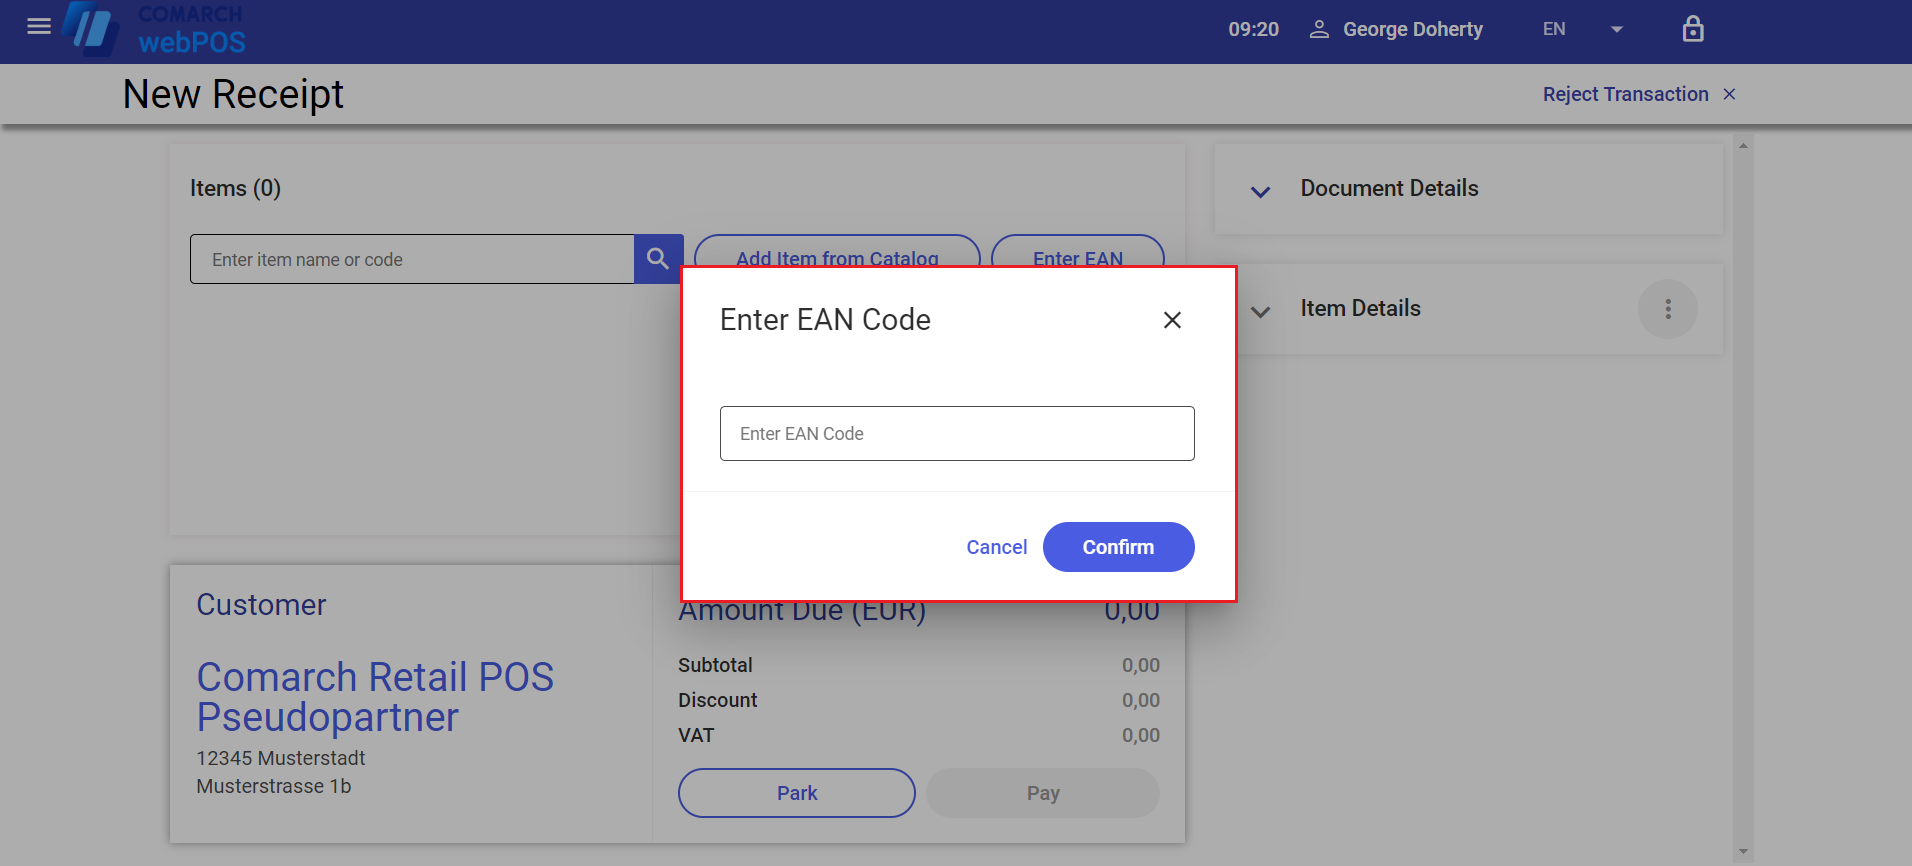
3. [Enter EAN] button – opens a window where you can enter an item’s EAN code
4. The list of document items presents basic information on items added to the document. It is composed of the following columns:
- Name
- Price
- Quantity
- Total – an appropriate value calculated as price x quantity
5. Customer – displays information about the customer entered in the document. By default, the application enters a pseudopartner defined in the ERP system and assigned to the sales channel.
6. Summary – presents the overall value of entered document items:
- Amount Due – presents the values from the Total column summed up for all document items
- Subtotal – presents the document value reduced by the VAT value
- VAT – presents the VAT amount calculated in the document
7. [Pay] button – opens the payment window, where you can process the document payment
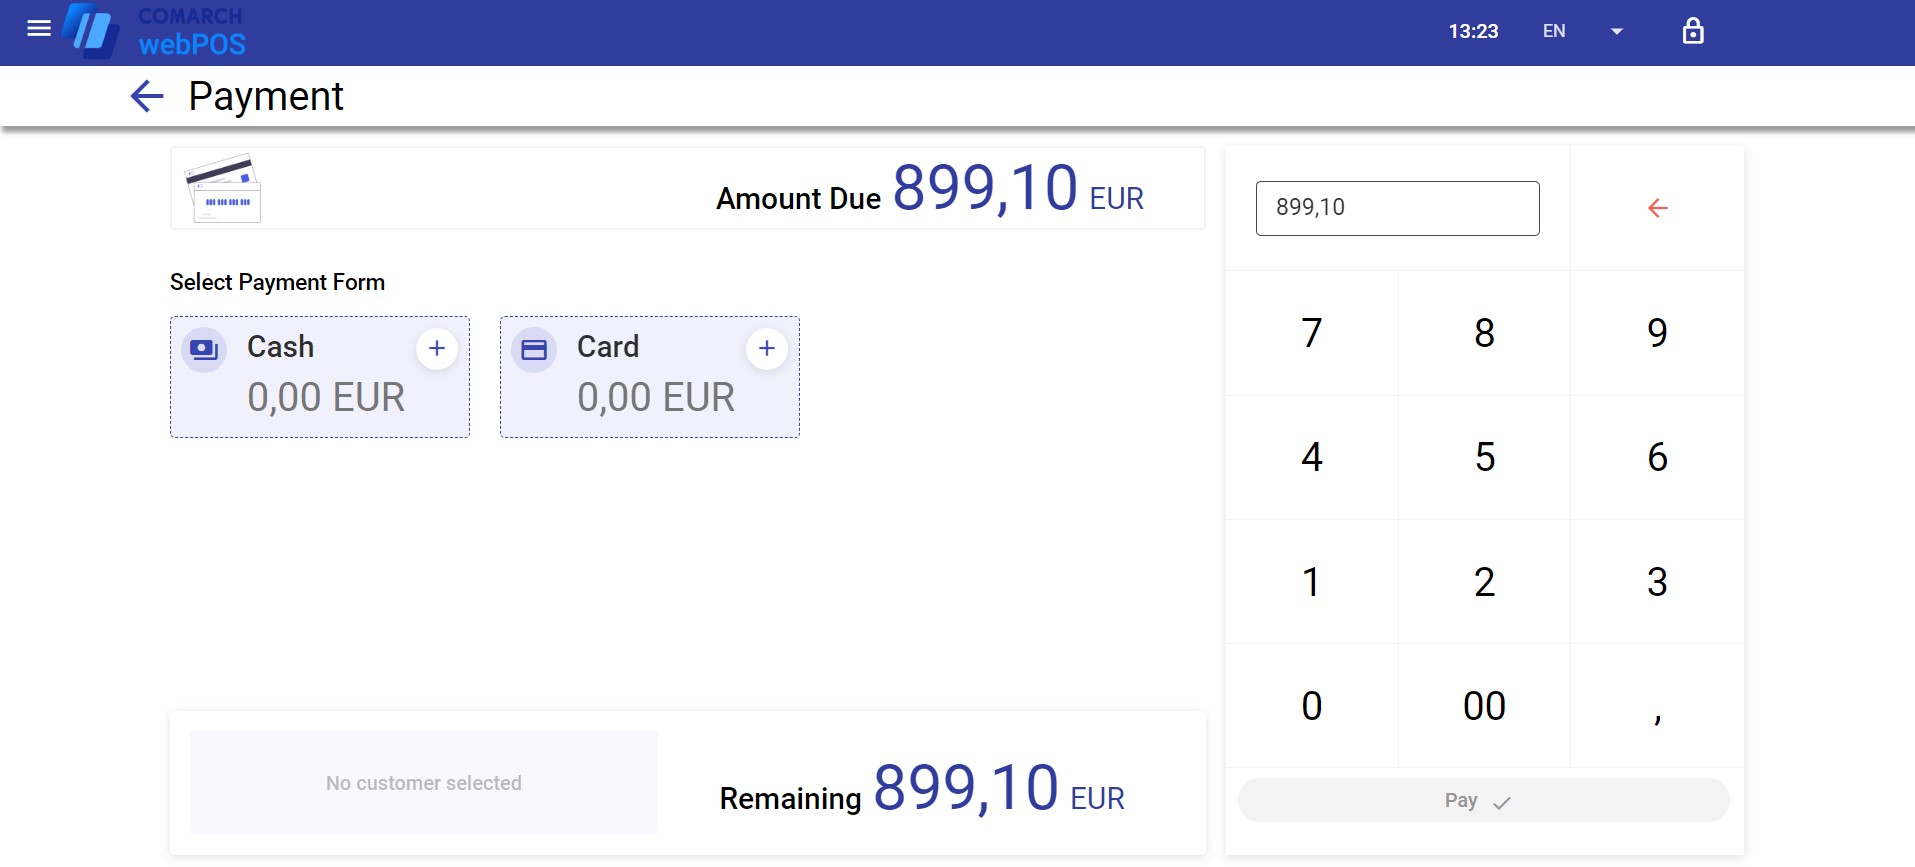
8. [Park] button – allows you to save documents as unconfirmed in order to complete them at a later time in Comarch POS
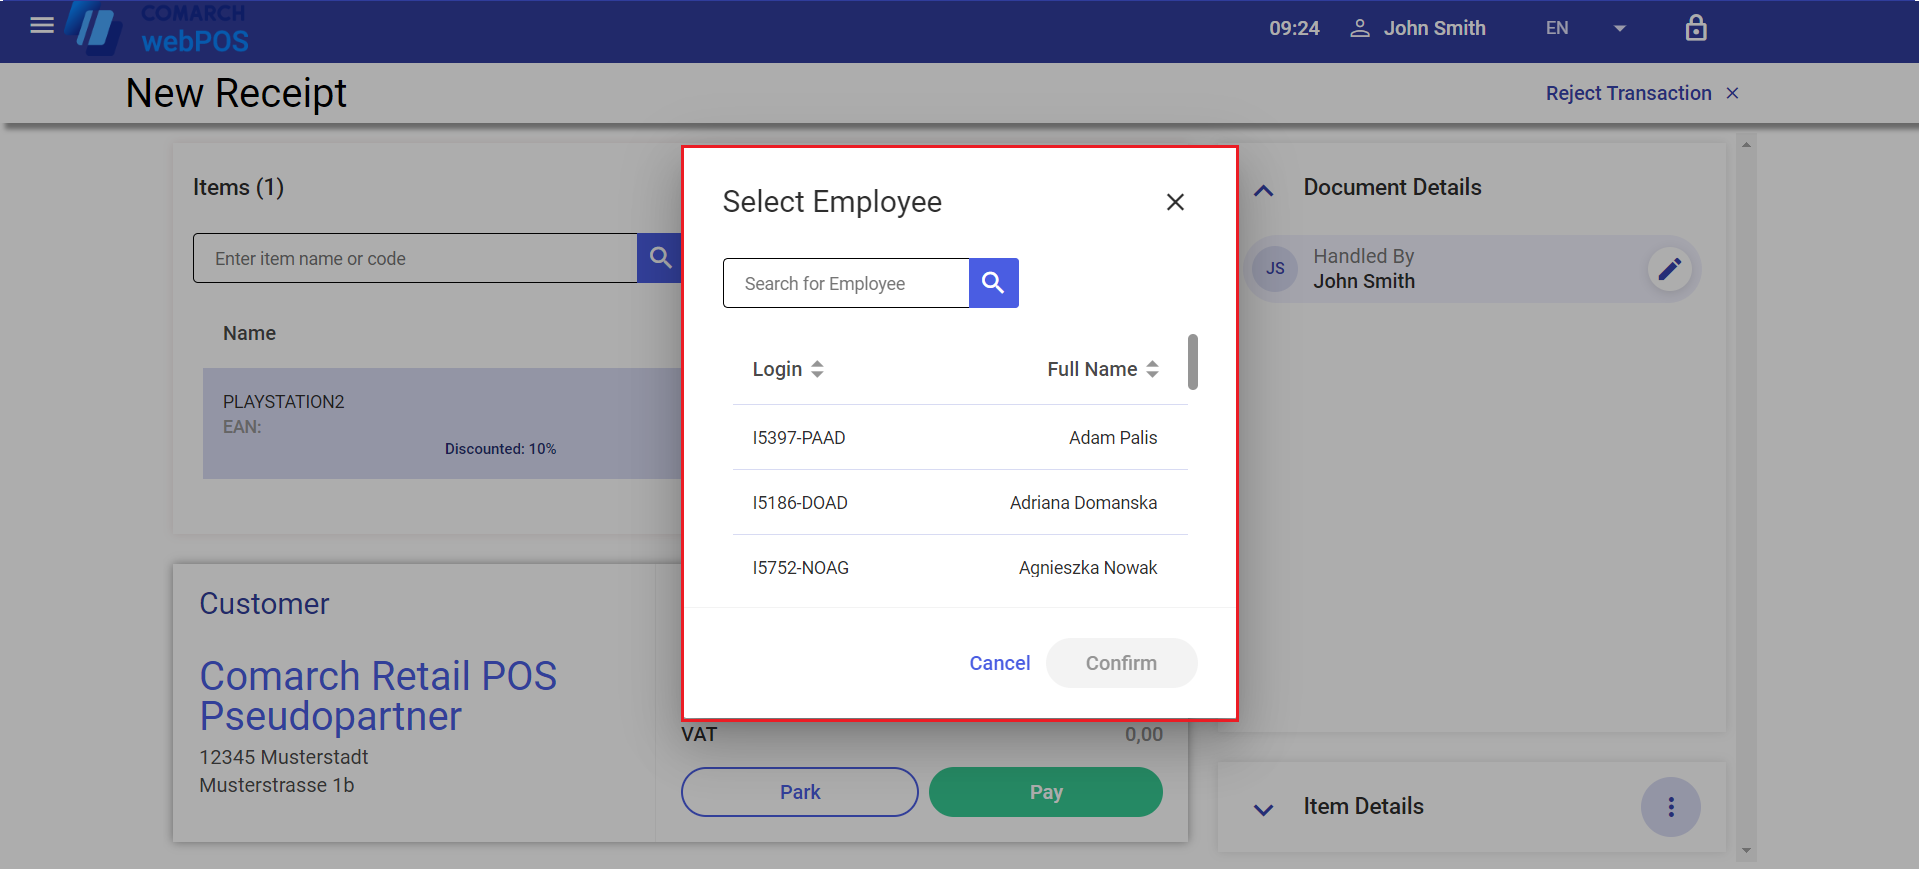
9. Document Details section – displays the data of an employee handling the transaction for an item selected in the list
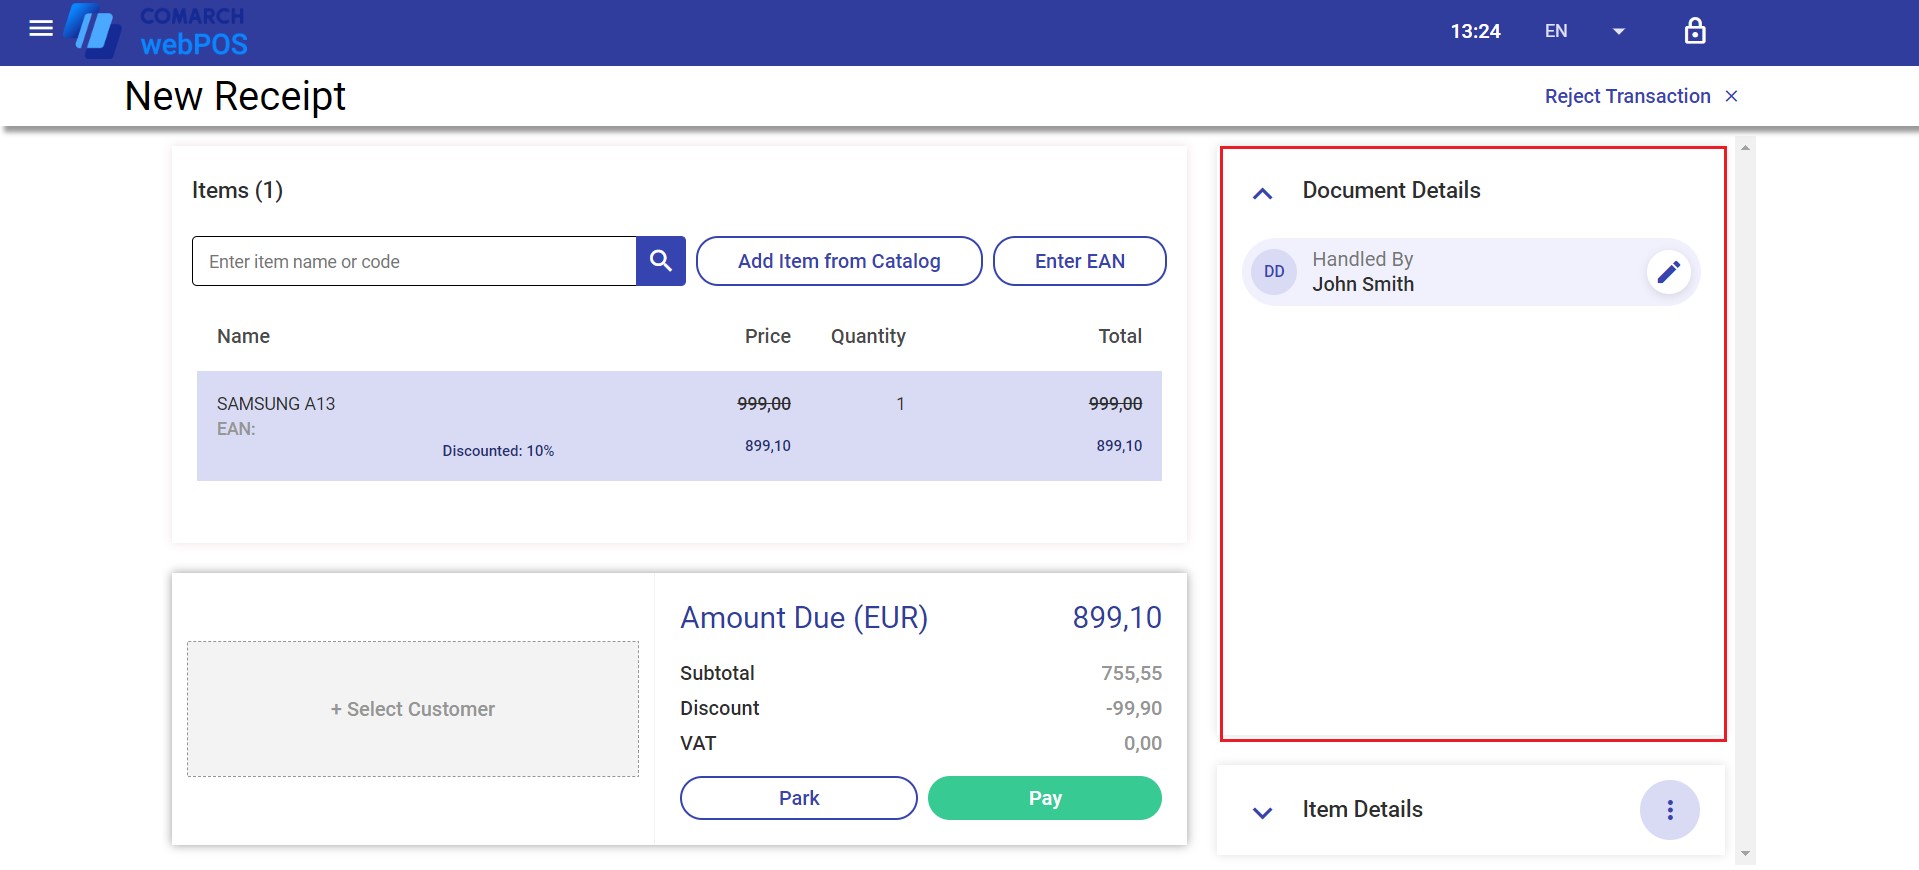
In the Document Details section, you can change the employee handling a document item by selecting the ![]() icon next to the employee’s details.
icon next to the employee’s details.
10. Item Details section – presents detailed information about document items and allows you to change their quantities and units of measure
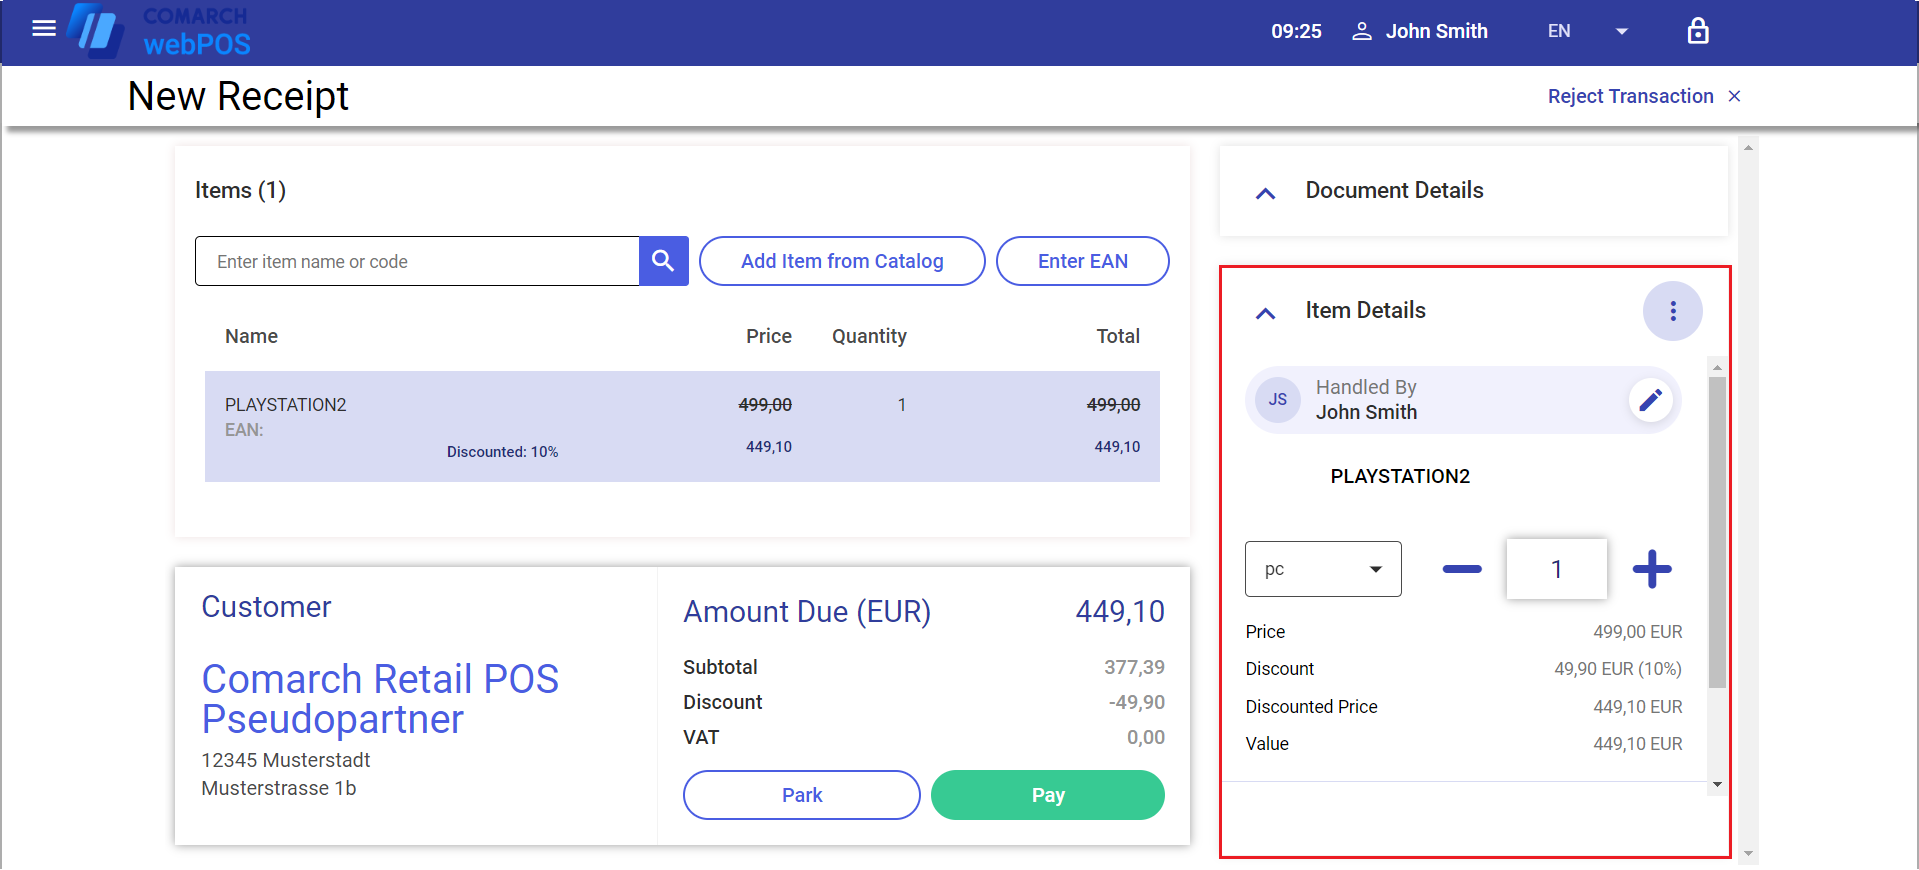
The section contains:
- Data of an employee handling the item
- Item image thumbnail
- Information about the item’s name, EAN code, and units of measure
- Item quantity specified in the document
- Item regular price
- Discount (if any)
- Discounted price
- Item value (as price x quantity)
- Description – additional information about the item
Using the [–] and [+] buttons, you can increase or decrease the quantity of a specific document item. To delete a document item, select the [Delete] button.
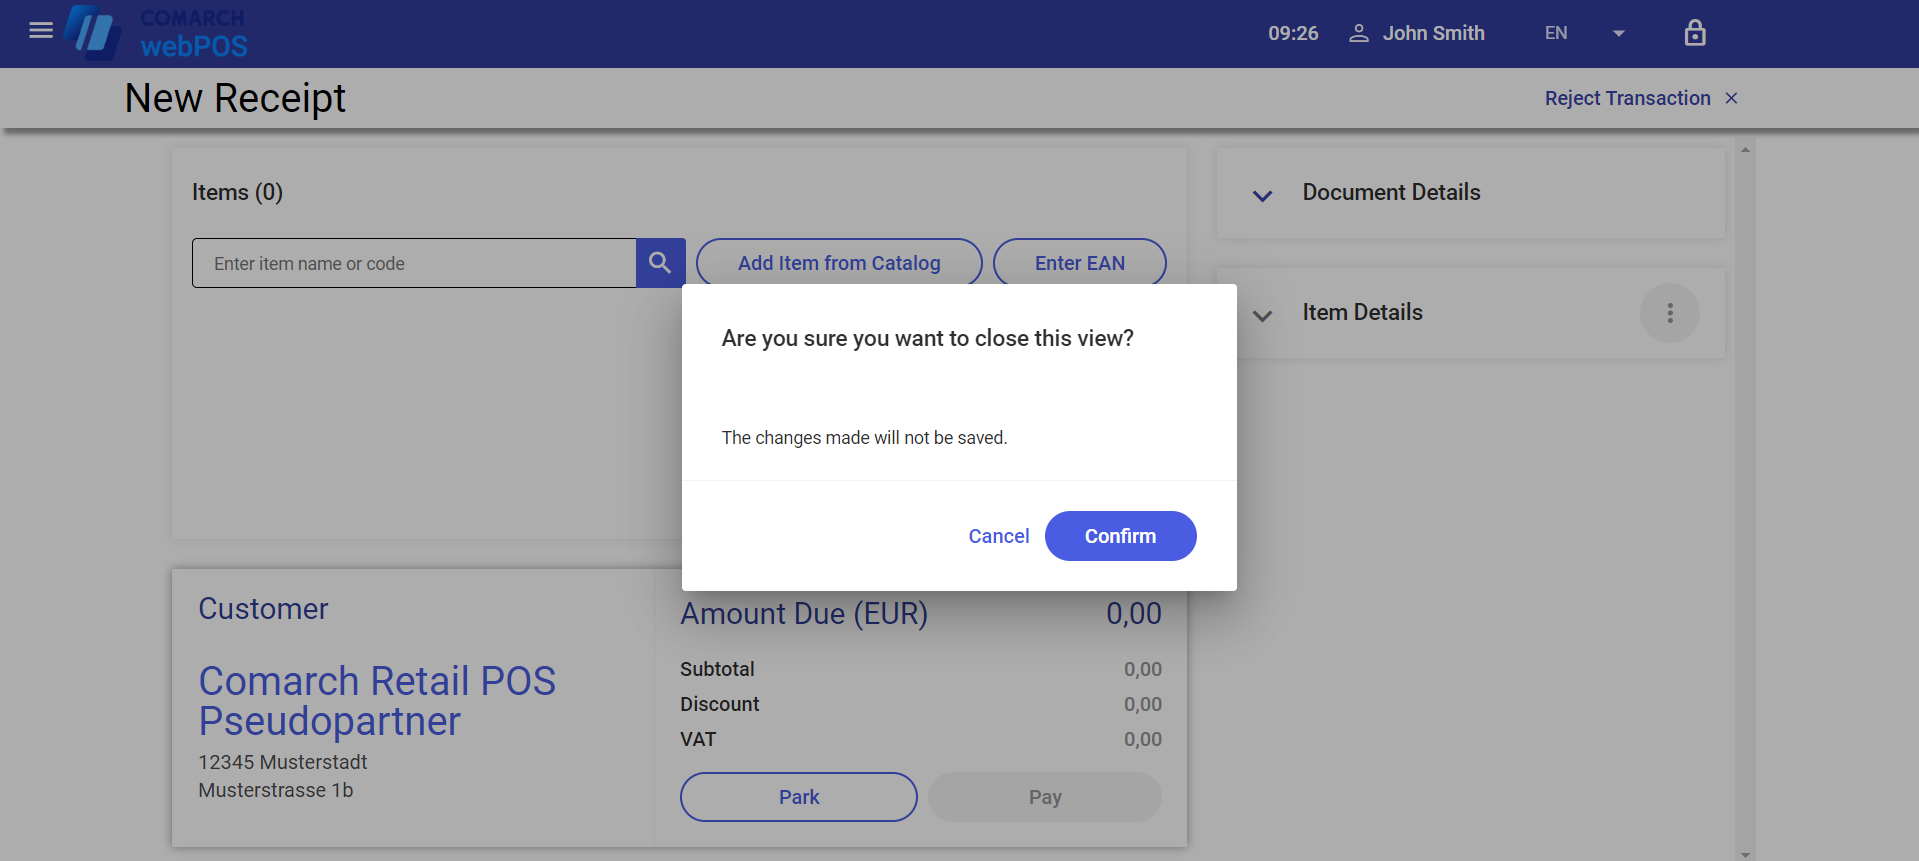
11. [Reject Transaction] button – closes the document without saving changes
If you try to exit the New Receipt window by selecting another view from the side menu, the application displays the following message: “Are you sure you want to close this view? The changes made will not be saved.”. The [Confirm] button closes the New Receipt window. To return to the New Receipt window, select [Cancel].
12. Under the button ![]() in the Item Details section, you can find the following action buttons:
in the Item Details section, you can find the following action buttons:
- [Change Value] – allows you to change the value of a document item
- [Change Price] – allows you to change the price of a document item
- [Delete] – deletes the item from the document
