
In order to add a new customer, select the [+ New Customer] button in the top right corner of the customer list. The button expands a drop-down list, where you can choose the appropriate customer type (a retail customer or business entity).
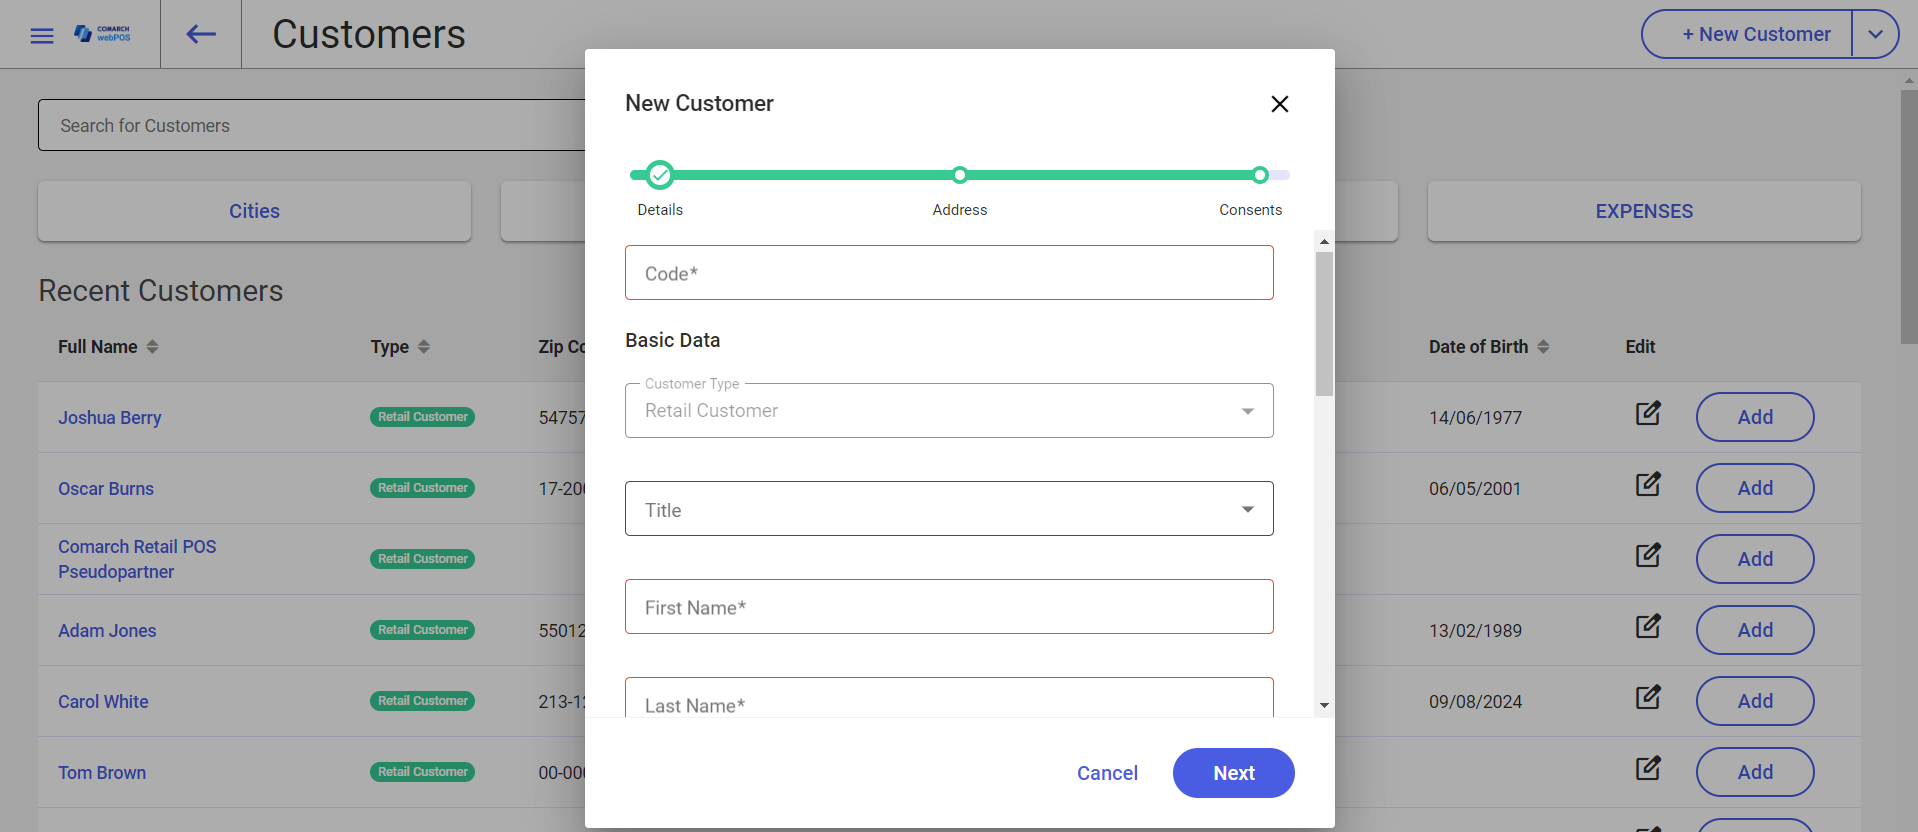
The New Customer window is divided into three tabs:
- Details
- Address
- Consents
Details tab
The Details tab contains the following fields:
- Code (required)
- Customer Type (non-editable)
- Title – applicable to retail customers
- First Name (required) – applicable to retail customers
- Last Name (required) – applicable to retail customers
- Name (required) – applicable to business entities
- Date of Birth – applicable to retail customers
- Academic Title – applicable to retail customers
- TIN – applicable to business entities
- TIN Prefix – applicable to business entities
- Issuing Authority – applicable to business entities
- Description
- PESEL
- NIN
- Classification Categories
- Attributes
Address tab
On the Address tab, you can add one or more customer addresses.
When adding a new address, you can fill in the following fields:
- Address Type
- Country
- Zip Code
- City
- Street
- Street No.
- Phone
Consents tab
On the Consents tab, the customer can give appropriate consents to personal data processing.