Adding a new receipt
In order to add a new receipt:
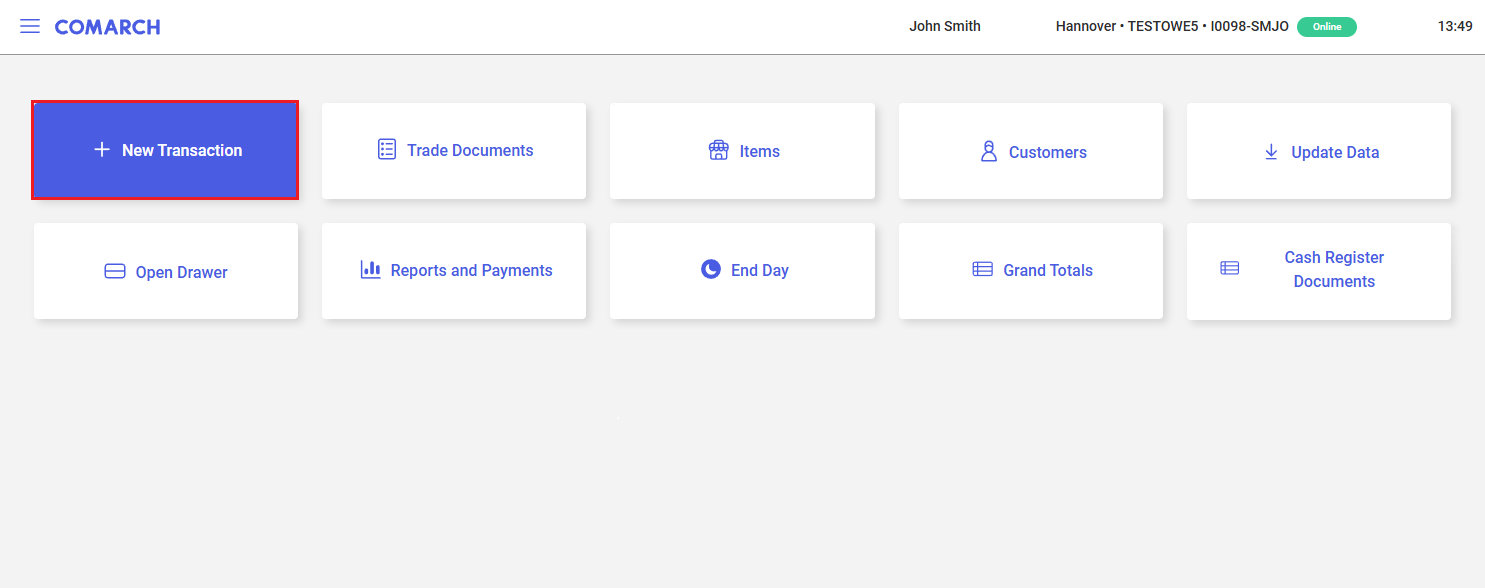
- Select the [New Transaction] tile from the main panel of the application
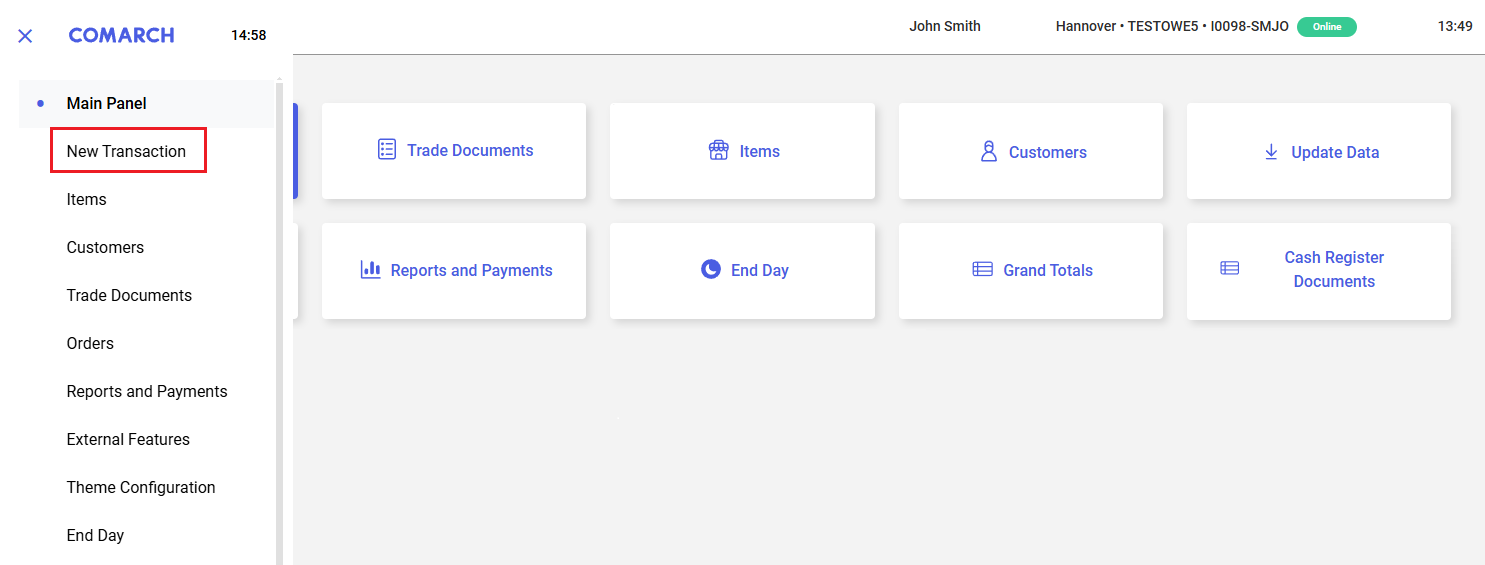
- Select the [New Transaction] button from the side menu
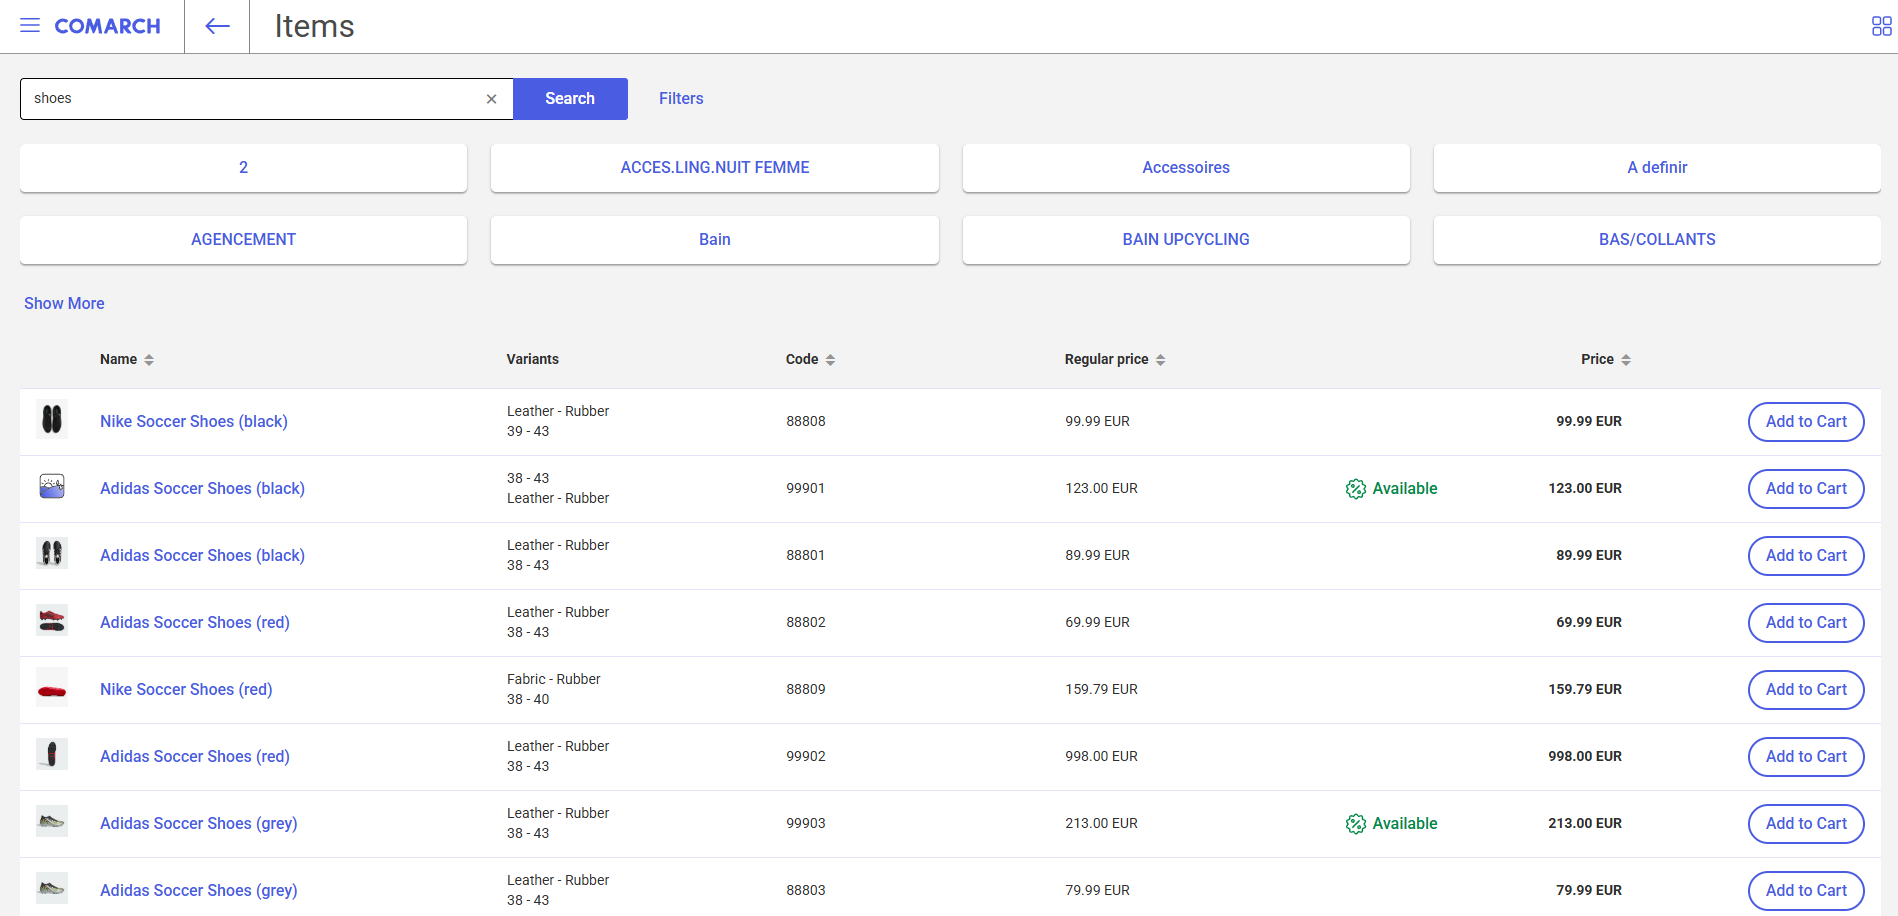
- Select the [Add to Cart] button in the item list; in this way, a given item will be automatically added to the new document

- Select the [Add to Cart] button on the item form; in this way, a given item will be automatically added to the new document

- Select the [Add] button in the customer list; in this way, a given customer will be automatically added to the new document

- Select the [Select Customer] button on the customer form; in this way, a given customer will be automatically added to the new document
To issue the receipt, add all the necessary items and select the [Payment] button.
Receipt form
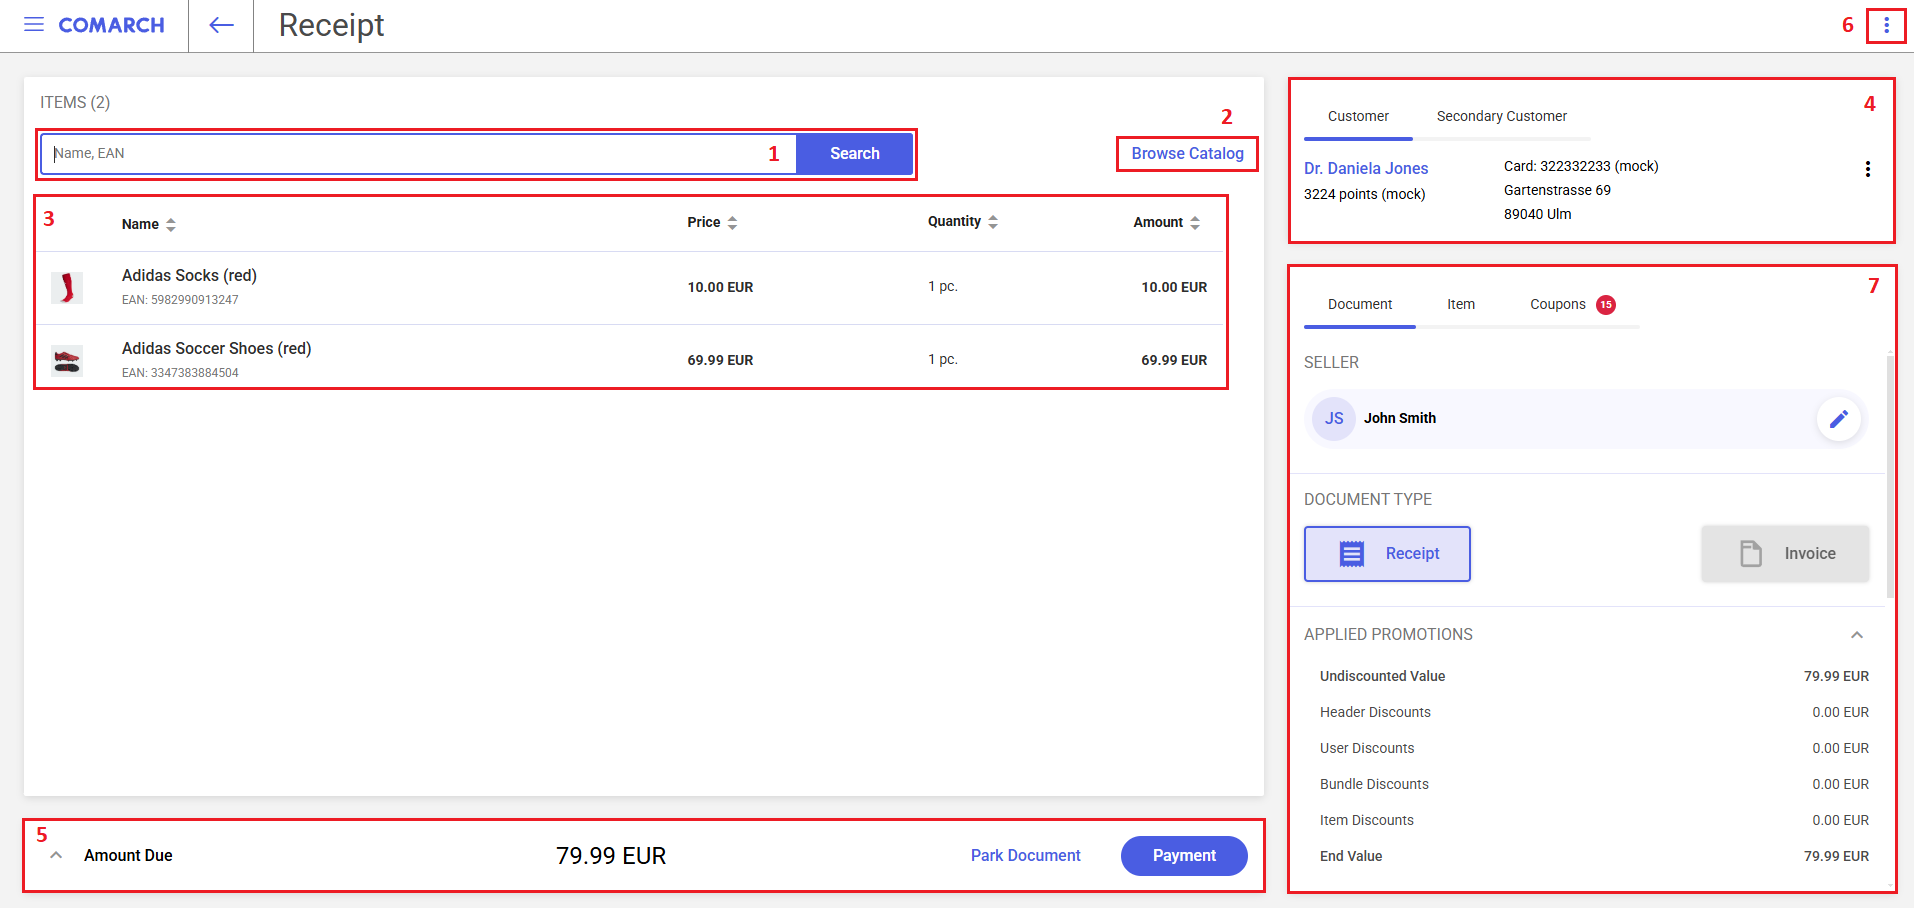
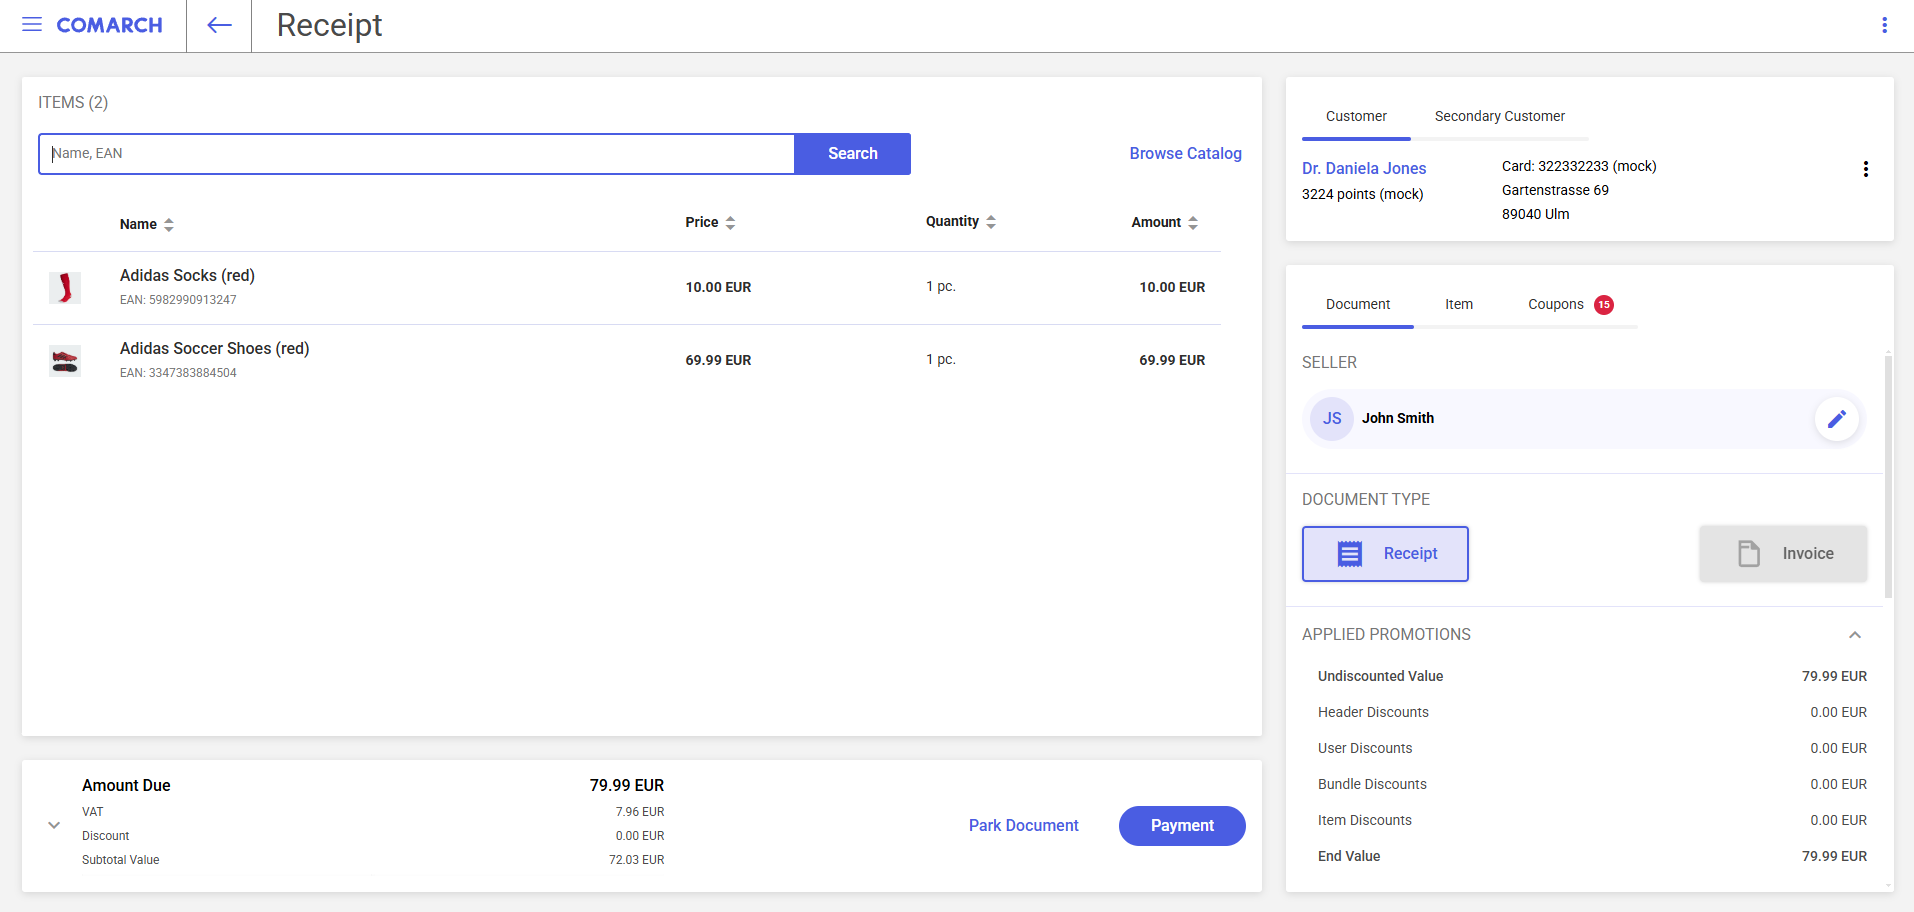
The form of a new receipt document contains the following fields (particular points correspond to areas marked in the screenshot above):
1. Search – allows you to search and add document items. You can use this field to scan an item code with a barcode scanner or manually enter an item code, name, or EAN number. If the item is identified, the application automatically adds it to the document.
You can also search for an item by entering an appropriate phrase (at least 2 characters) and selecting the [Search] button – the application will then redirect you to the item list filtered according to the entered phrase. To add an item to the document, select the [Add to Cart] button next to it.
2. [Browse Catalog] button – opens the list of items available in the system. You can select an item directly from the list or search for it by entering its name, code, or EAN number in the Search field. To add an item to the document, select the [Add to Cart] button next to it.
3. The list of document items presents basic information on items added to the document. It is composed of the following columns:
- Name
- Price
- Quantity
- Amount (calculated as price x quantity)
4. Customer – displays information about the customers entered in the document. In this section, you can add or edit a primary and secondary customer, their addresses, and contact persons.
5. Summary – presents the overall value of entered document items:
- Amount Due – presents the values from the Total column summed up for all document items
- [Payment] – proceeds to the payment window
You can also use the ![]() button to display additional information:
button to display additional information:
- VAT – presents the VAT amount calculated in the document
- Discount – displays the value of discounts applied in the document
- Subtotal – presents the document value reduced by the VAT value
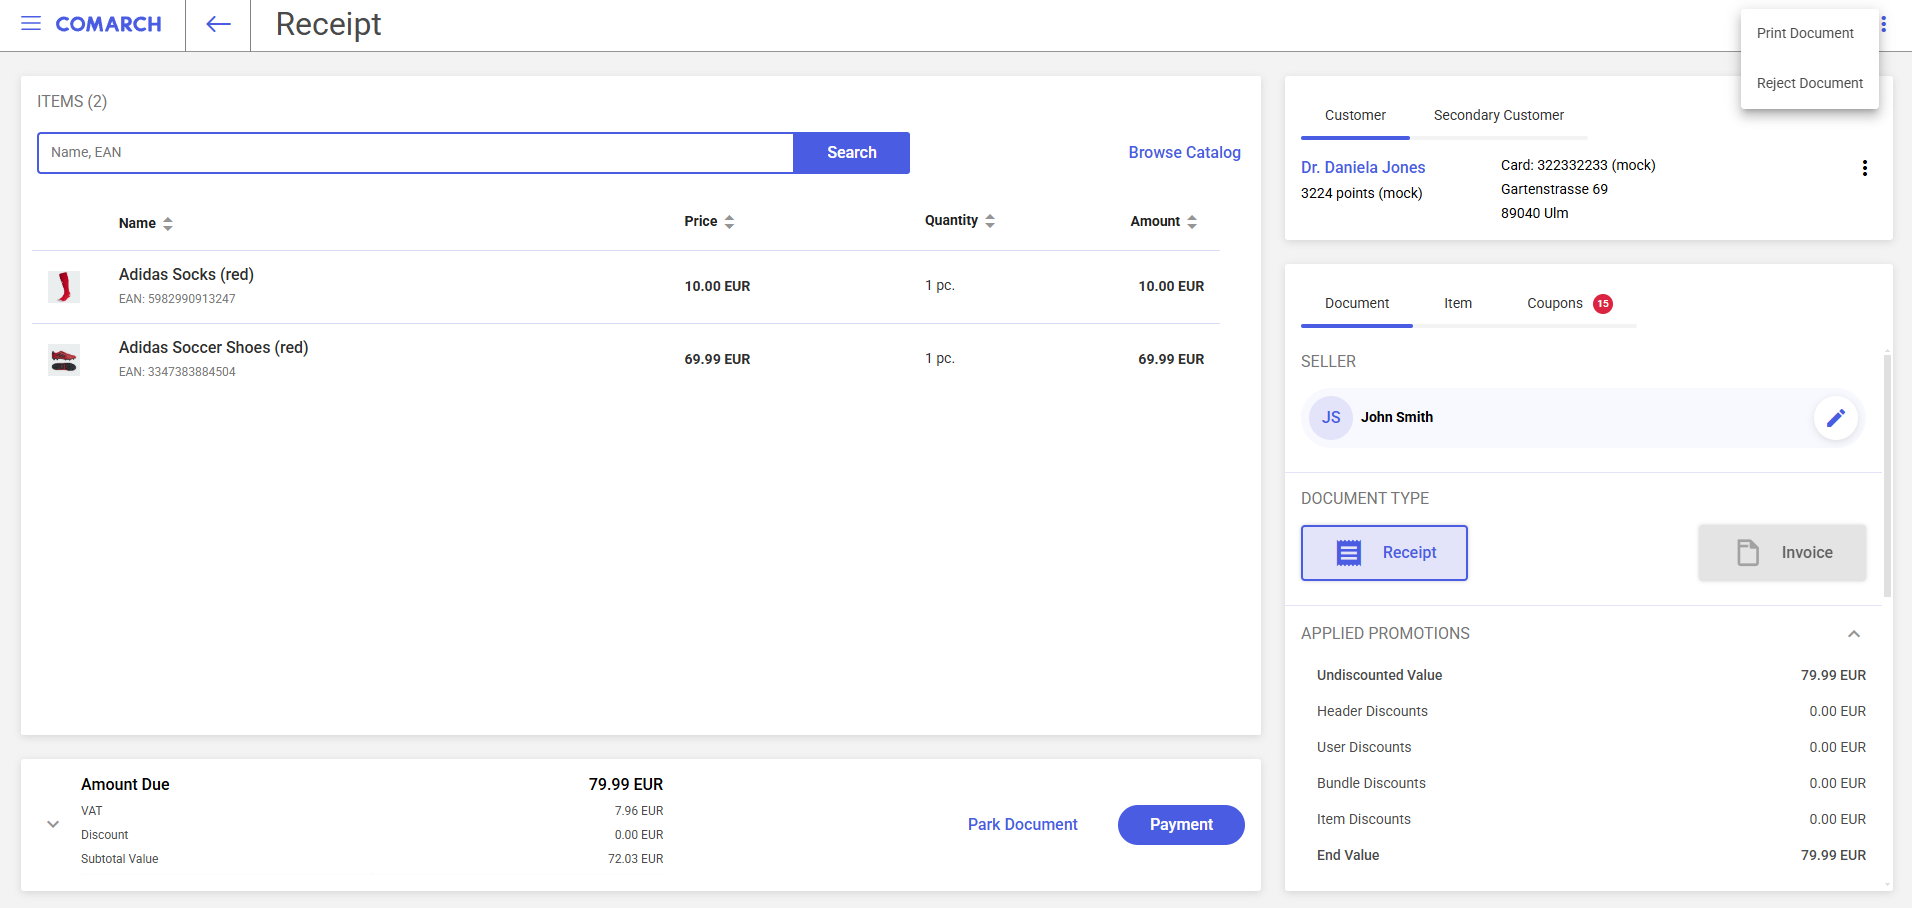
6. The ![]() button expands the list of additional options for creating the document:
button expands the list of additional options for creating the document:
- [Print Document] – opens the document printout window
- [Reject Document] – closes the document without saving changes. Selecting the button displays the message: “Reject the document? You will lose all the information entered in the document“. The [Yes] button closes the receipt window; to return to the receipt window, press [Cancel].
- Document
- Items
- Coupons
The section is divided into tabs that allow you to perform additional actions on the new receipt.
Document tab
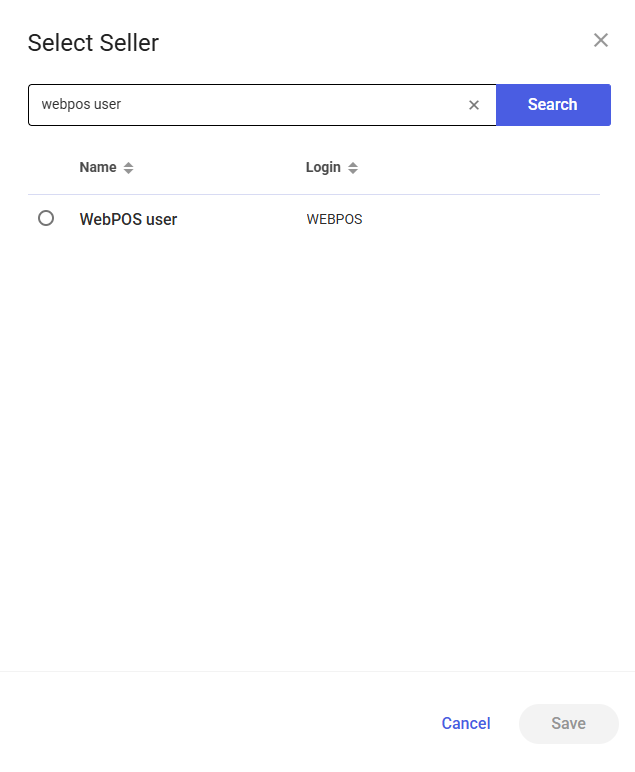
On the Document tab, you can change the person responsible for a document item. To do so, select the ![]() icon next to the name of that person.
icon next to the name of that person.
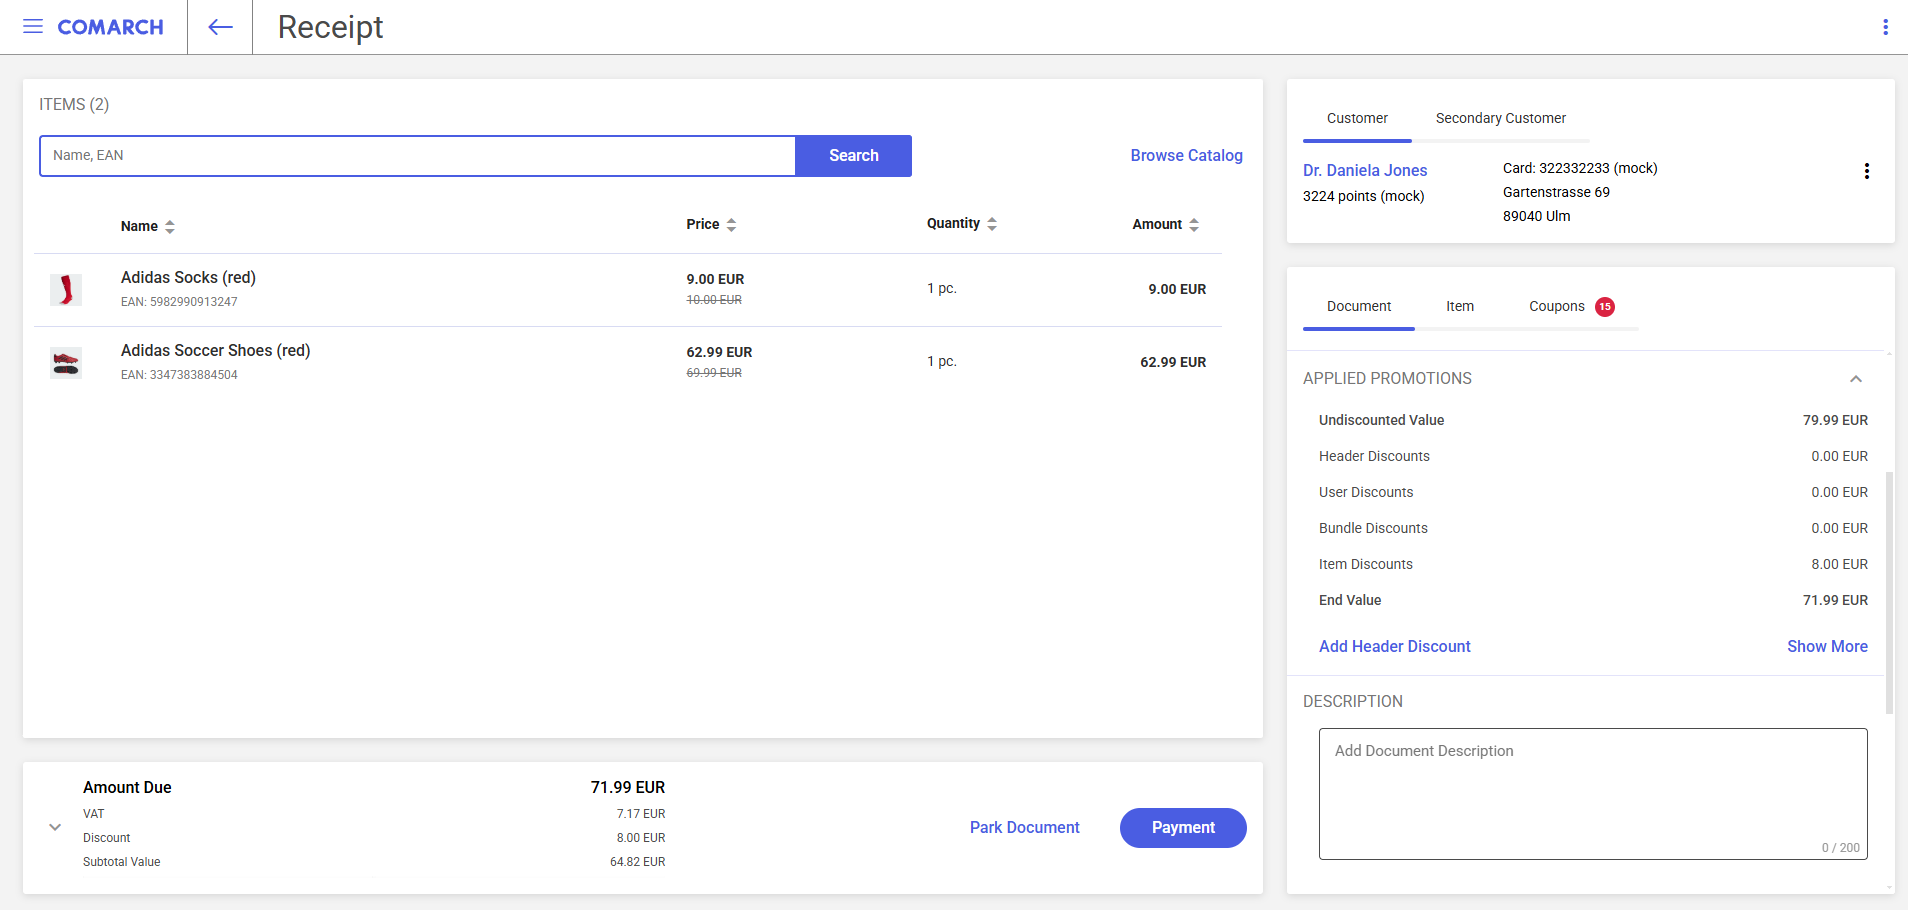
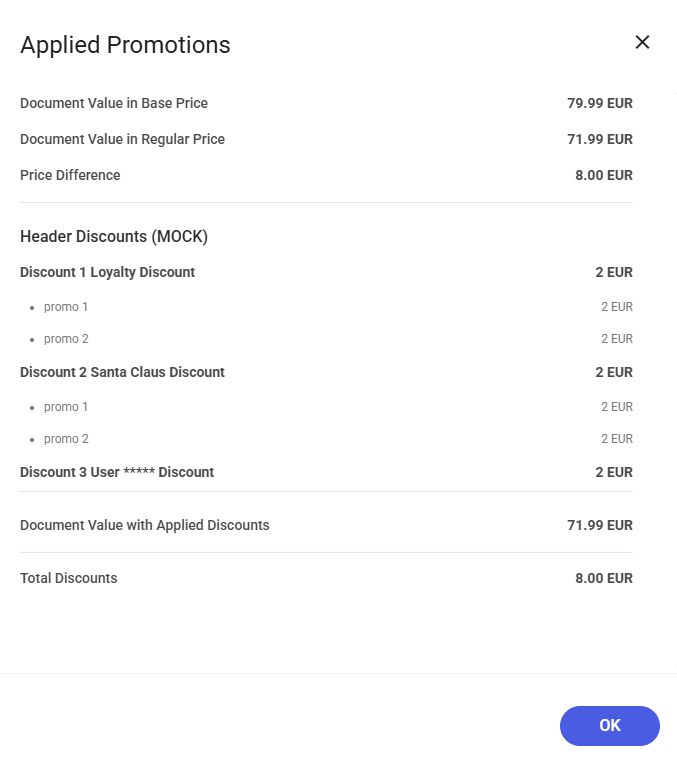
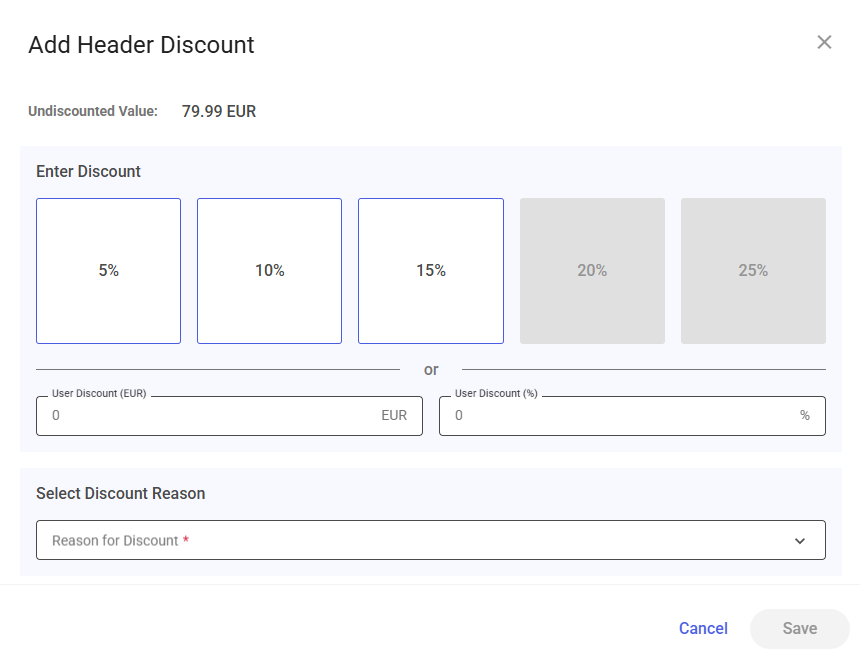
Below, you can find the list of applied promotions, which contains information about discounts granted in the document. Selecting the [Show More] button displays a window with discount details and document values.
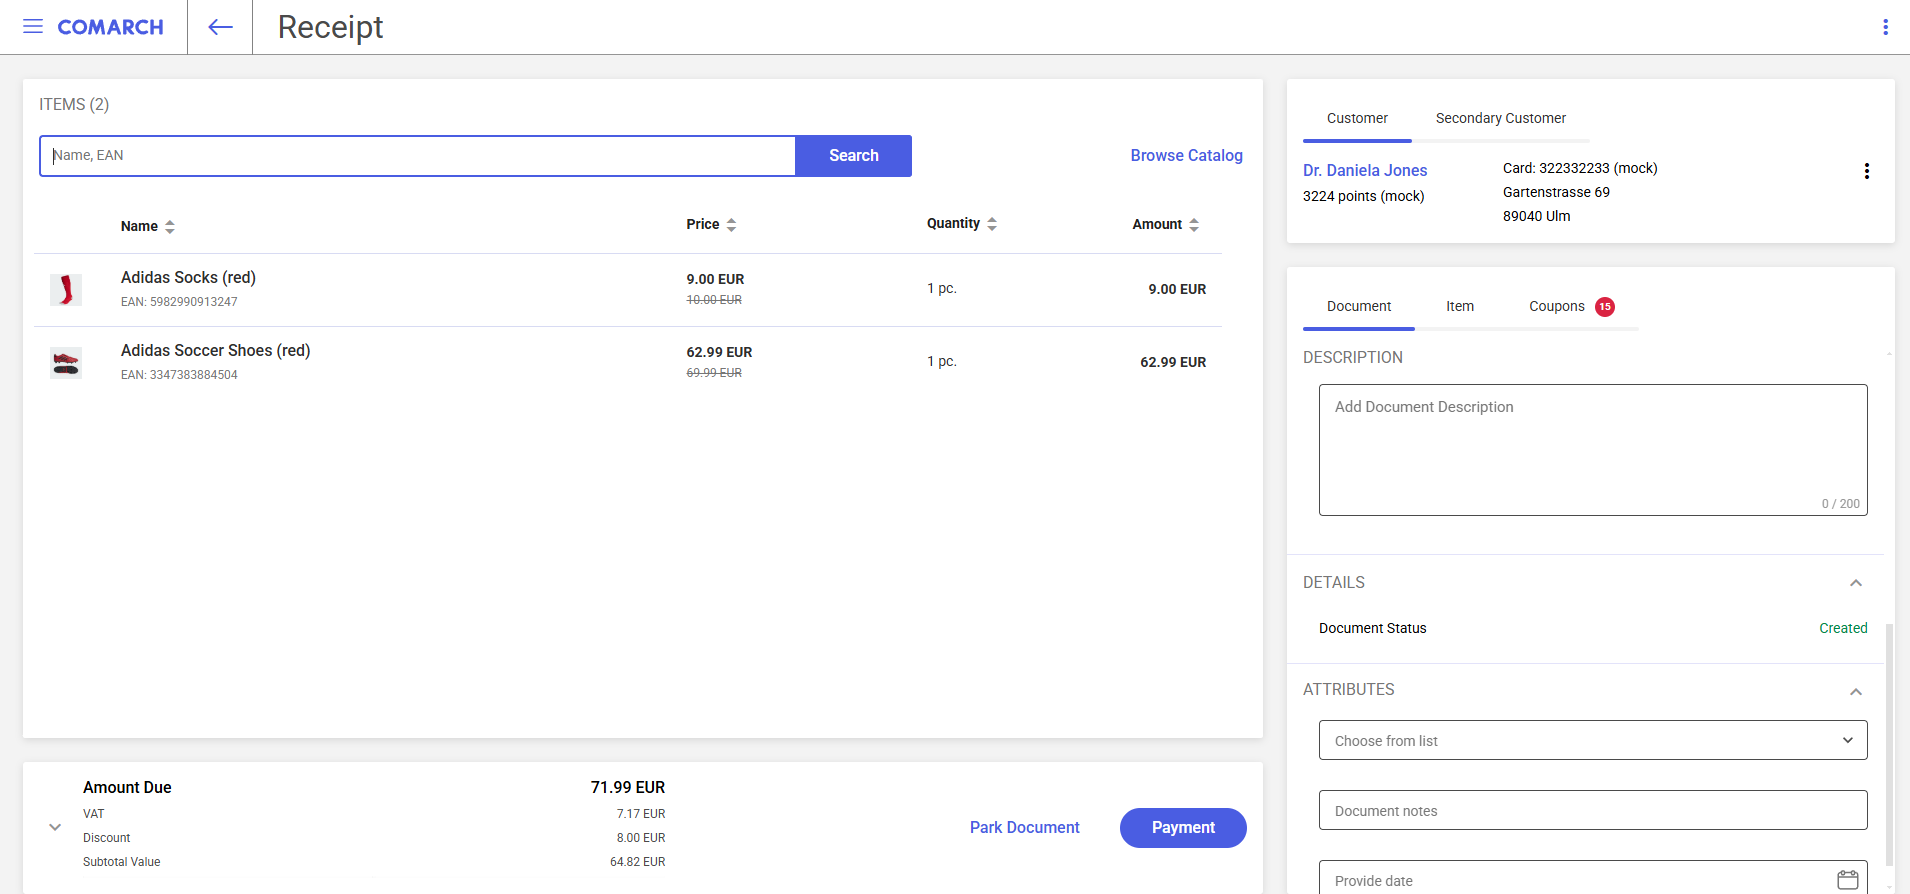
Below the description section, you can find the document status that can have the following values:
- Created
The last section on this tab is Attributes. It allows you to fill in document attributes defined in the ERP system. Available attribute types include:
- Text
- List
- Date
- Logical value
Item tab
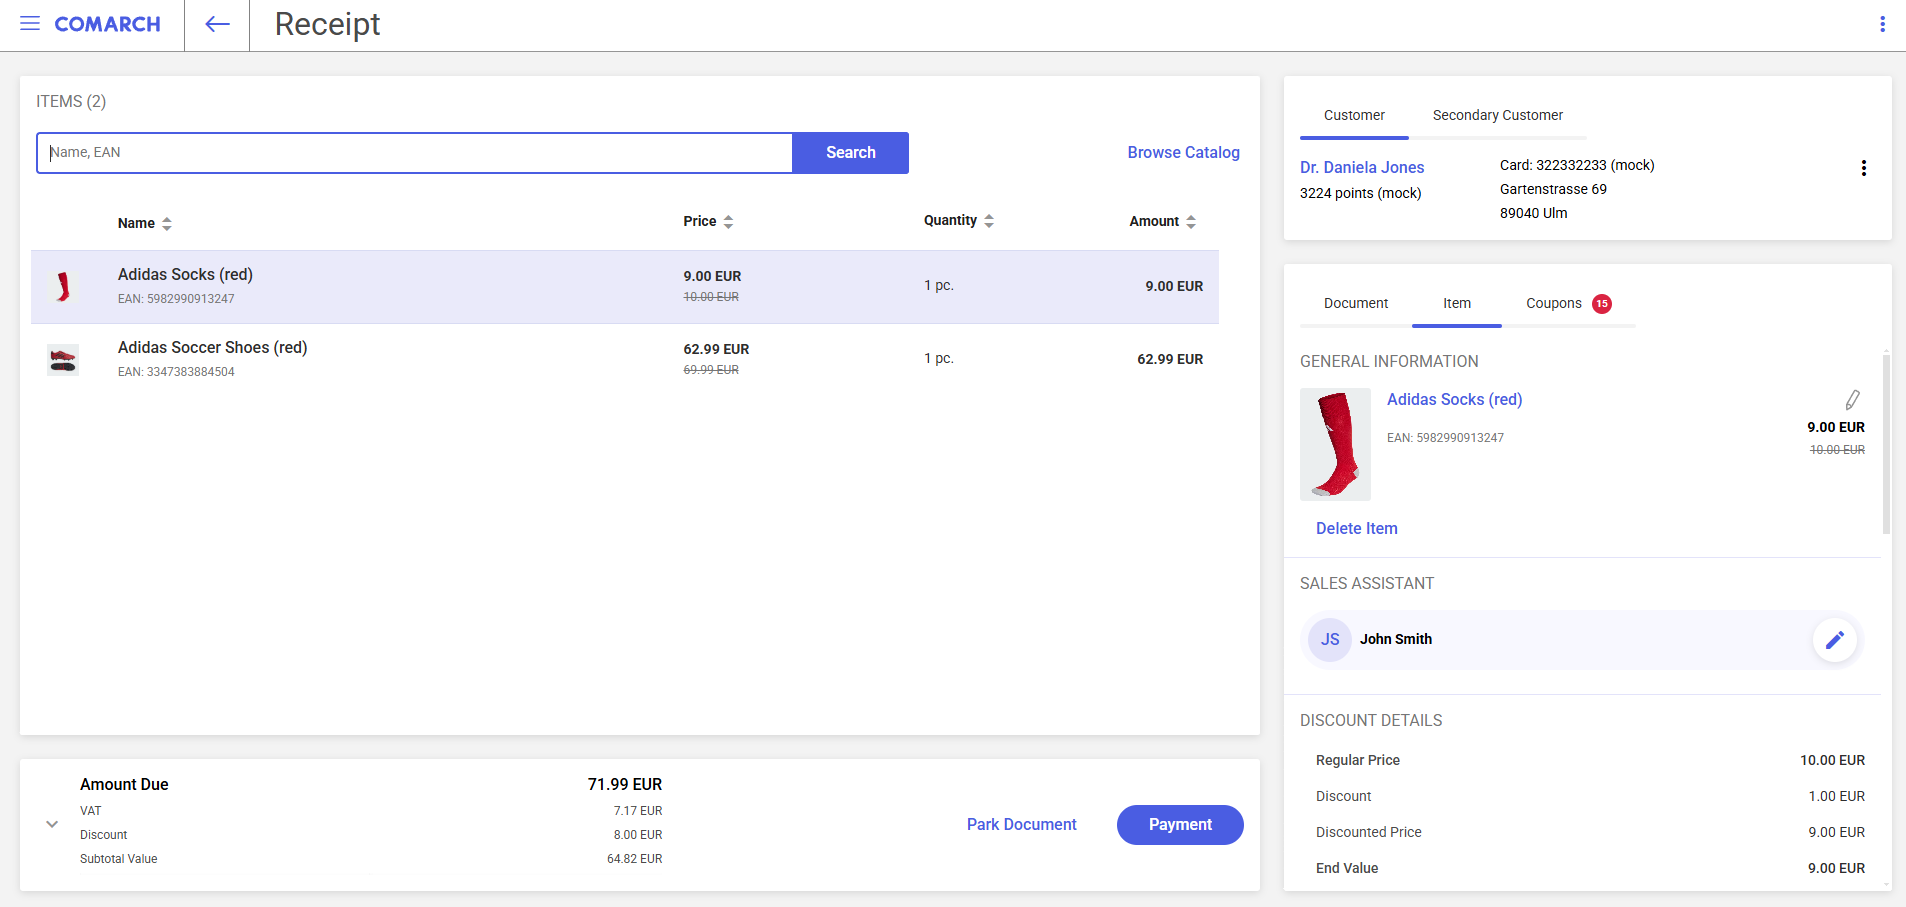
The Item tab contains detailed information about document items. On this tab, you can:
- Preview item details
- Delete a document item
- Change the name of a document item
- Select a sales assistant
- Preview applied discounts
- Modify an item price
- Preview related items
- Enter a description
- Fill in attribute values
- Select a warehouse
The General Information section contains the following details:
- Item image
- Item name
- EAN code
- Item features
- Regular price
- Discounted price
Selecting the ![]() button allows you to edit the name of a document item.
button allows you to edit the name of a document item.
Selecting the name of a document item opens the item form, where you can find all item details.
Selecting an item feature opens a window that allows you to select other available features. The window contains such information as code, EAN code, price, VAT rate, and availability in store. In addition, you can press the [See Full Item Details] button to preview the full item form.
Selecting the [Delete Item] button removes an item from the document.
The ![]() button in the Sales Assistant section allows you to select a sales assistant from the list of employees.
button in the Sales Assistant section allows you to select a sales assistant from the list of employees.
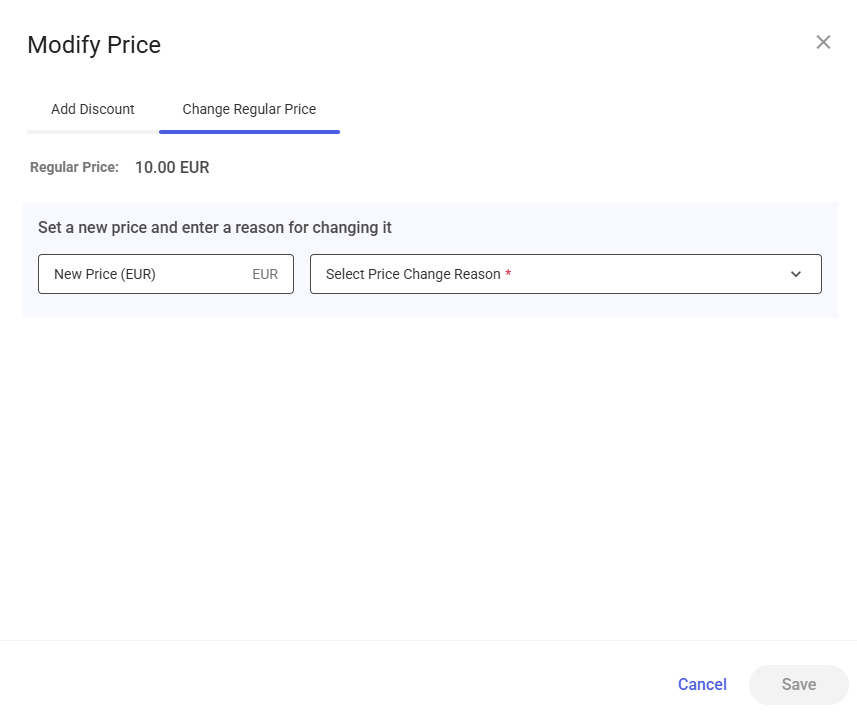
The Discount Details section contains the details of discounts applied to a selected document item. The [Show More] button opens a window that contains information about all the applied promotions. Selecting the [Modify Price] button allows you to manually modify the price of a document item.
The Related Items section displays up to three items related to the selected document item. If there are more related items, you can preview them using the [Show More] button. Selecting the name of a related item opens its item form.
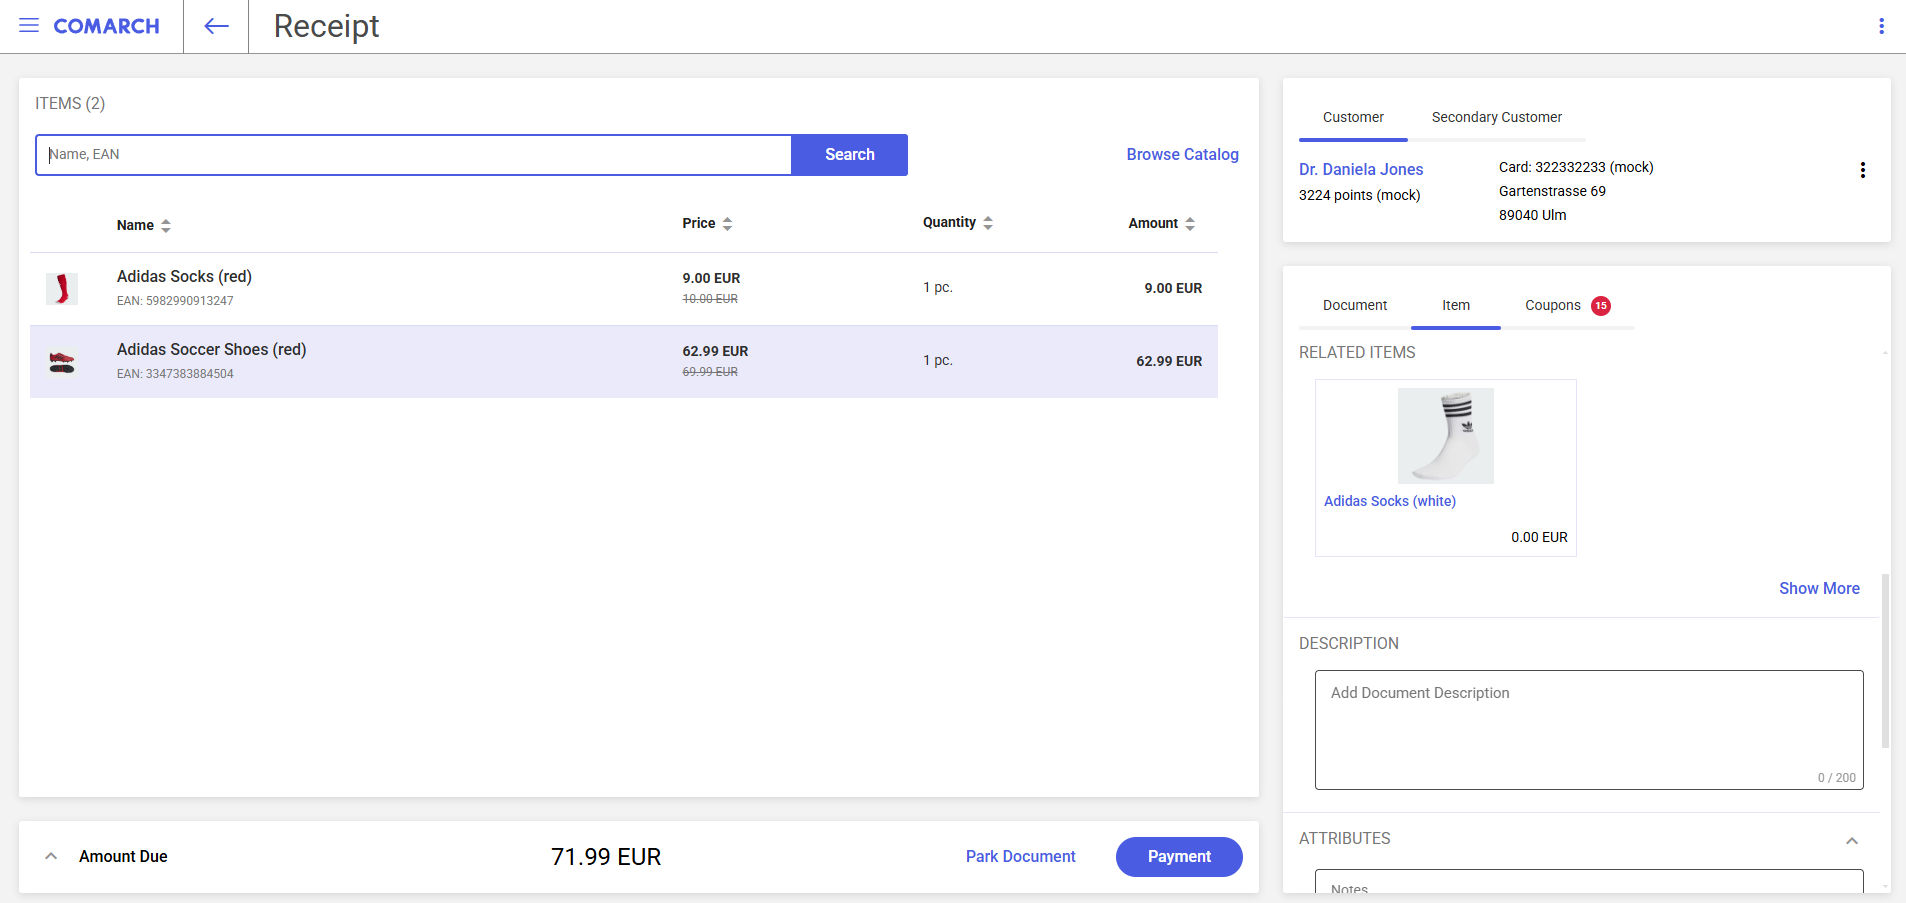
Like the Document tab, the Item tab allows you to add a description and fill in attributes defined in the ERP system.
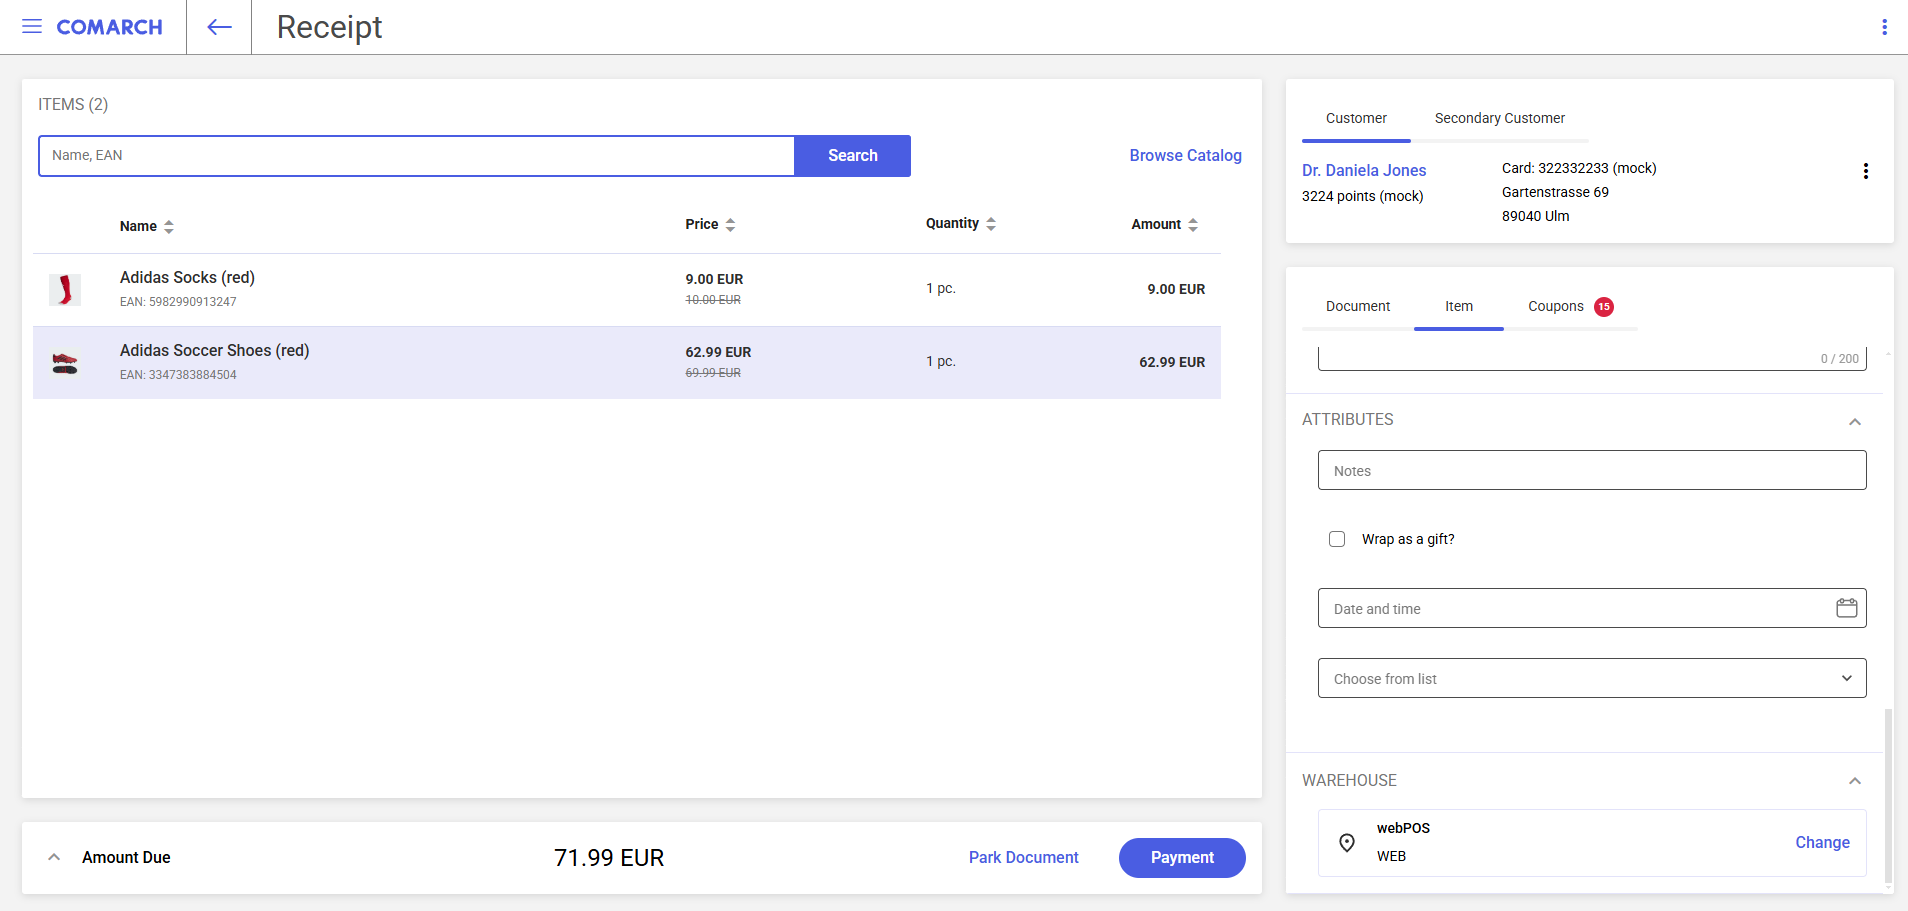
The last section on this tab is Warehouse. It allows you to select a warehouse from which the document item is to be sold. Pressing the [Change] button displays the list of available warehouses. To select a relevant warehouse, press the [Select] button next to the name of that warehouse.
Coupons tab
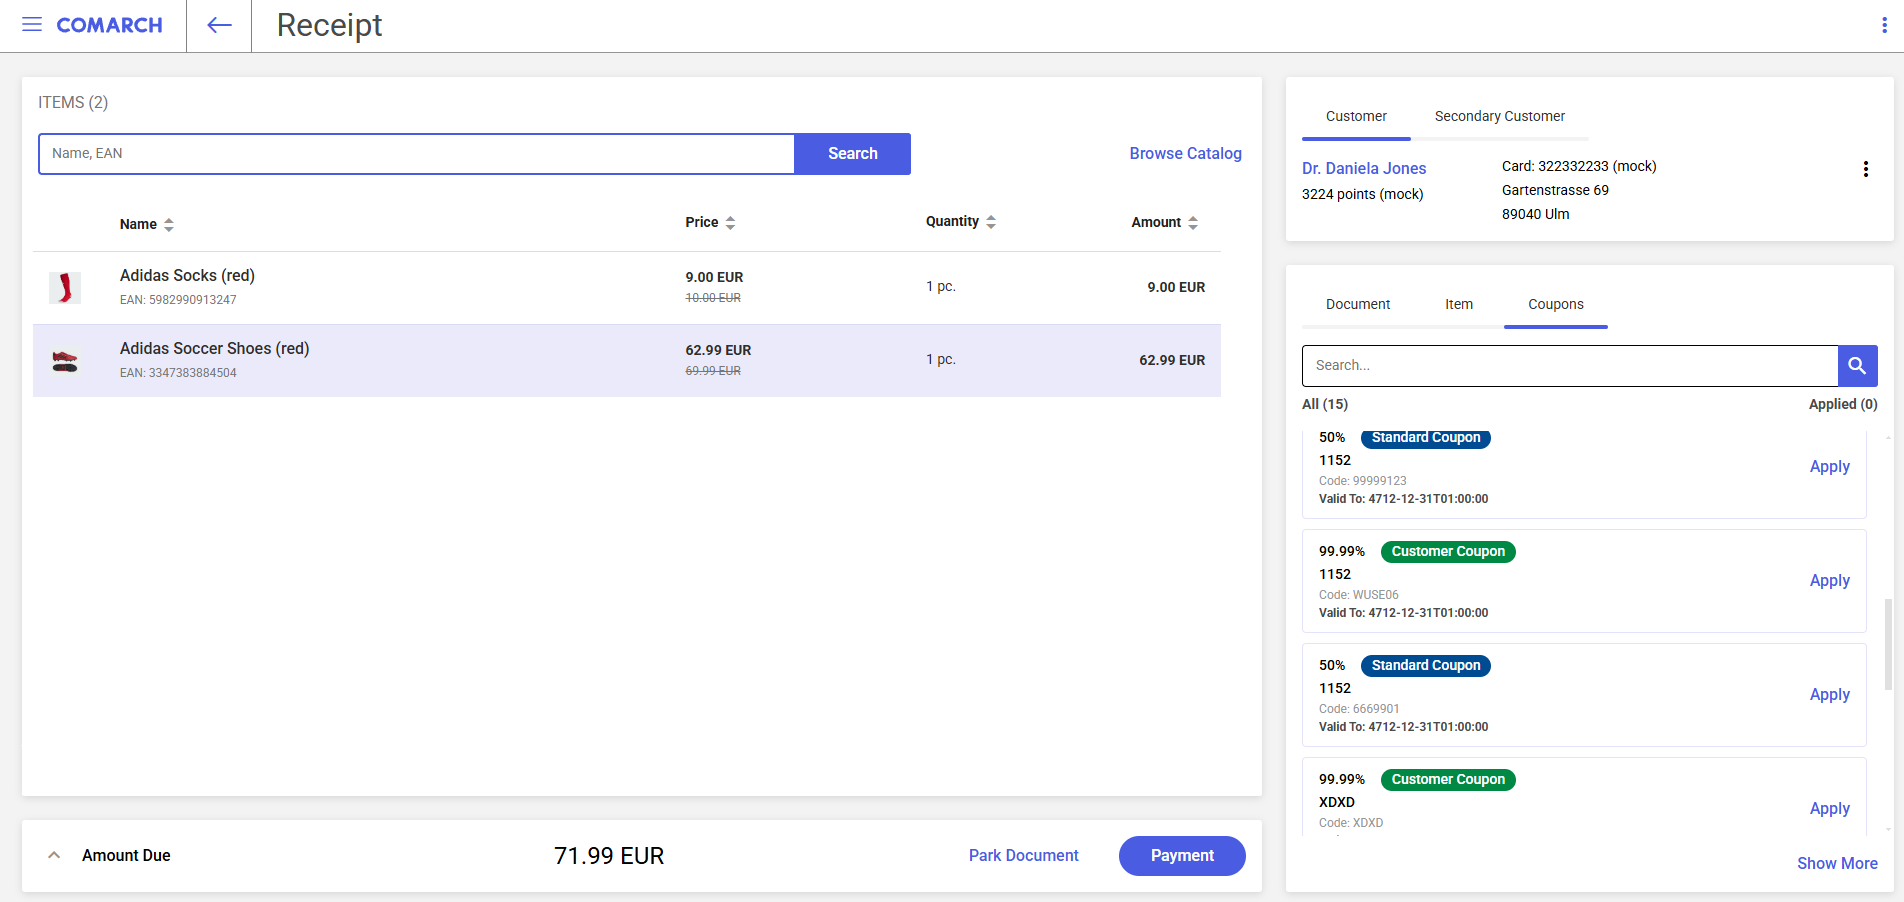
The Coupons tab displays coupons that can be used in the document. The coupons are grouped into two categories:
- Customer coupons
- Standard coupons
Each coupon is displayed as a separate tile that contains the following information:
- Coupon name and value
- Discount code
- Validity date
Using the [Apply] button, you can add a coupon to the document. In turn, selecting the [Delete] button removes a coupon from the document.
