
In the system, it is possible to print documents, lists of documents and other objects. The user can use predefined printout settings, available in the system, or set their own printout configuration and attach it to a given area.
The system handles printouts with the use of the following formats:
- Crystal Reports
- Text printout
- Microsoft Reports
- POS 2.0
Printout configuration
Printout configuration is available from the level of menu Configuration → Tools → Printouts.
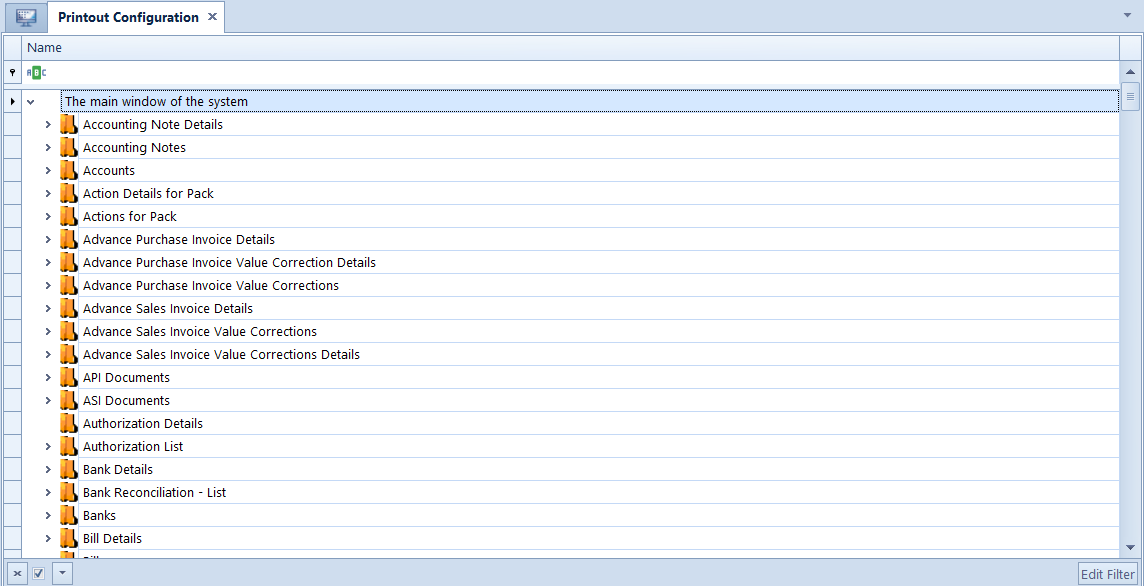
After entering the printout configuration, a tree of objects is opened. The user can preview all printouts defined for a given system area by clicking on the arrow button placed next to the name of a given area.
The menu contains standard buttons available in the system. Moreover, in List group of buttons, the following buttons are available:
[Add] – opens a window for adding new printout Printouts added by the user are marked in red on the tree.
[Add Existing] – opens Printout Selection window, where the user can select printouts already existing in the system and attach them to a given area

[Delete] – deletes printout from the database
[Detach] – detaches selected printout from a given area but does not delete it from the database. After detaching a printout from a given area, it will not be available after clicking on [Print] button in that area. Detached printouts, unlike deleted printouts, can be added again to an object with the use of the [Add Existing] button.
[Default] – defines selected printout as default for a given area. A default printout is automatically initiated after clicking on the [Print] button in a specific window.
[Copy] – copies printout attached to a given area
[Paste] – pastes copied printout and attaches it to a selected area. If such printout has parameters, it is necessary to configure them in window Connecting Parameters, opened upon selecting the action, and click on [Save] button. From now on, the copied printout will be available in both system areas.
[Print History] – opens Print History window which presents a list of printouts executed in the system. Information regarding each printout is registered and the list contains data assigned to the following columns:
- Printout ID
- Printout Name
- Date and Time
- Operator
- User Code
- Printout Context
- Location Context
- Source Document
- Description
- Source Document Type (hidden by default)
Adding new printout
To add new printout, in the printout configuration window it is necessary to click on the [Add] button from the List group of buttons and complete data on displayed printout form (the form appears also in case of editing an existing printout). The form is divided in to tabs General and Parameters
The menu contains standard buttons available in the system Moreover, the user can select the following buttons:
[Edit Definition] – opens form for editing a given printout with the use of the tool indicated in Format Type field
[Build Definition] – allows for importing a file with printout definition used in POS application
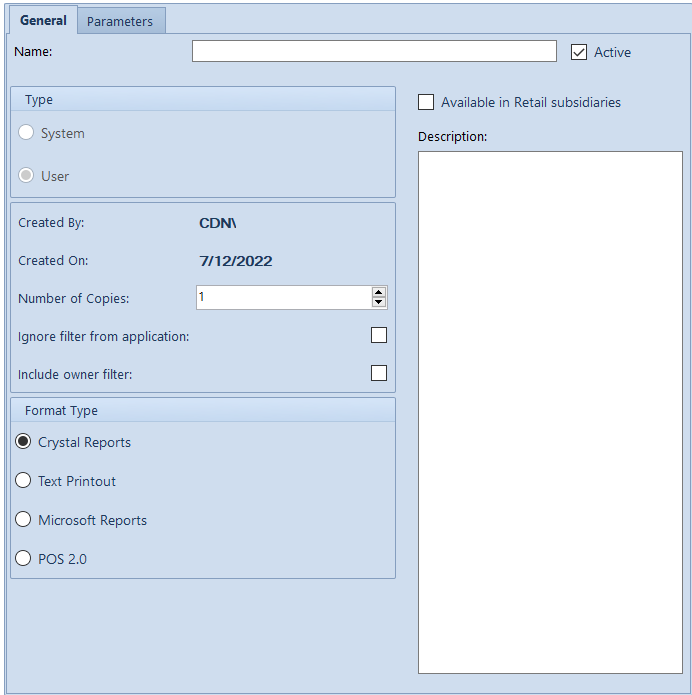
Tab General
In this tab, the following fields and parameters are available:
- Name – allows for entering printout name
- Active – information regarding printout’s activity, if the parameter is unchecked, a printout will be not available for selection and will be marked in gray on the tree of printouts
- Type – indicates printout type:
- System – predefined printout attached during system installation. This parameter is checked only in case of editing an existing predefined printout.
- User – printout added or defined by the user
- Created By – displays data of the operator who creates the printout
- Created On – displays the date of printout creation
- Number of Copies – allows for entering a default number of copies that is supposed to be printed after printout initiation
- Ignore filter from application – unchecked parameter means that the printout will contain data which is presented on the operator’s display at the moment of printing. If the parameter is checked, the printout should contain all data, regardless of used filter. To ensure correct display of data on the printout, its definition should handle appropriate parameters.
- Include owner filter – if the parameter is checked, a filter defined within the center being the owner of the printout will be included in the printout
- Format Type – field for selecting the type of format in which the printout will be prepared:
- Crystal Reports – external application of creating printouts whose license must be purchased separately
- Text Printout – printout definition saved as a string of characters without formatting
- Microsoft Reports – printouts in this data format are used on point of sales POS in 1.0 edition
- Microsoft Reports – printouts in this data format are used on point of sales POS in 2.0 version
- Description – allows for adding description to the printout
Tab Parameters
Tab Parameters allows for connecting printout parameters with the parameters of the system area in which the printout is supposed to be initiated.
Handling printouts on lists
On the most of lists in the system, there is Printouts group of buttons which contains buttons used for starting a given printout.
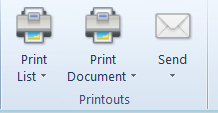
[Print List] – prints list of objects on a default printer
[Print Document] – prints details of a selected document on a default printer
[Send] – allows for sending printout from an e-mail account associated with the employee
Depending on selected option, the system prints the default printout or opens menu for selecting further steps (selection of printout preview on computer’s display, selection of a different printer or opening configuration window).
Button [Configure], available in the drop-down menu displayed for the above-mentioned buttons, displays a tree containing definitions of printouts attached to a given area.